12 Best Diy Candy Centerpieces to Try Now
Hey girl, have you ever stared at a boring table setup and thought, “This needs more sparkle”? DIY candy centerpieces are my absolute go-to for turning any gathering into a sweet dream. I first fell in love with them at my sister’s baby shower – those pops of color made everything feel festive without breaking the bank.
I’ve been crafting these for years now, from holiday dinners to summer barbecues, and they’re ridiculously easy once you get the hang of it. Last Christmas, I whipped one up with stuff from the dollar store, and my friends wouldn’t stop snapping pics. It’s that perfect mix of cute and edible that keeps everyone happy.
In this post, you’ll get 12 drool-worthy DIY candy centerpiece ideas that you can tweak for any occasion. I’ll share my personal twists too, so you can make them your own. Let’s dive in and get inspired!
12 DIY Candy Centerpieces That’ll Sweeten Any Table
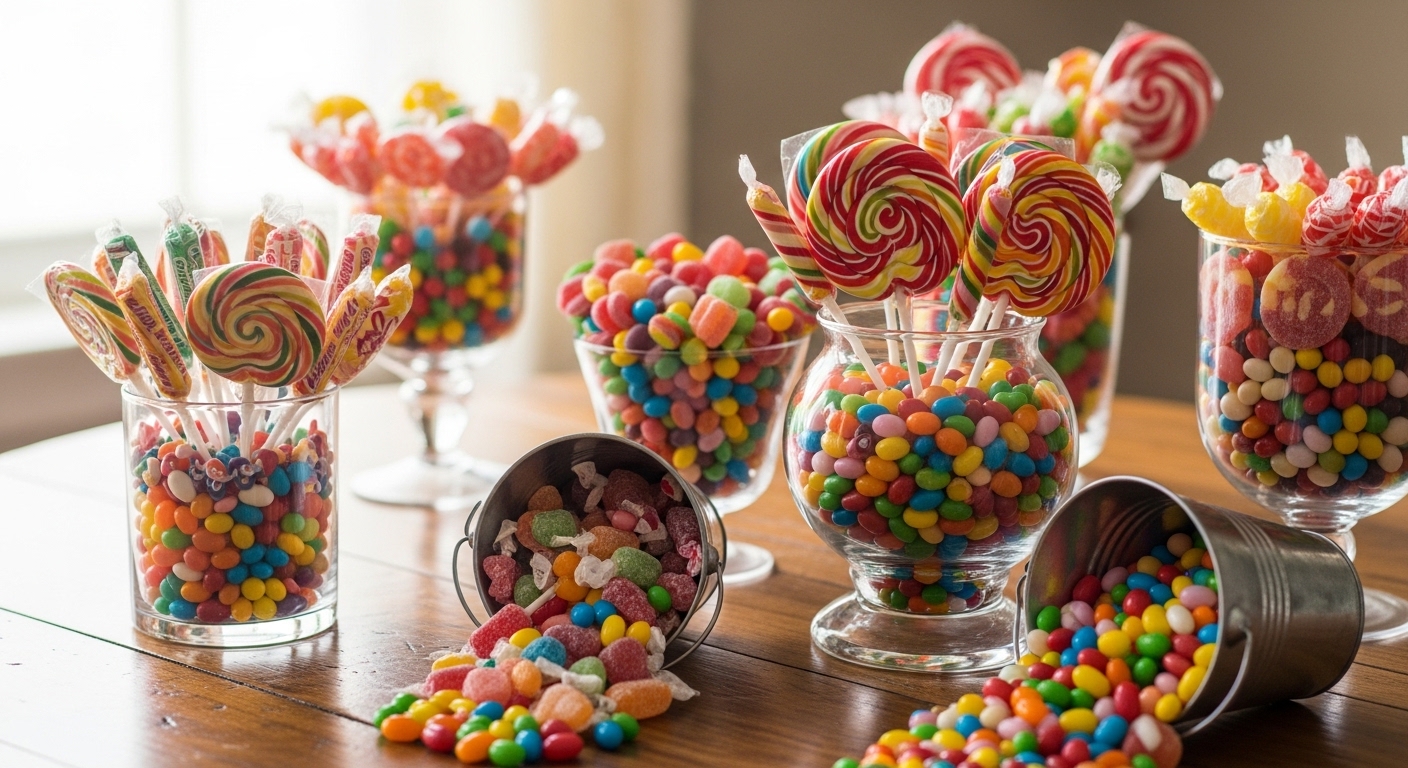
Candy Bouquet Vase Glow
This candy bouquet screams party vibes – just layer your fave sweets in a clear vase for that instant wow factor. I made one like this for my bestie’s birthday, using gummy bears and chocolate kisses, and it was half-eaten before dessert even started. Super simple, right? You’ll love how the colors pop against the glass.
Pink Candy Cane Runner
Imagine a soft pink runner dotted with candy canes – holiday magic without the fuss. Tie a few bows around them for extra charm; I did that at my family’s Christmas Eve dinner last year. Guests kept grabbing handfuls, which was kinda the point. Easy tweak for Valentine’s too.
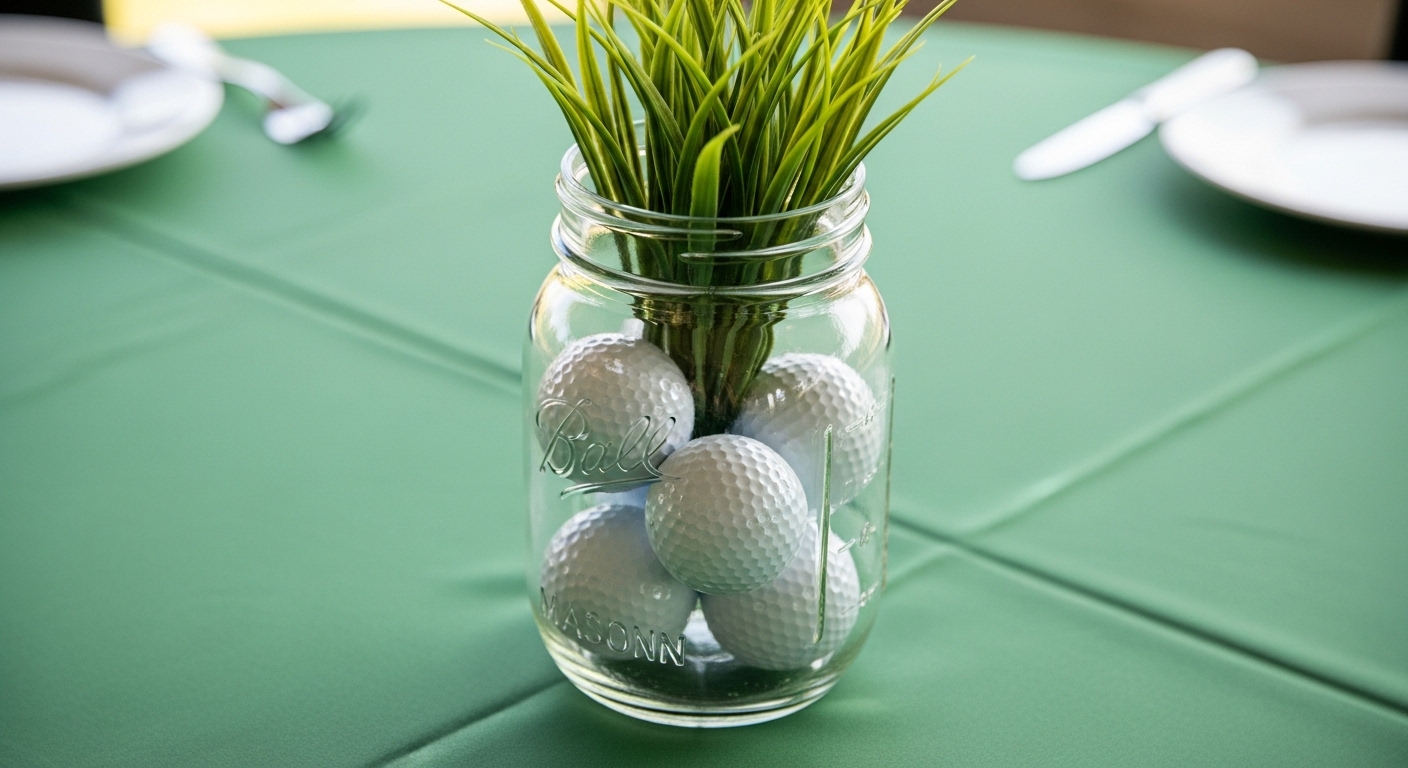
Tall Candy Cane Vase
A single vase stuffed with upright candy canes looks so elegant outdoors or in. I added fairy lights once for a wedding shower – total showstopper. Pro tip: stuff tissue paper at the bottom to keep ’em steady. You won’t believe how quick it comes together.
Floral Candy Vase Mix
Green vases with pink flowers and hidden candies underneath? Genius layering. My brunch table last spring had these, and the candies doubled as favors. Sometimes I swap flowers for more sweets if I’m feeling extra indulgent.
Bow-Wrapped Candy Display
Tables lined with candy canes tied in bows feel so festive and polished. I recreated this for a cookie swap party – the bows made it look store-bought. Grab ribbon from the craft aisle; it’s cheaper than you think. Your guests will rave.
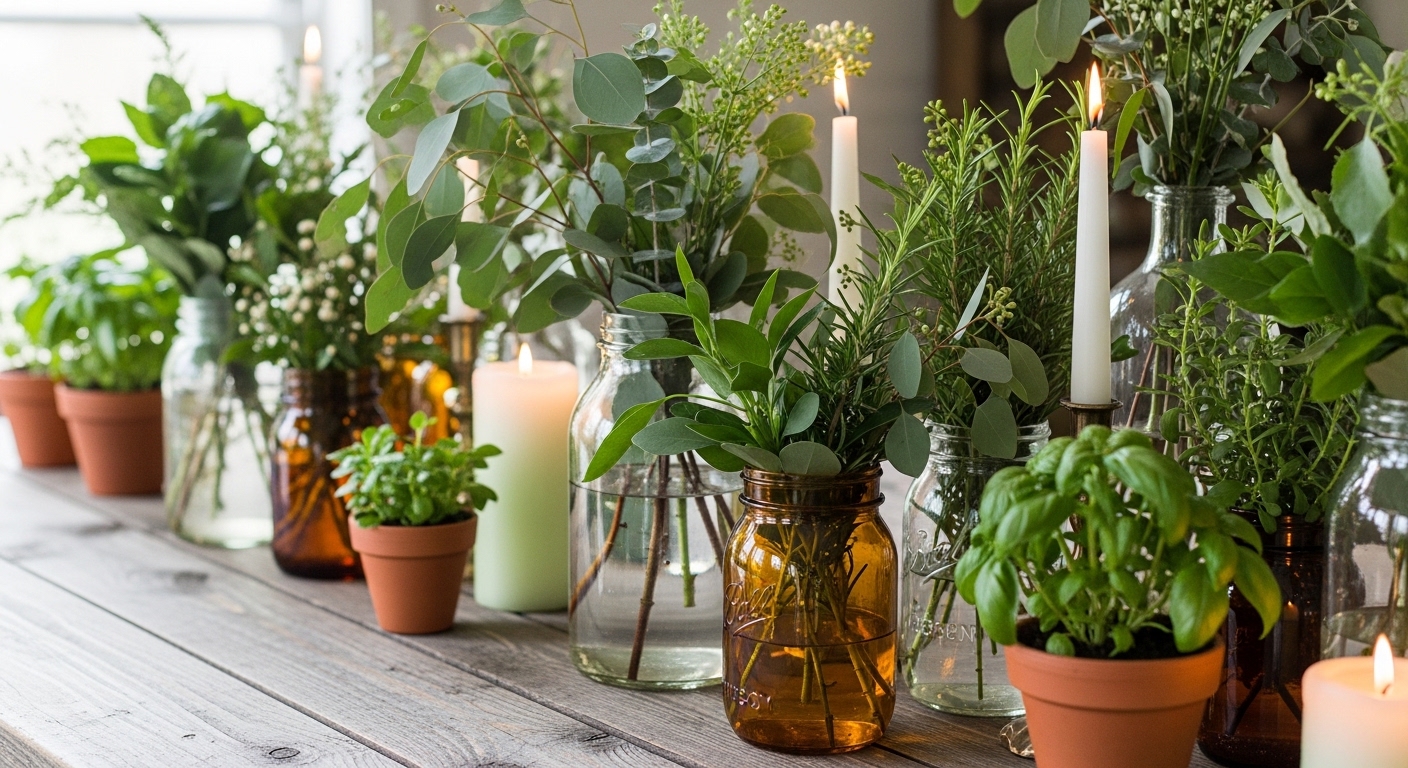
Heart-Shaped Candy Cane Art
Candy canes formed into a heart on a dinner table? Pure romance for Christmas or anniversaries. I tried it for date night in, hot-glued the bases lightly – held up great. Add candles around it for drama. Melts my heart every time.
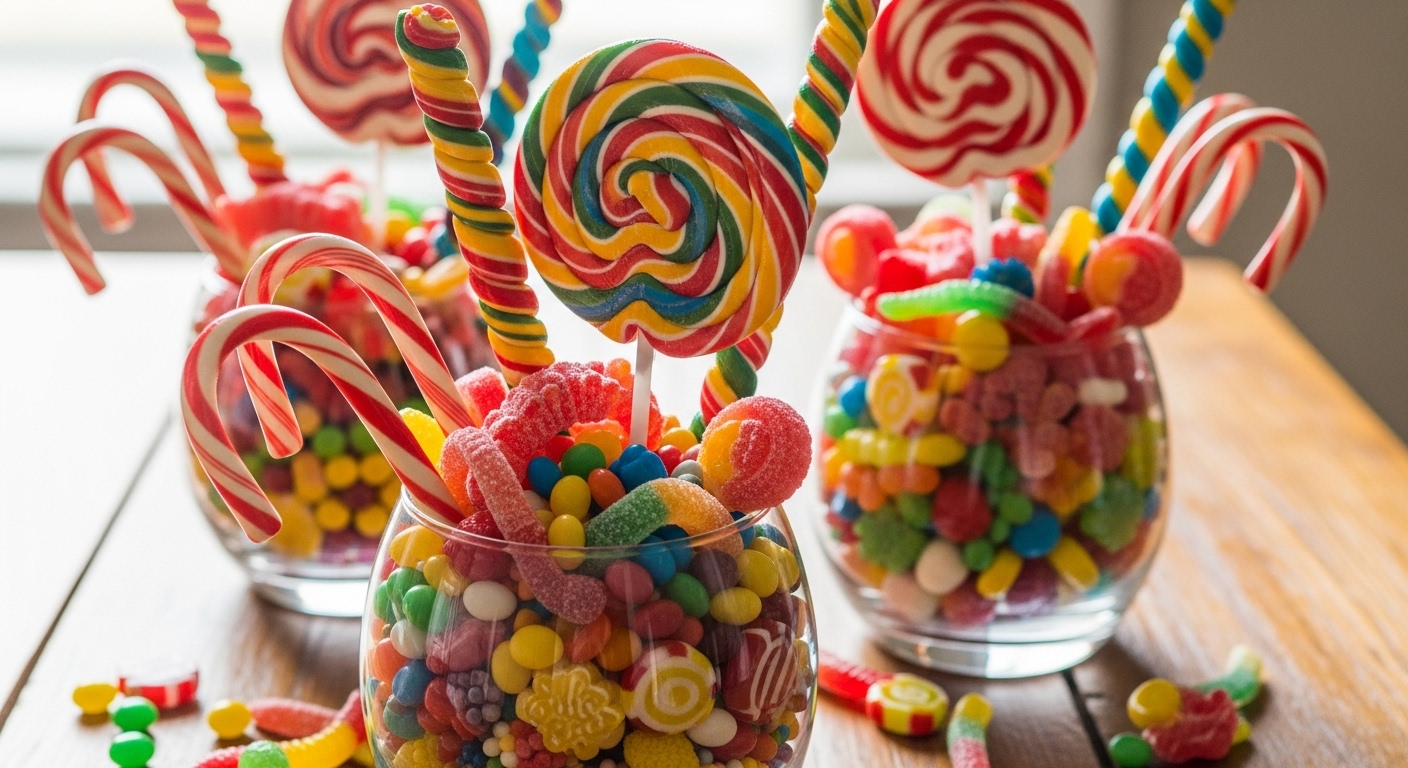
Lollipop Candy Vase Burst
Green vase overflowing with lollipops and candies – kid party perfection. This one saved my niece’s birthday when balloons fell flat. I always mix sizes for texture; it fills out better. You’ll be the fun aunt with this.
Flower and Candy Fusion
Fresh flowers peeking through candy canes in a vase – dining room goals. Made this for Mother’s Day brunch; Mom loved picking candies mid-meal. Balance the flowers so they don’t wilt fast. Timeless and tasty.
Candy Cane Hat Accent
A whimsical candy cane “hat” centerpiece adds quirky charm to counters. I plopped one on my kitchen island during the holidays – photo op central. Stuff it with smaller treats inside for surprise. Silly but effective.
Giant Candy Cane Bowl
One massive glass bowl brimming with candy canes – bold and bountiful. Perfect for buffets; I used it at a neighborhood potluck, vanished in minutes. Layer colors for visual pop. Zero crafting skills needed.
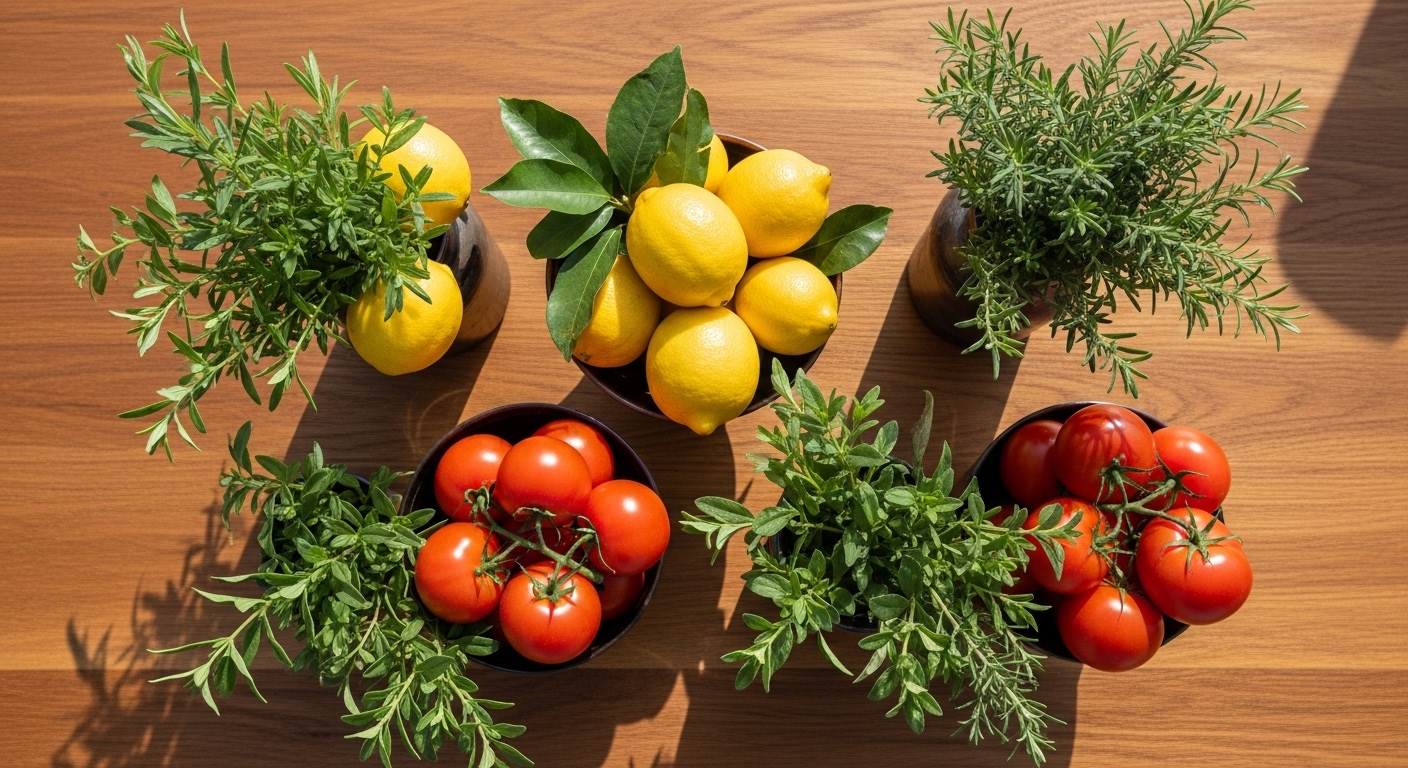
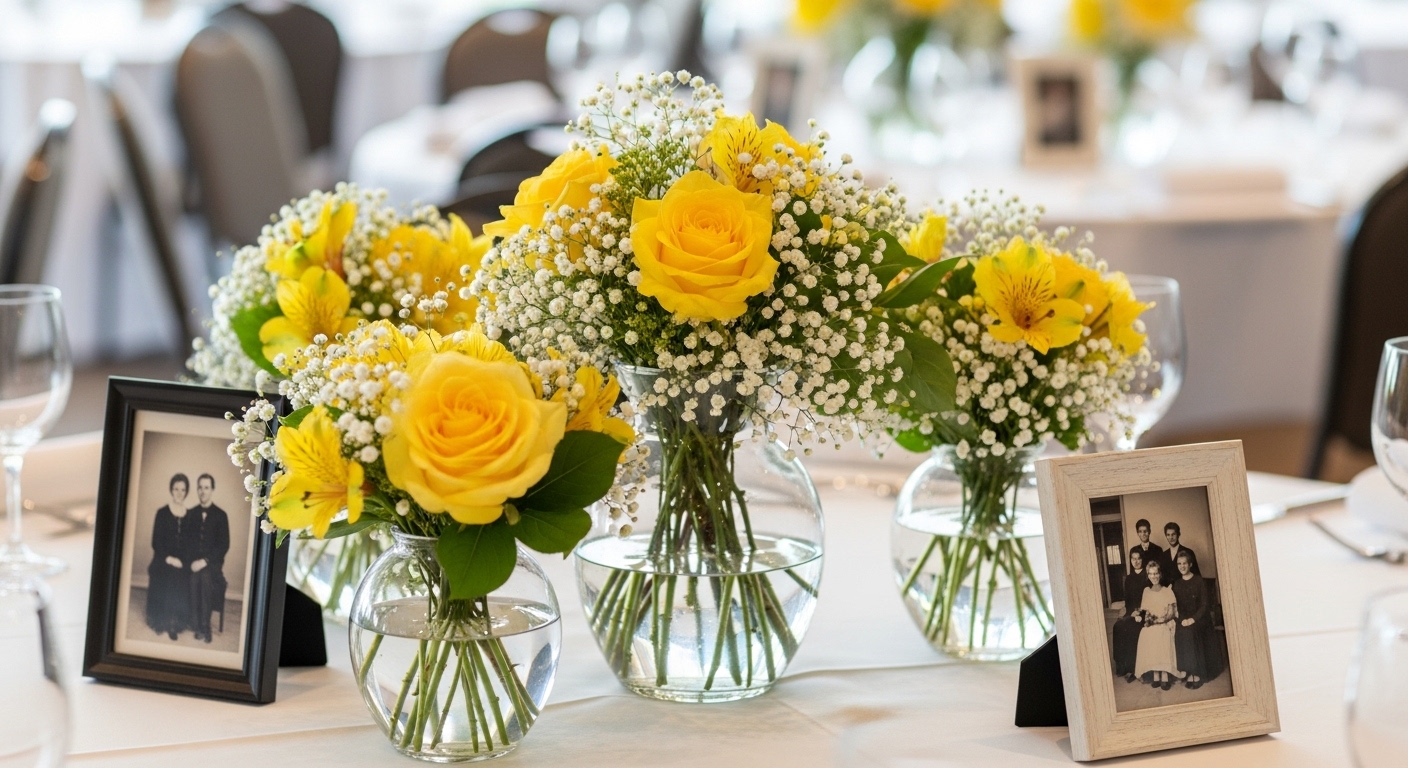
Multiple Vase Flower Candy
Four wooden-table vases mixing flowers and candies – rustic elegance. Recreated for a garden party; the wood tones grounded the sweets perfectly. Vary heights for interest. Feels like a Pinterest pro move.
Party Lantern Candy Wraps
Outdoor tables with lanterns and candy bar wrappers – birthday bash ready. I did this for my own 28th; the wrappers kept bugs away somehow. Hang lanterns low for intimacy. Outdoor sweets just hit different.
How to Actually Make This Work For You
Okay, real talk – start by picking a theme, like holidays or birthdays, then hit the bulk candy aisle at your grocery store because buying in bulk saves so much cash and you won’t run out mid-craft. Layer from heaviest candies at the bottom to lighter ones on top in any vase or bowl, securing with floral foam or crumpled paper if needed so nothing topples when you move it to the table. Play with colors that match your linens or flowers, and always add a ribbon or twine for that polished touch – I learned that the hard way after one sad-looking attempt at a shower. Test it on your table beforehand too, since lighting changes everything, and don’t stress perfection because the eatable part makes it forgiving anyway.
What supplies do I need for DIY candy centerpieces?
Grab clear vases, bowls, or jars, bulk candies like canes or lollipops, ribbons, and optional foam for stability. Dollar stores have most of it cheap. I keep a stash ready for last-minute parties.
Can I make these non-holiday themed?
Totally – swap candy canes for gummy worms, chocolates, or colorful rock candy for birthdays or showers. Matches any vibe. I’ve done summer ones with tropical sweets.
How do I keep candies from melting?
Stick to wrapped hard candies and avoid direct sun or heat. Room temp is best. Pop in fridge between events if it’s humid where you are.
Are these kid-friendly?
Yes, but supervise little ones since glass can break. Use plastic bowls for toddlers. They’re a huge hit at kids’ tables though – double win.