You’ll transform ordinary rooms into cinematic, moody sanctuaries with small, intentional DIY moves—think a single elderberry accent wall, cast-iron ledges, and velvet-lined thrifted boxes. I’ll show quick techniques—distressing, metallic washes, plaster filigree—and simple staging tips to make vignettes feel curated, not cluttered. Start with a pared palette and a plan; the rest is easy to layer, and the best tricks are coming up.
Essential Tools, Paints, and Adhesives for Moody DIY Decor
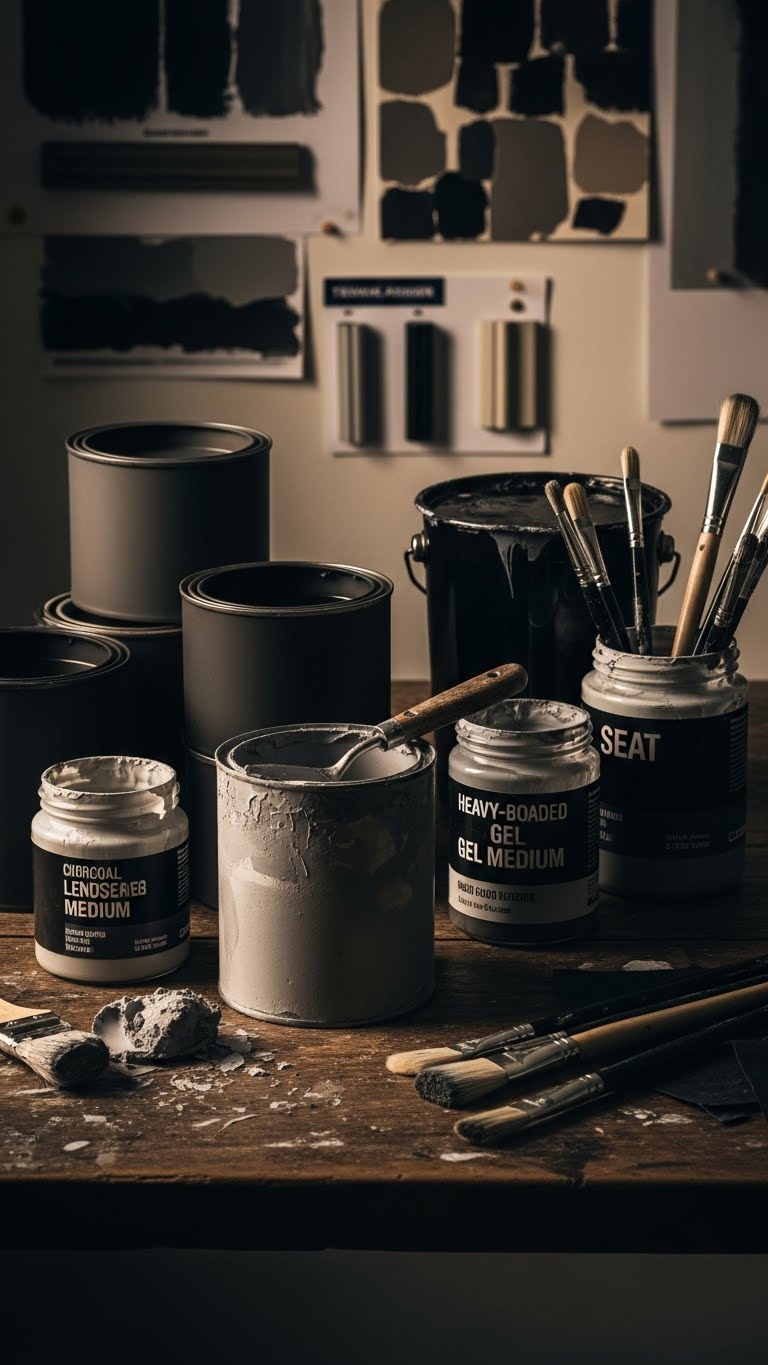
When you’re aiming for moody DIY decor, pick tools and materials that help you dial in deep tones and textured finishes—think matte charcoal paints, satin black spray, velvety plaster, heavy-bodied gel mediums, and brushes that hold sharp edges. You’ll choose mood primers to guarantee color depth and test adhesive compatibility for trims and panels. Work fast, trust your eye, embrace controlled imperfection.
Dark Color Palettes: Cast Iron, Pine Shadow, Elderberry
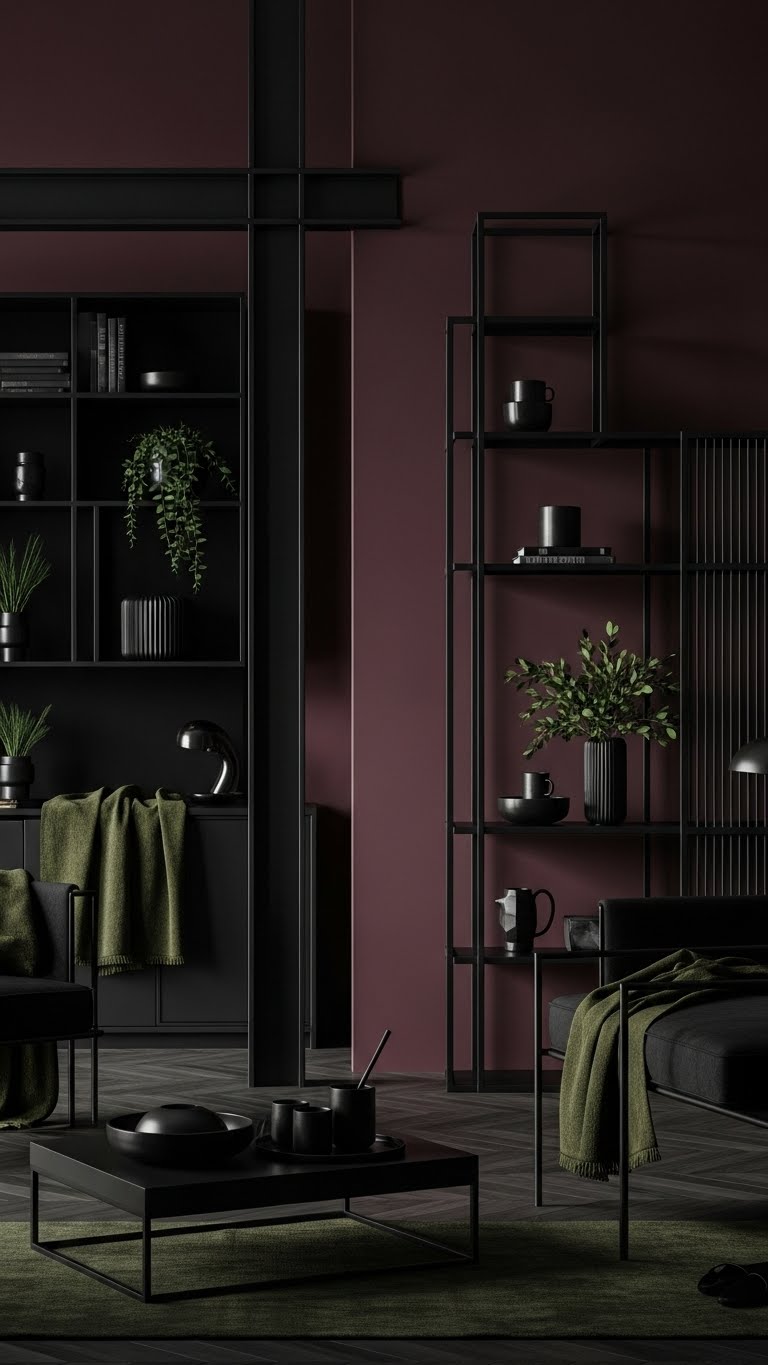
Although deep palettes can feel heavy, Cast Iron, Pine Shadow, and Elderberry give you contrast, warmth, and drama without overwhelming a space. You’ll layer cast iron anchors, moss glow accents, and elderberry focal walls to craft moody silhouettes. Use twilight sheen highlights sparingly to catch light, freeing rooms from flatness while keeping designs bold, modern, and effortlessly expressive.
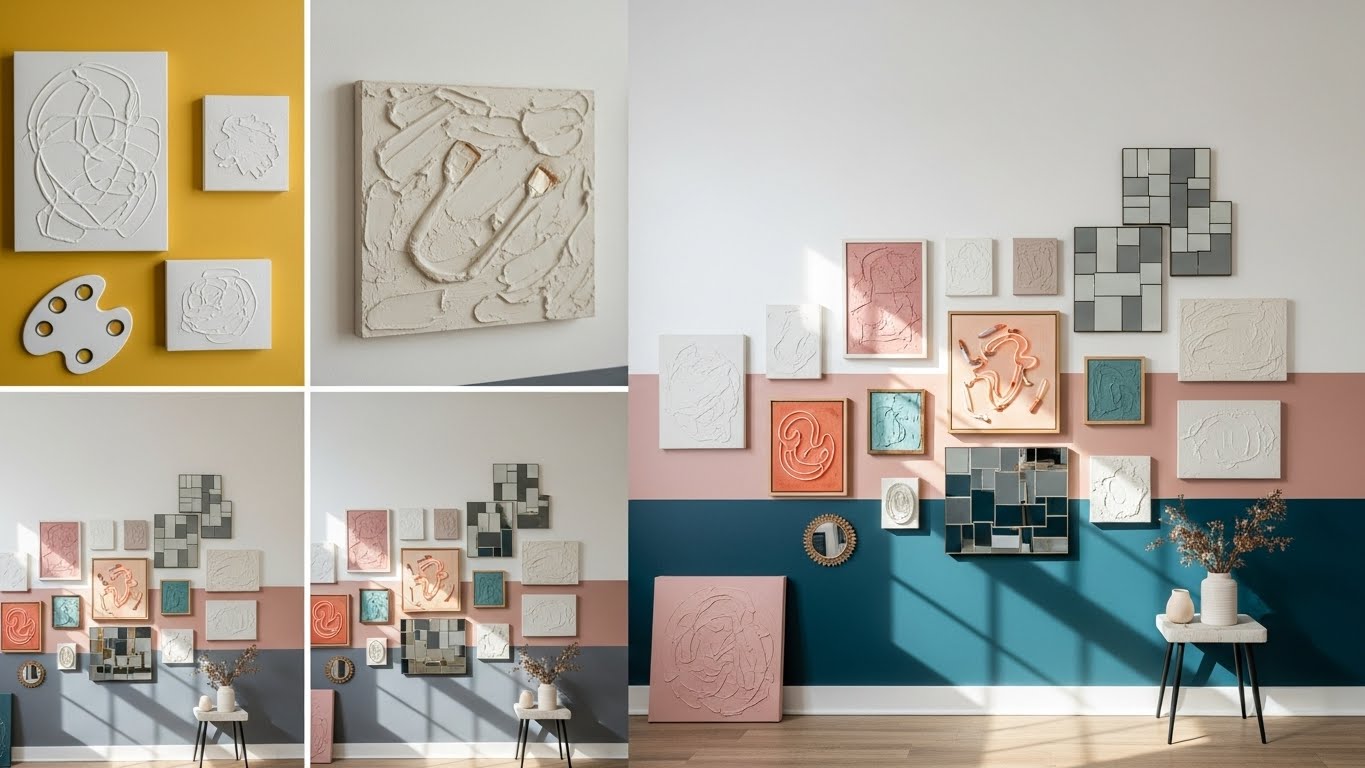
Quick Techniques: Spray, Distress, Metallic Washes
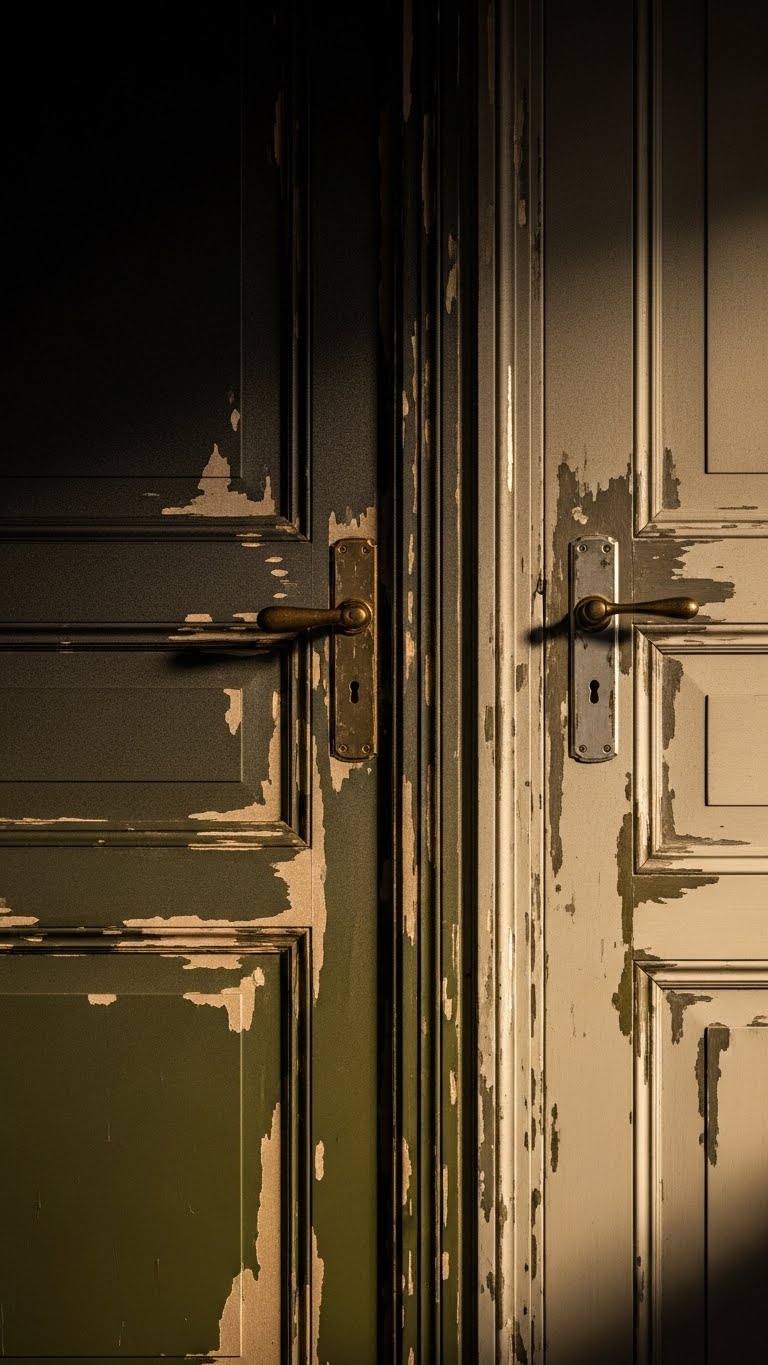
Spray on a base coat, then layer distressing and a thin metallic wash to get that moody, lived-in look fast. You’ll use spray gradients for depth, sand edges for authenticity, and apply metallic stippling sparingly to catch light.
Move freely, experiment with opacity, and let imperfections read intentional. Quick, bold, and effortless—this approach gives rooms instant character without overworking your vibe.
Seamless Mold Placement: Adhesive Tricks for Crests
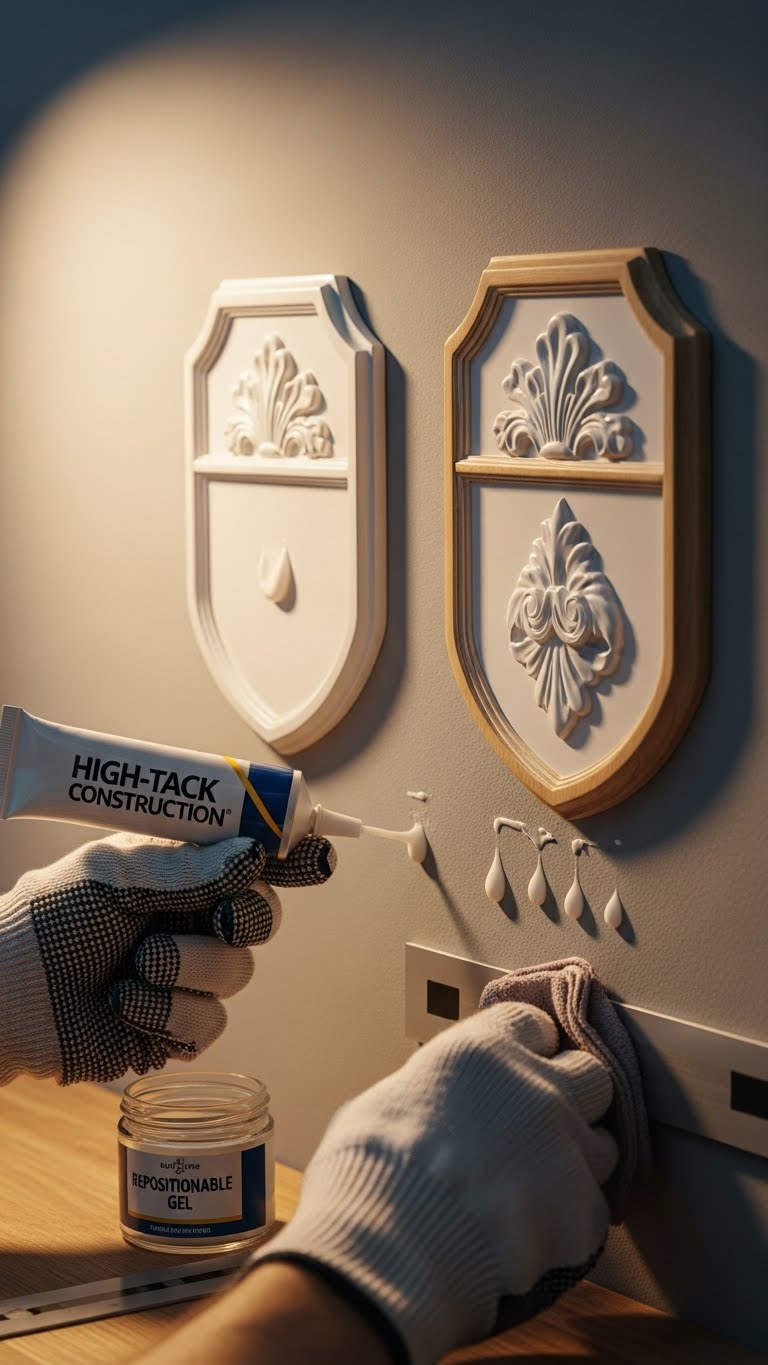
If you want crisp, invisible crests, start with the right adhesive and a light hand: choose a high-tack construction adhesive for permanent bonds or a repositionable gel for fiddly layouts, apply thin beads or dabs along the crest’s back, and press firmly while wiping any squeeze-out with a damp cloth. Use hidden adhesive spots, check crest alignment with a straight edge, and finish seamless.
Dark Painted Riser With Gothic Mystery Finish
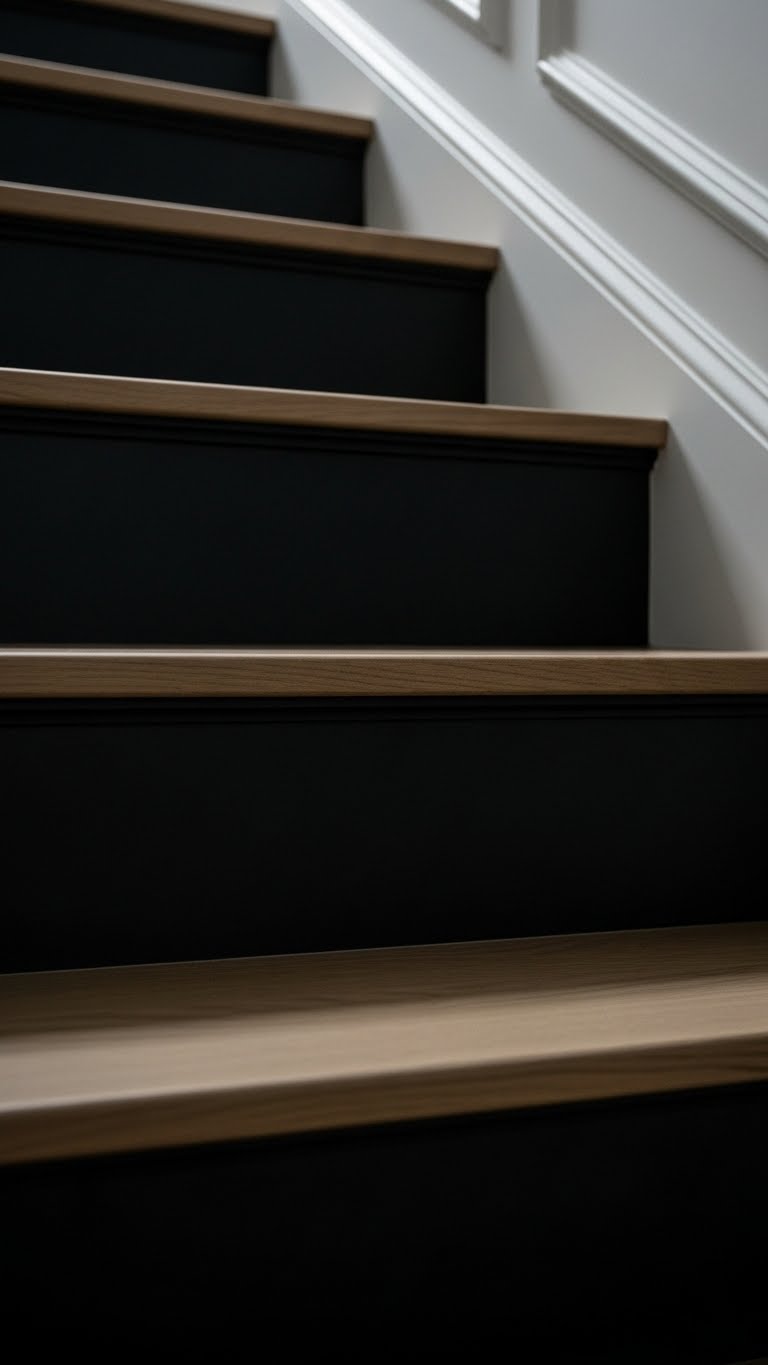
When you paint stair risers in a deep, matte black or inked charcoal, you instantly anchor the space with a Gothic mystery that feels modern not fussy; go for a flat or eggshell finish to absorb light and emphasize contrast with lighter treads and crisp trim.
You’ll pair gothic paneling accents and shadowed treads to create drama, letting texture, line, and negative space do the talking.
Metallic Crest Plaque Using IOD Molds and Tight Bond
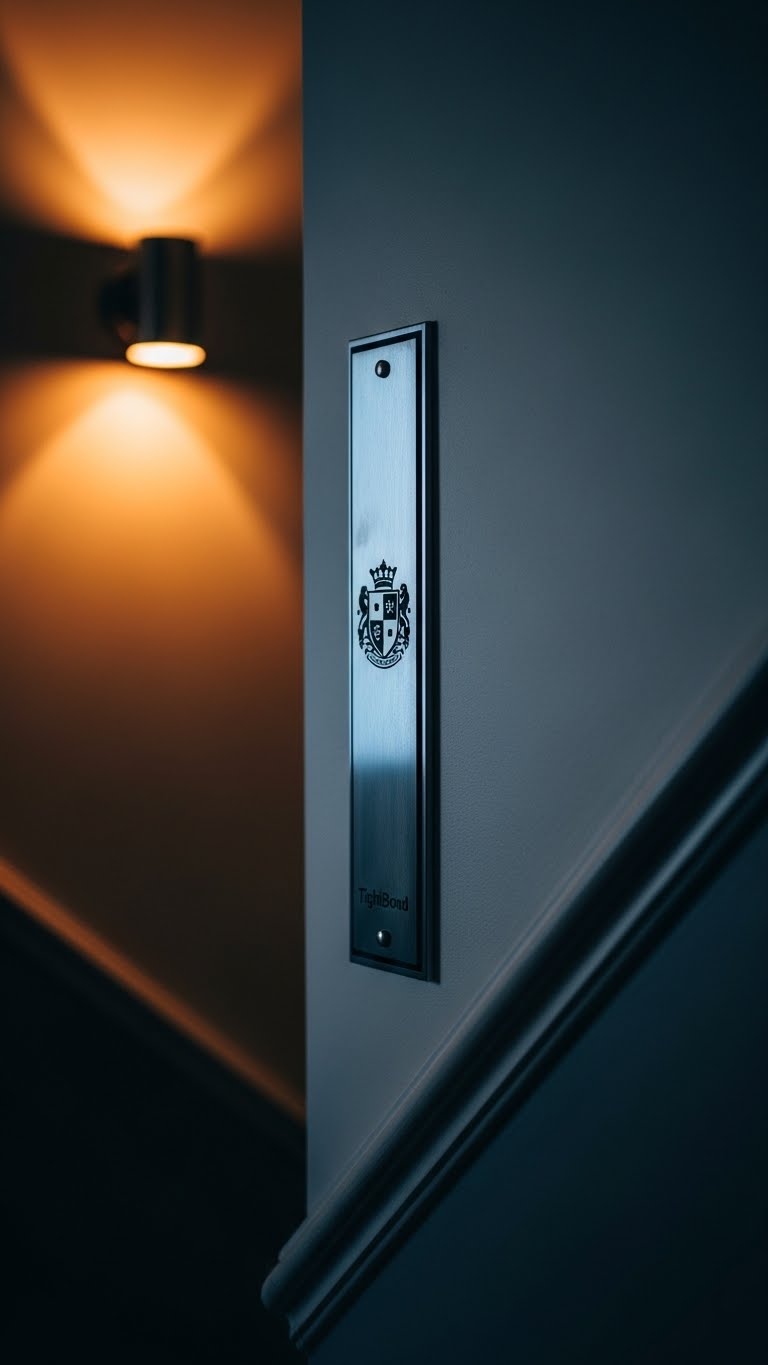
Because a metallic crest plaque anchors a moody vignette, you’ll start by choosing an IOD mold that balances ornament and scale—think a slim shield or heraldic motif that won’t overwhelm a narrow stair landing. You’ll cast crisp detail, sand lightly, then secure the piece with TightBond adhesion. Patina selectively, hang asymmetrically, and let the piece read luxe, bold, and effortlessly free.
Layered Fusion Mineral Metallics for Antique Metallics
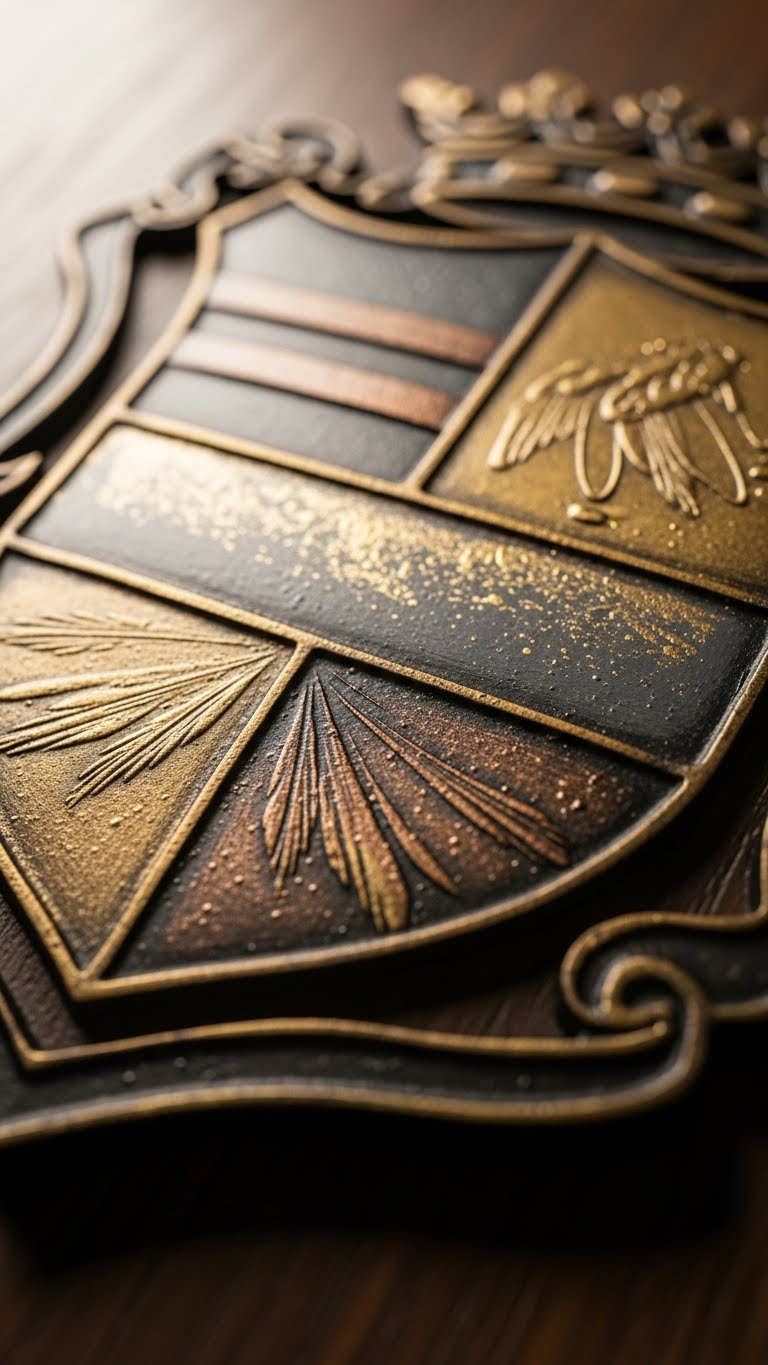
After you’ve nailed the crest’s form and placement, move into layered fusion mineral metallics to give that plaque an authentic aged depth. You’ll blend matte base tones with metallic glazes, using targeted mineral layering and feathered strokes to reveal antique shimmer.
Work freely, build contrast, then tone down highlights for a lived-in finish that feels deliberate, bold, and effortlessly vintage.
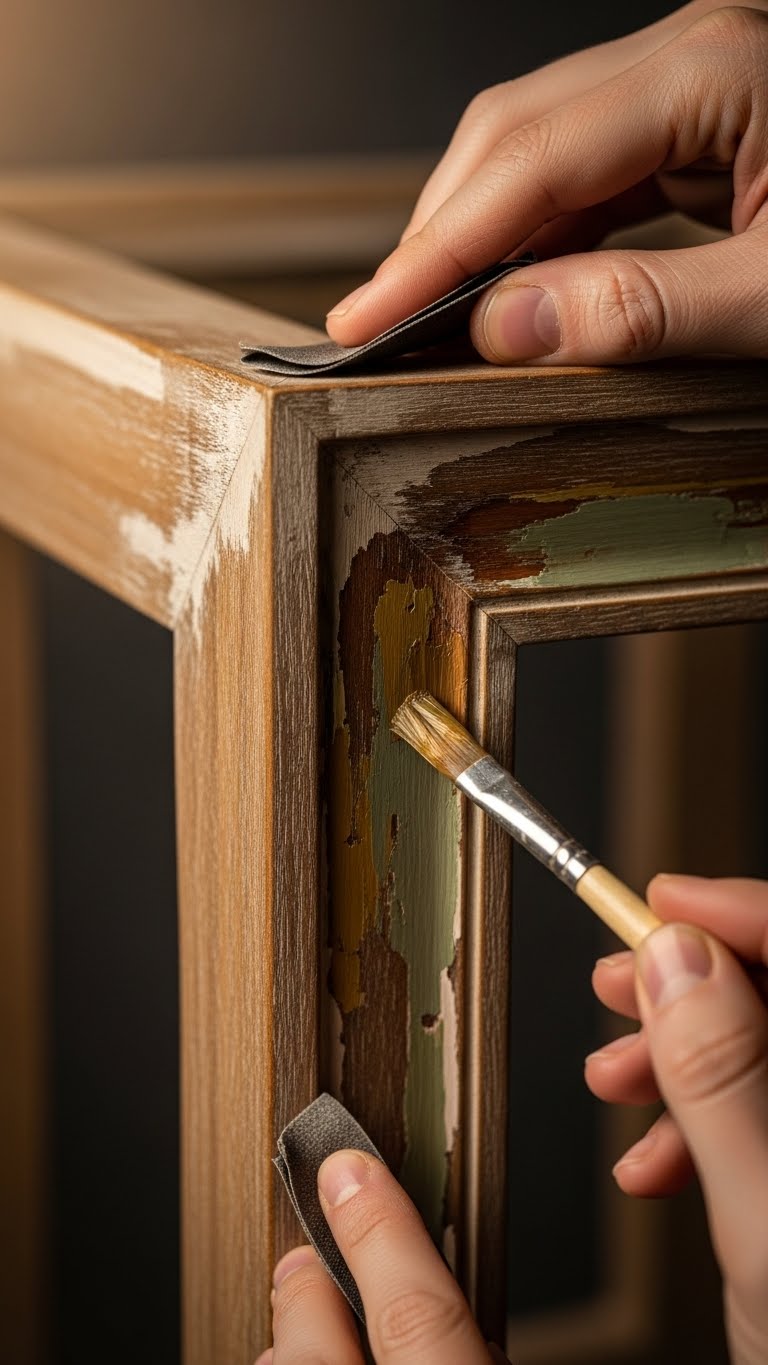
Cast-Iron Look Frame With Textured Adhesive Feathering
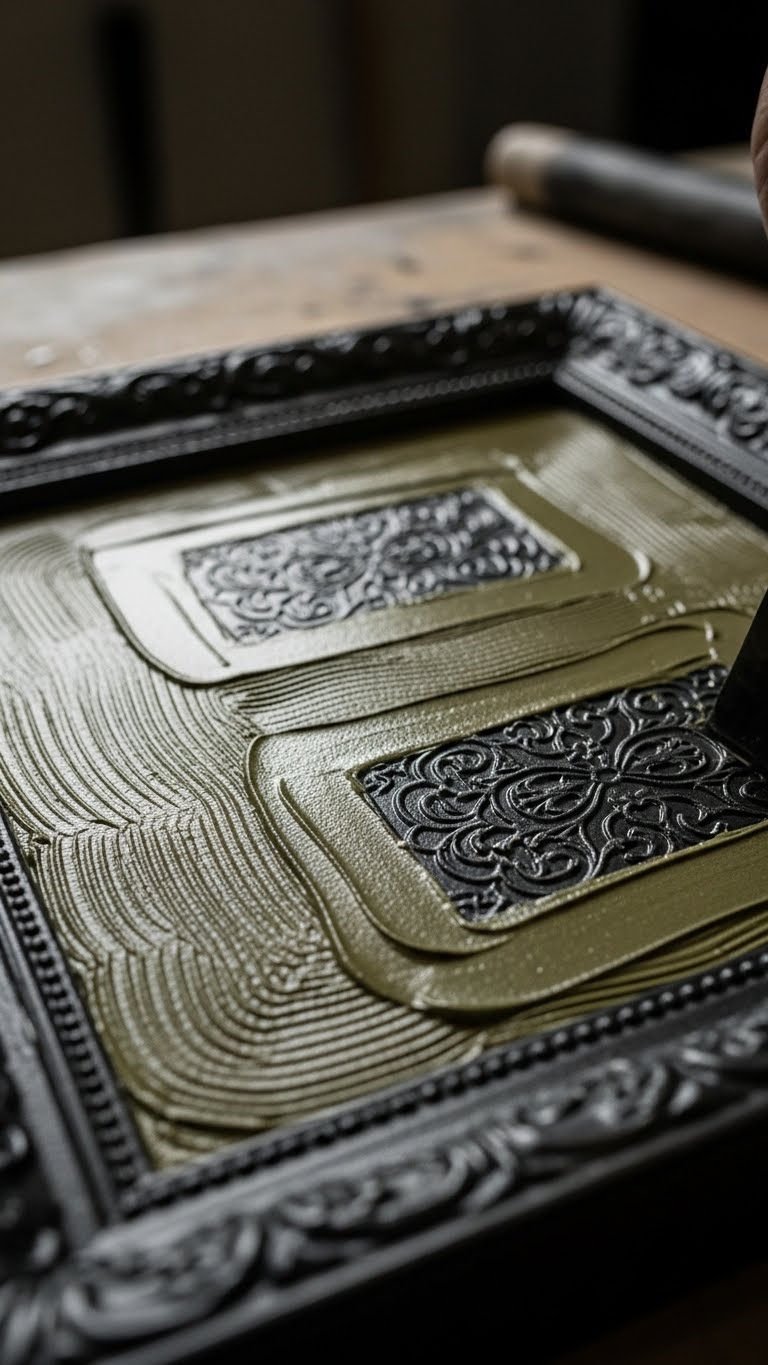
Give your frame a museum-worthy cast-iron presence by layering a textured adhesive base and feathering it to mimic natural patina and surface irregularities. You’ll press antique filigree stencils into the paste, then use matte feathering strokes to soften highlights.
Work freely, let flaws read intentional, and seal with a low-sheen varnish for durable, moody charm that feels both bold and liberated.
Thrifted Wooden Box Revamp With Chalk Paint and Gold Distress
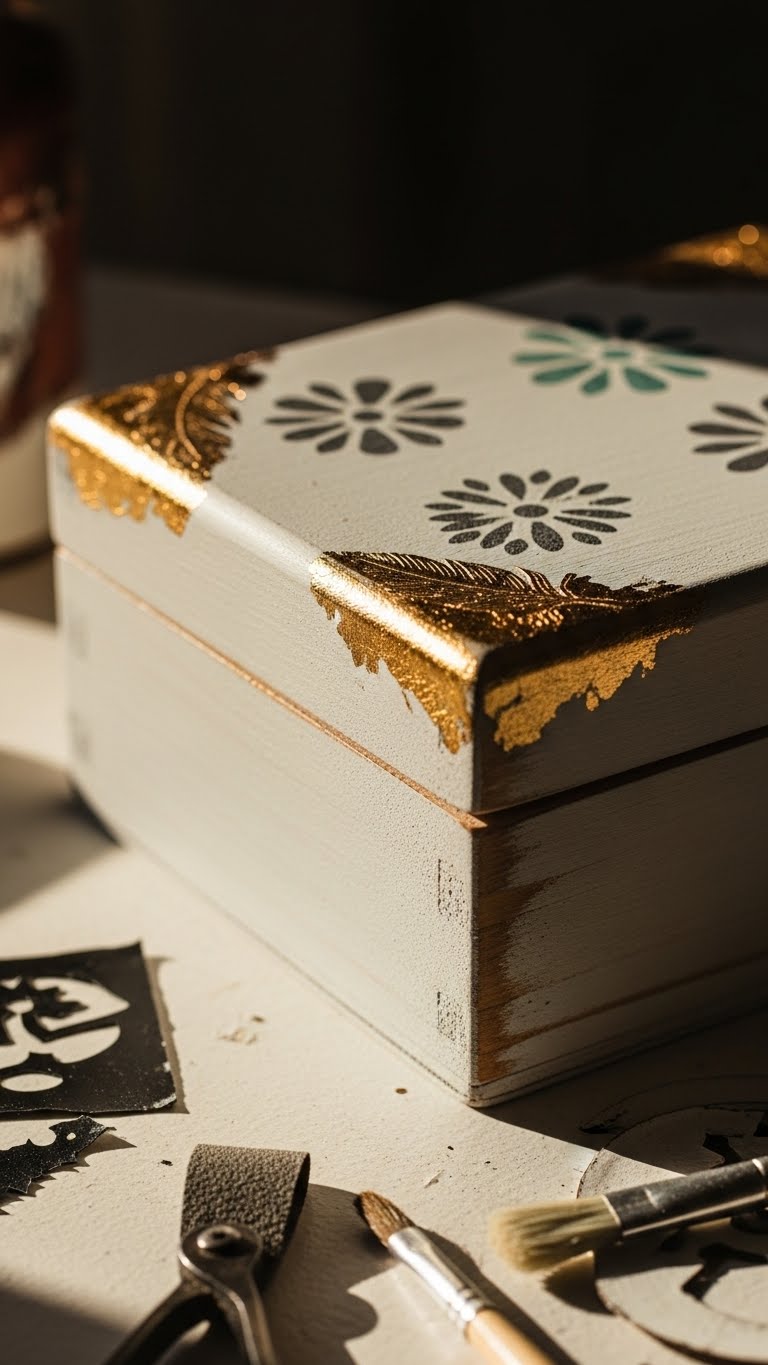
Pick up a thrifted wooden box and turn it into a chic, storied keepsake with a quick coat of chalk paint and strategic gold distressing. You’ll explore patina experiments to age edges, feather metallics where sunlight would hit, and add stencil overlays for moodier motifs. Sand selectively, seal matte, then let the piece roam your space—bold, free, and quietly dramatic.
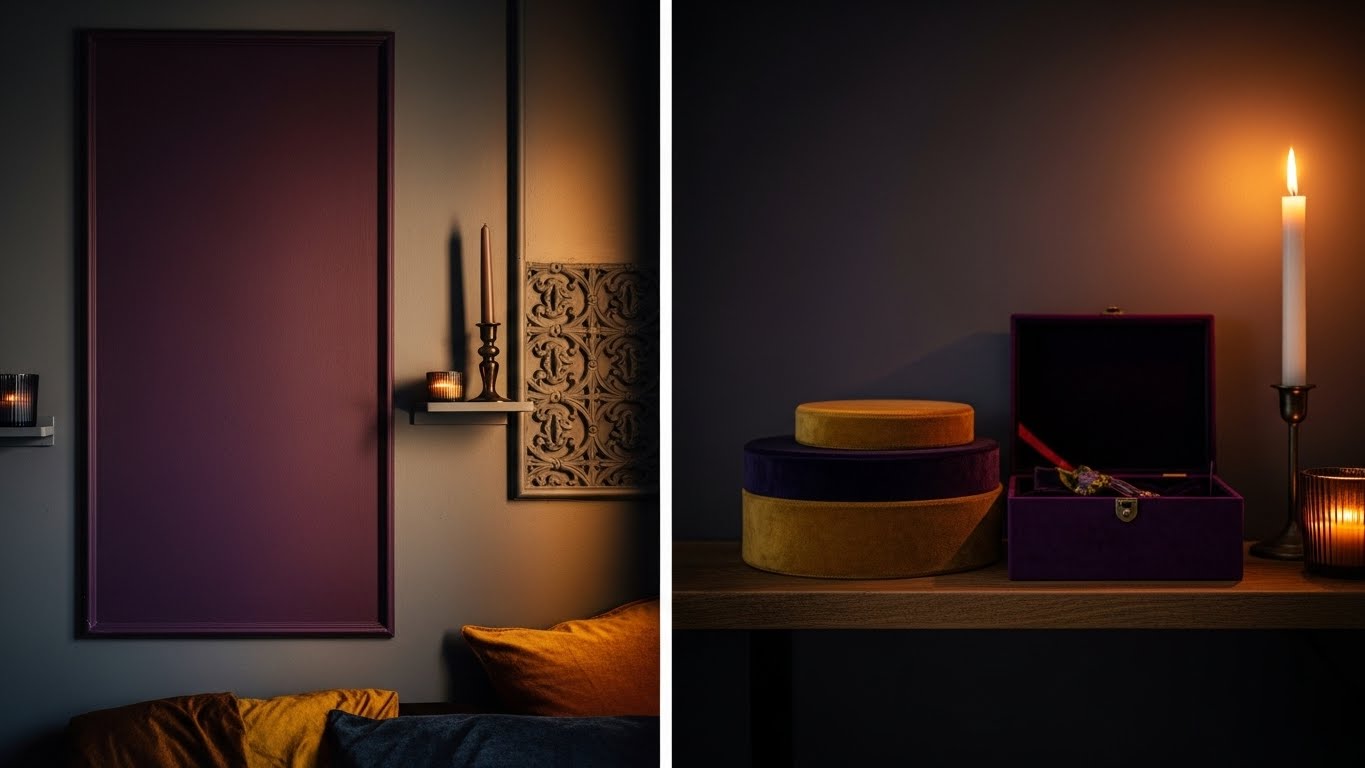
Velvet-Lined Boxes for Luxe Gothic Storage
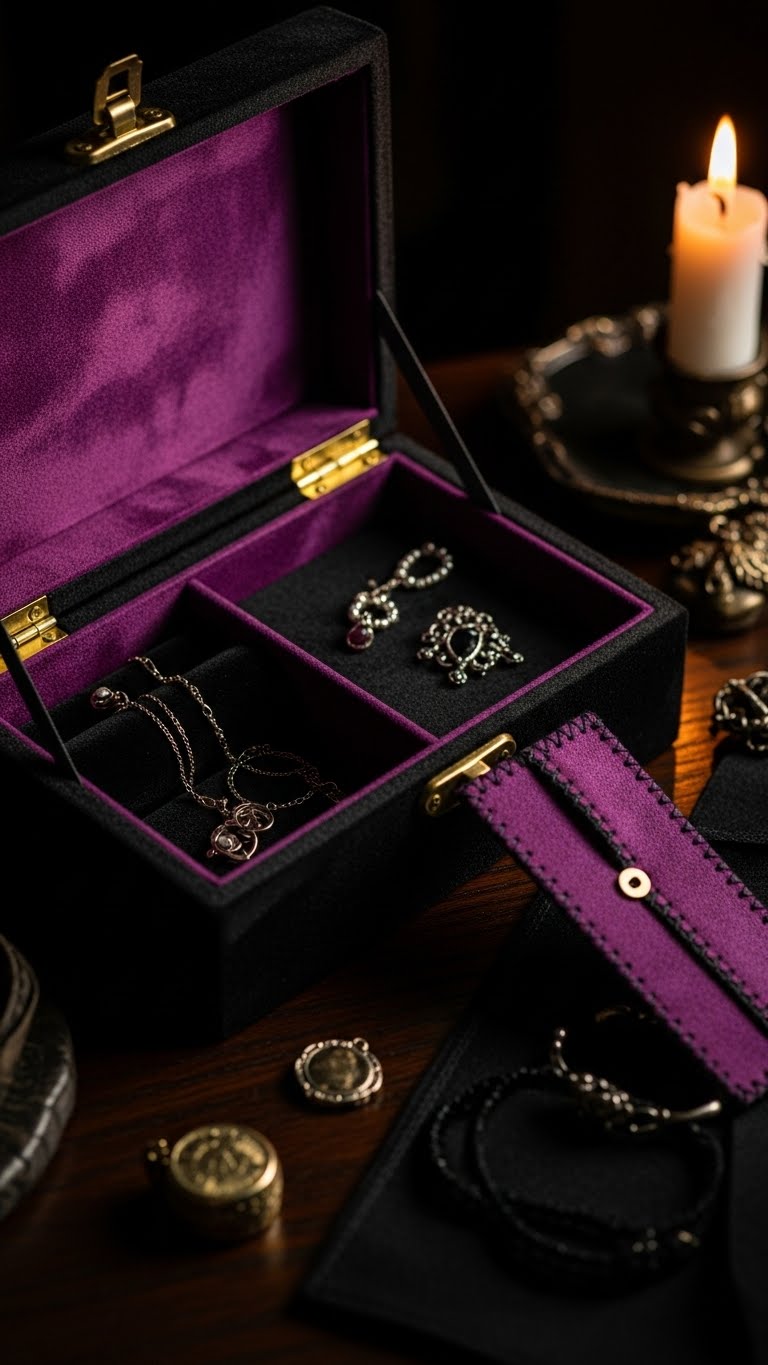
Where the chalk-painted box leaned into sunlit nostalgia, velvet-lined cases bring a darker, more tactile story—perfect for storing jewelry, candles, or little curiosities with a Gothic edge.
You’ll choose antique velvet in deep plum or black, stitch slim secret compartments, and finish with brass hardware. The result feels curated, rebellious, and utterly free — a compact shrine for mood and memory.
Upcycled Iron Birdcage Display With Elevated Feet
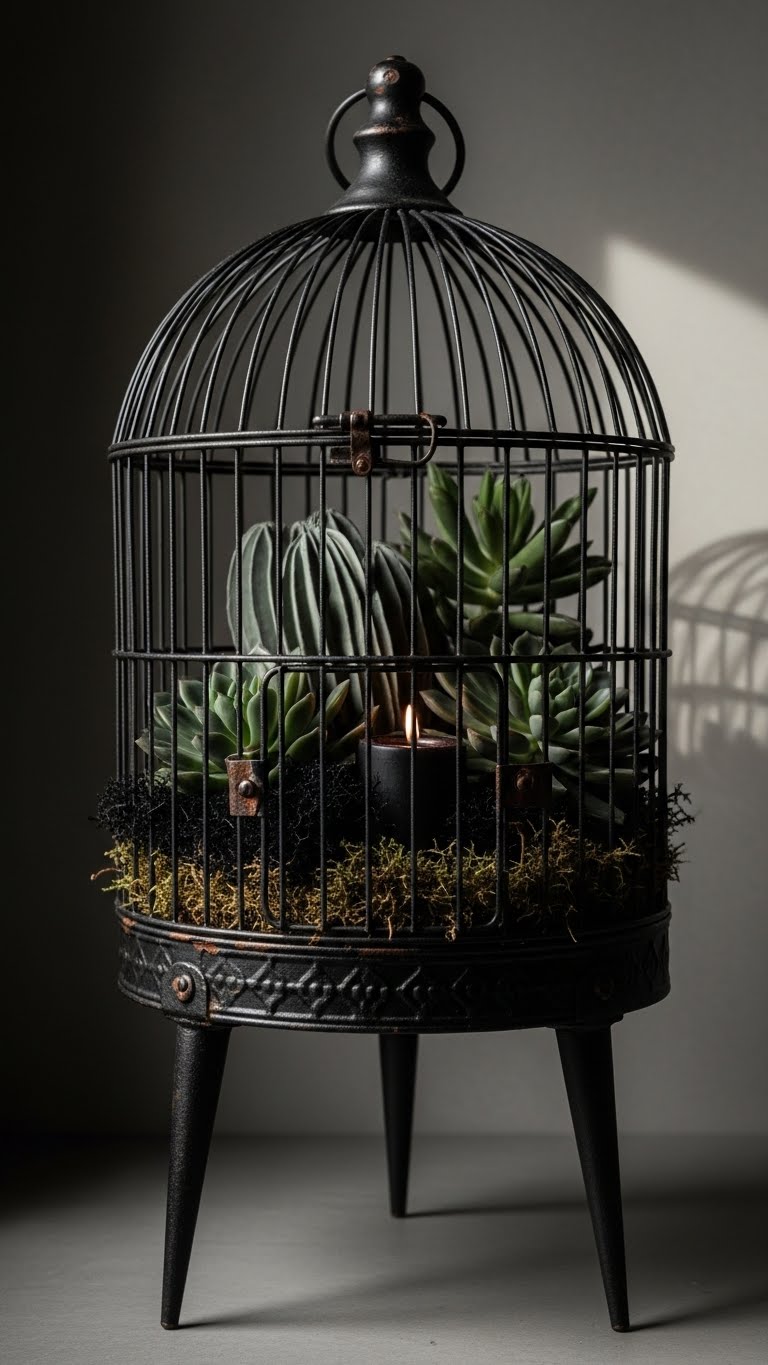
Upcycle an antique iron birdcage into a brooding centerpiece by adding tapered feet and a matte-black patina that lifts it physically and visually off the surface. You’ll strip flaking paint, preserve rusted hardware for edge, and attach slender feet that feel intentional. Fill it as a birdcage terrarium with dark moss, sculptural succulents, and a single candle for a liberated, moody vignette.
Four-Pack Foot Risers for Elevated Table Displays
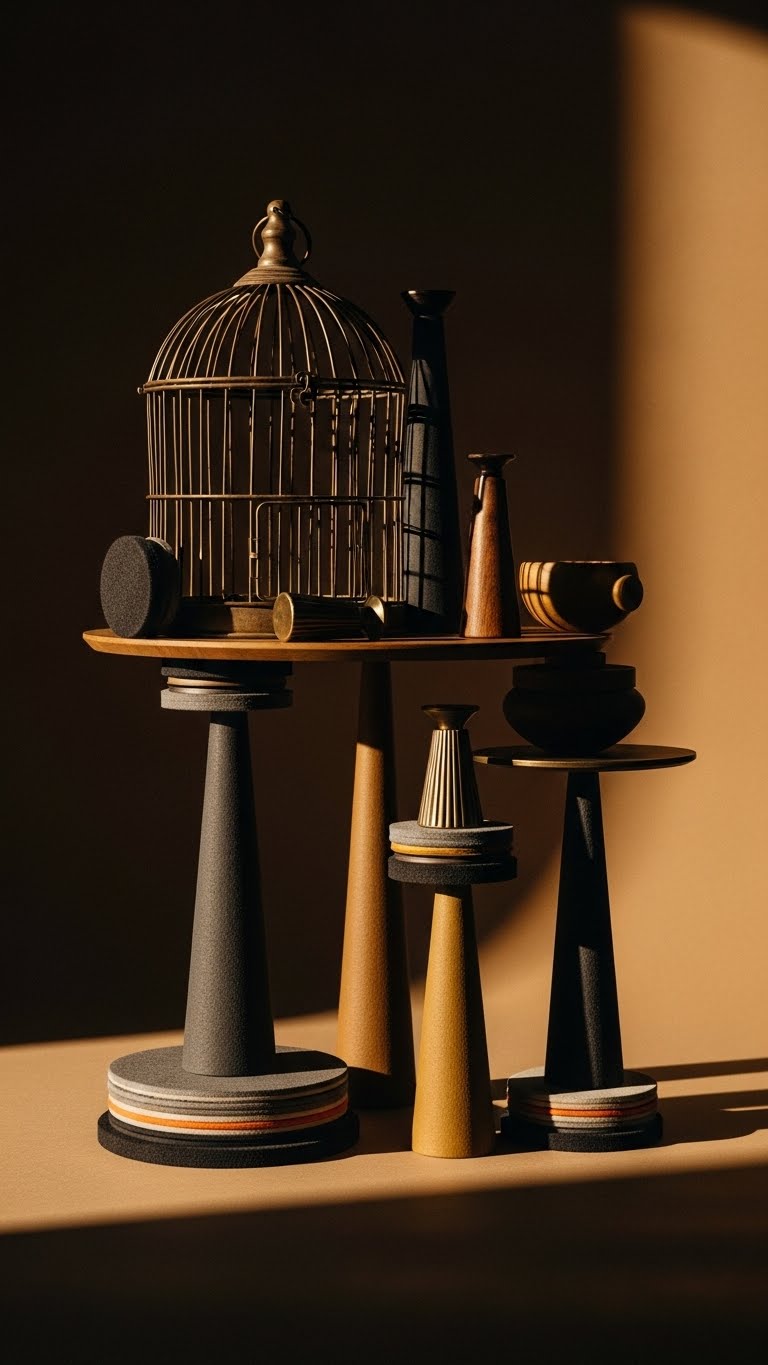
After you’ve lifted a birdcage onto tapered feet, think about how a simple set of four foot risers can elevate other tabletop pieces with the same moody, sculptural intent.
You’ll love the adjustable height and stackable design for versatile silhouettes. Add felt pads for surface protection and decorative caps for personality. They free your decor to feel intentional, bold, and unfettered.
Moody Cameo Jars With Hot-Glued Buttons
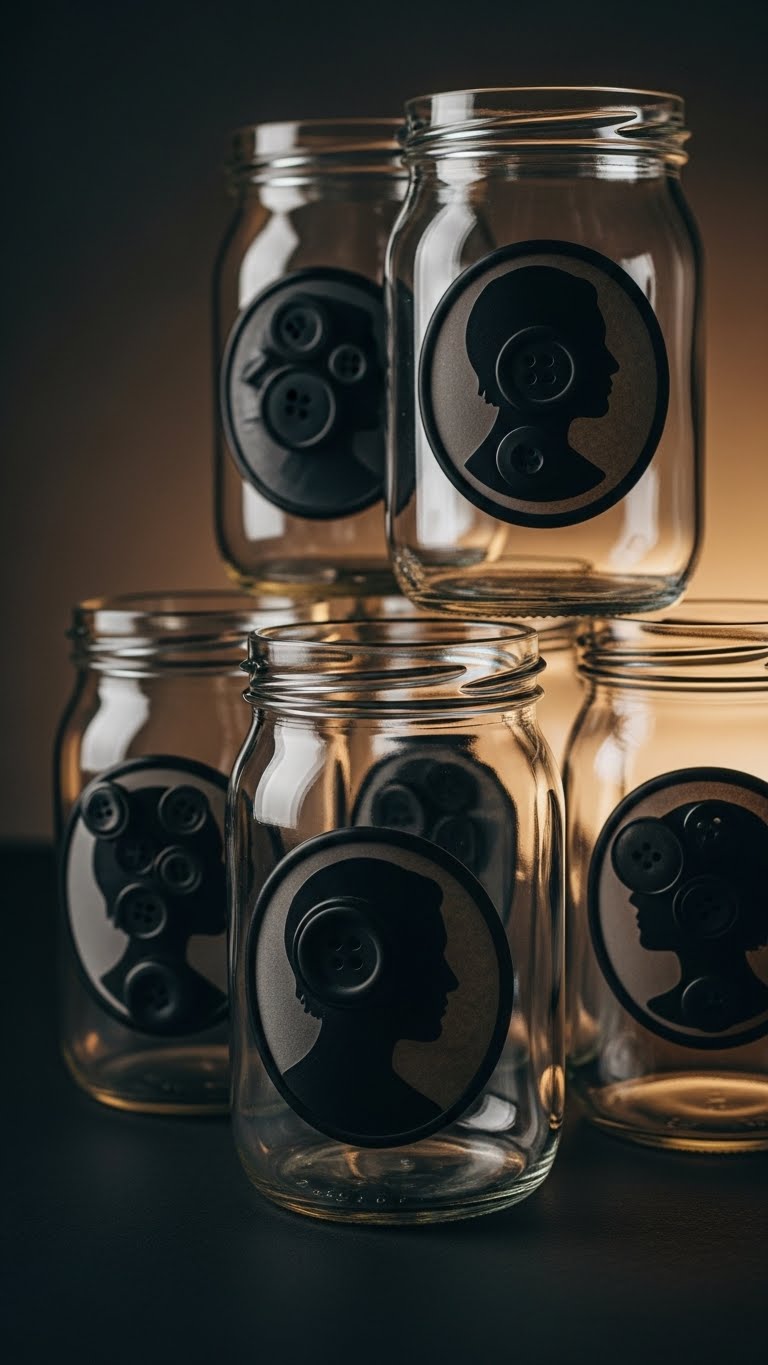
Give plain jars a quietly dramatic makeover by hot-gluing mismatched buttons into cameo-style medallions—you’re after shadowed silhouettes and tactile contrast, not cottage-core frills. Arrange dark buttons for profile shapes, seal with matte varnish, then group jars as glowing clusters. You’ll create moody vignette pieces that read like miniature button chandeliers or wearable cameo charms, bold, minimal, and unapologetically free.
Elderberry-Stained Nightstand: Step-By-Step Makeover
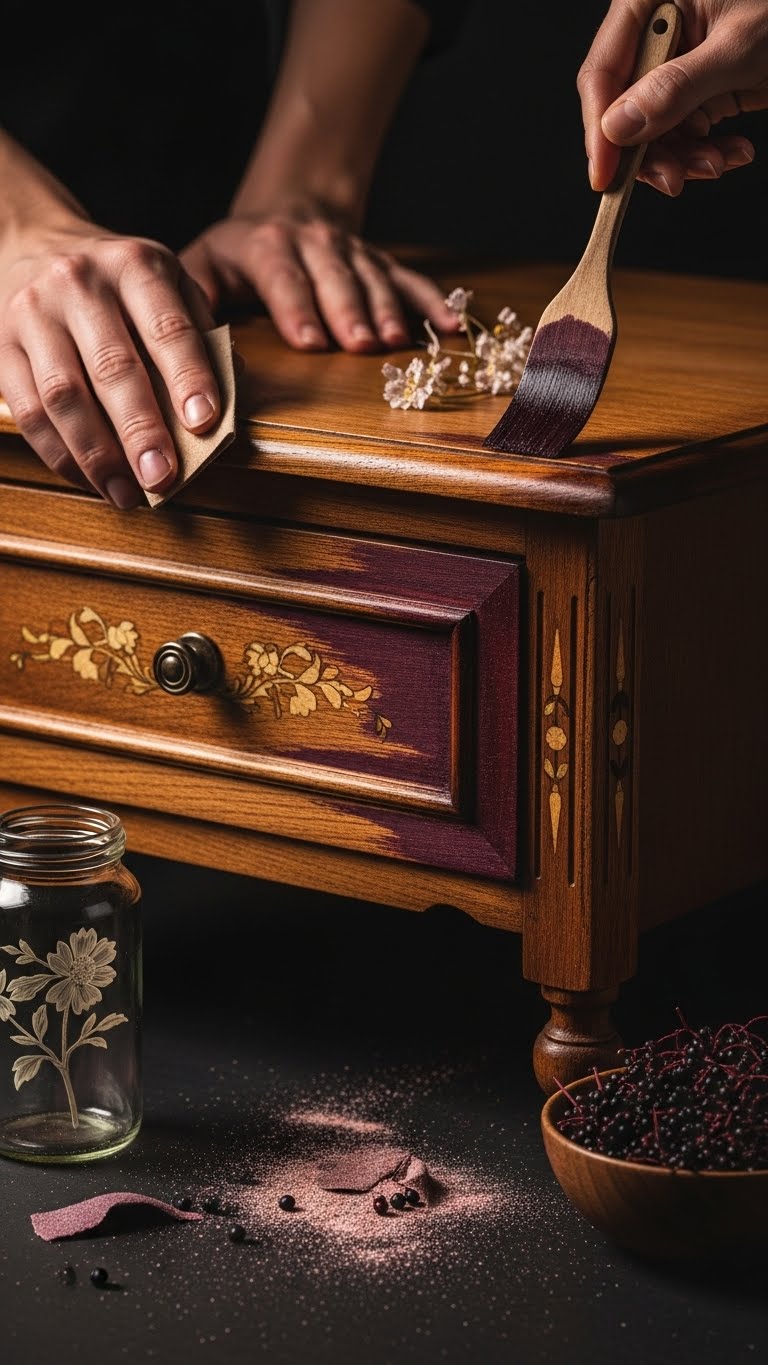
Those moody button cameos set the tone for a nightstand makeover that’s equally tactile but darker and organic: you’re staining wood with elderberry juice to achieve an inky, wine-toned finish that reads like shadow and depth rather than a simple wash.
Sand, apply elderberry stain, seal with a thin antique glaze, preserve any floral inlay, and let the piece breathe — bold, free, tactile.
Pine Shadow Bookshelf Refresh With Subtle Gold Highlights
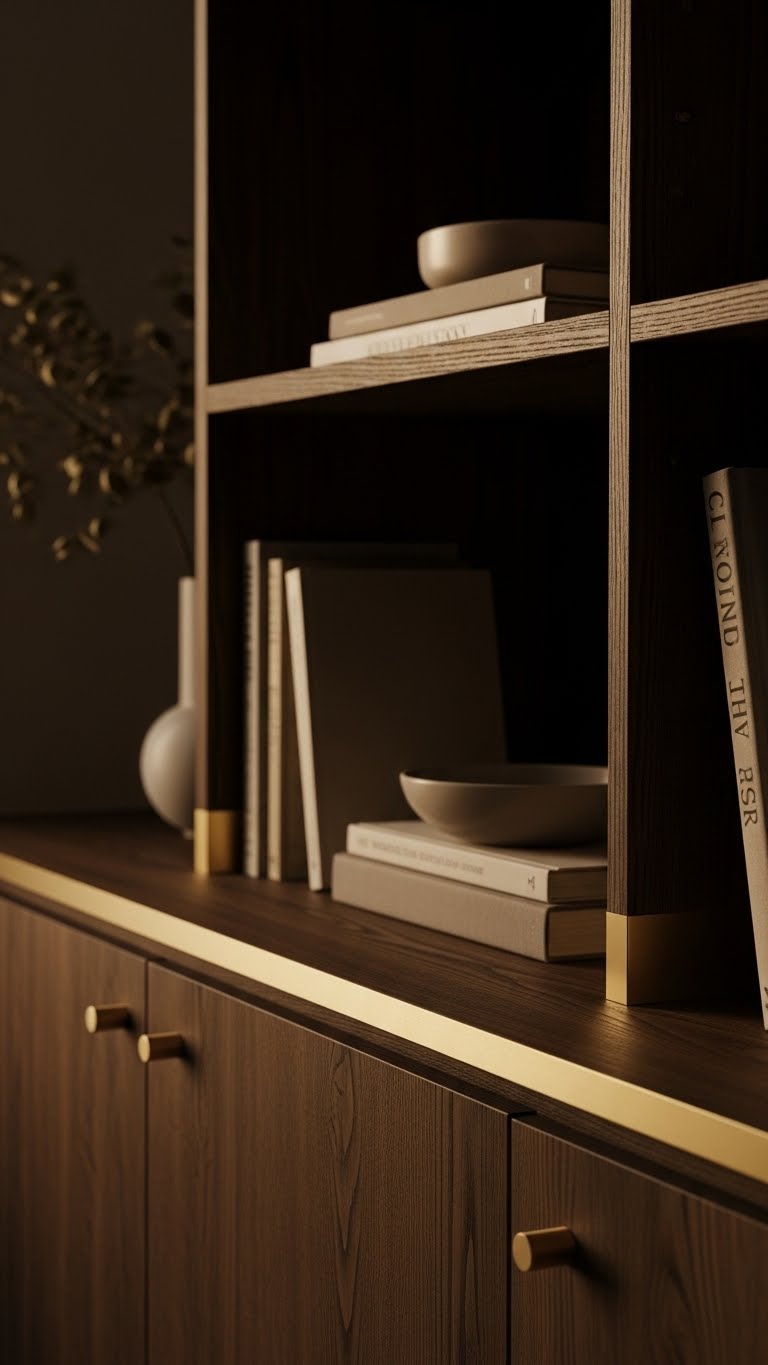
Reframe your pine bookshelf into a moody, tactile statement by darkening the grain with a thin shadow wash and tipping select edges in soft gold—think quiet luxury, not glitter. You’ll coax a pine patina that reads aged, apply a translucent shadow glaze, then finish with brushed matte hardware. Arrange varied objects, leave negative space, and let the shelf breathe for liberated, cinematic impact.
Black-Sprayed Décor Resets for Instant Drama
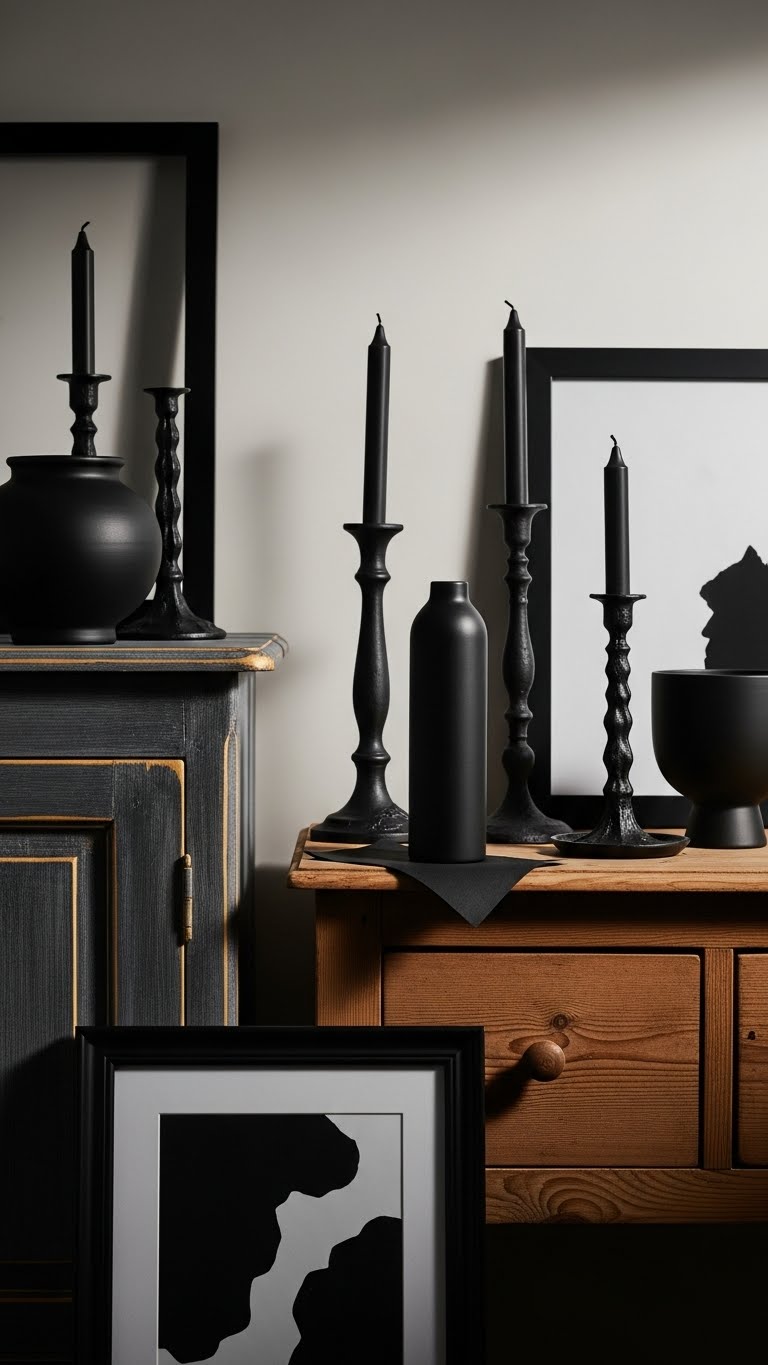
After you’ve aged pine with a shadow wash and soft gold edges, reach for matte black spray to shift the mood instantly—one coat will quiet a piece, two will sculpt it into a silhouette. You’ll spray frames, candlesticks, and found metal, adding matte black accents that anchor a room. Use satin sheen contrasts sparingly to catch light and keep the look liberated, bold, and refined.
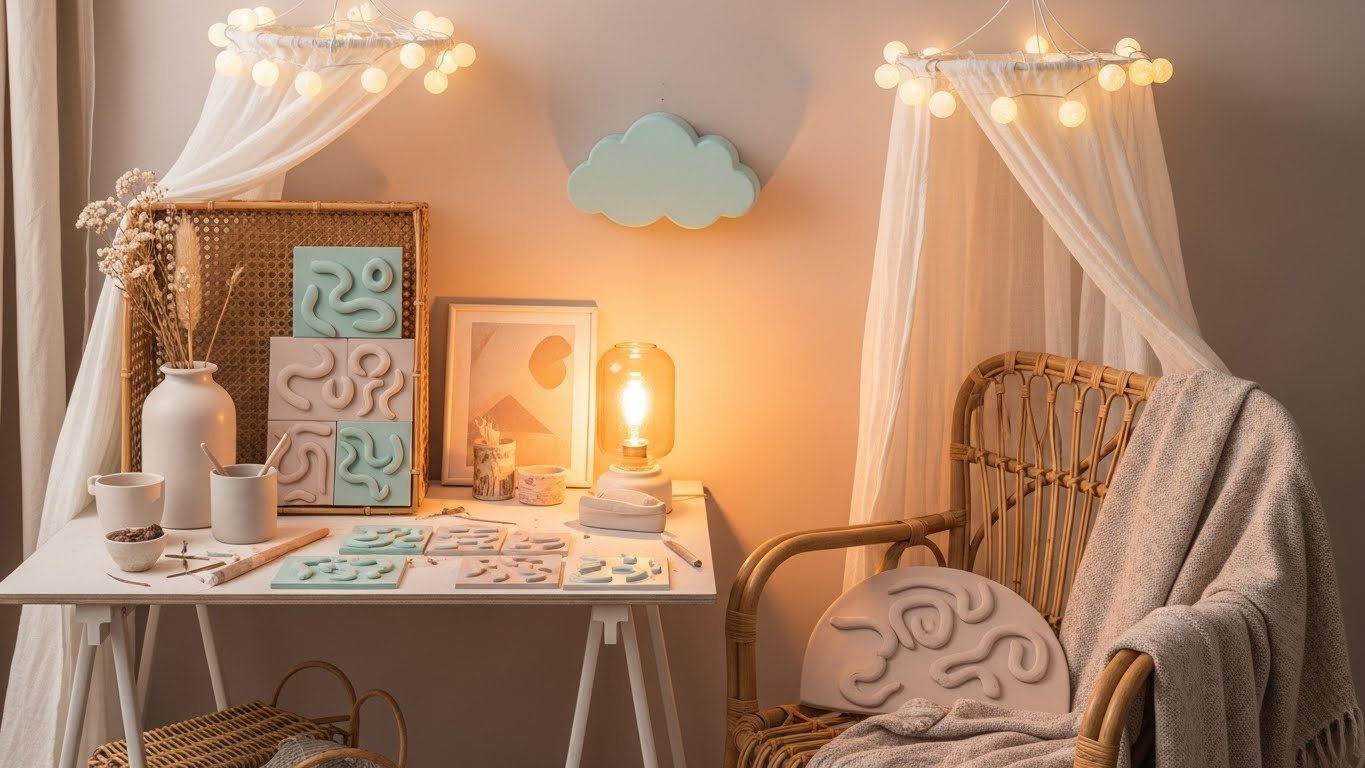
Distressed Paper and Tiny Wood Vignette Ideas
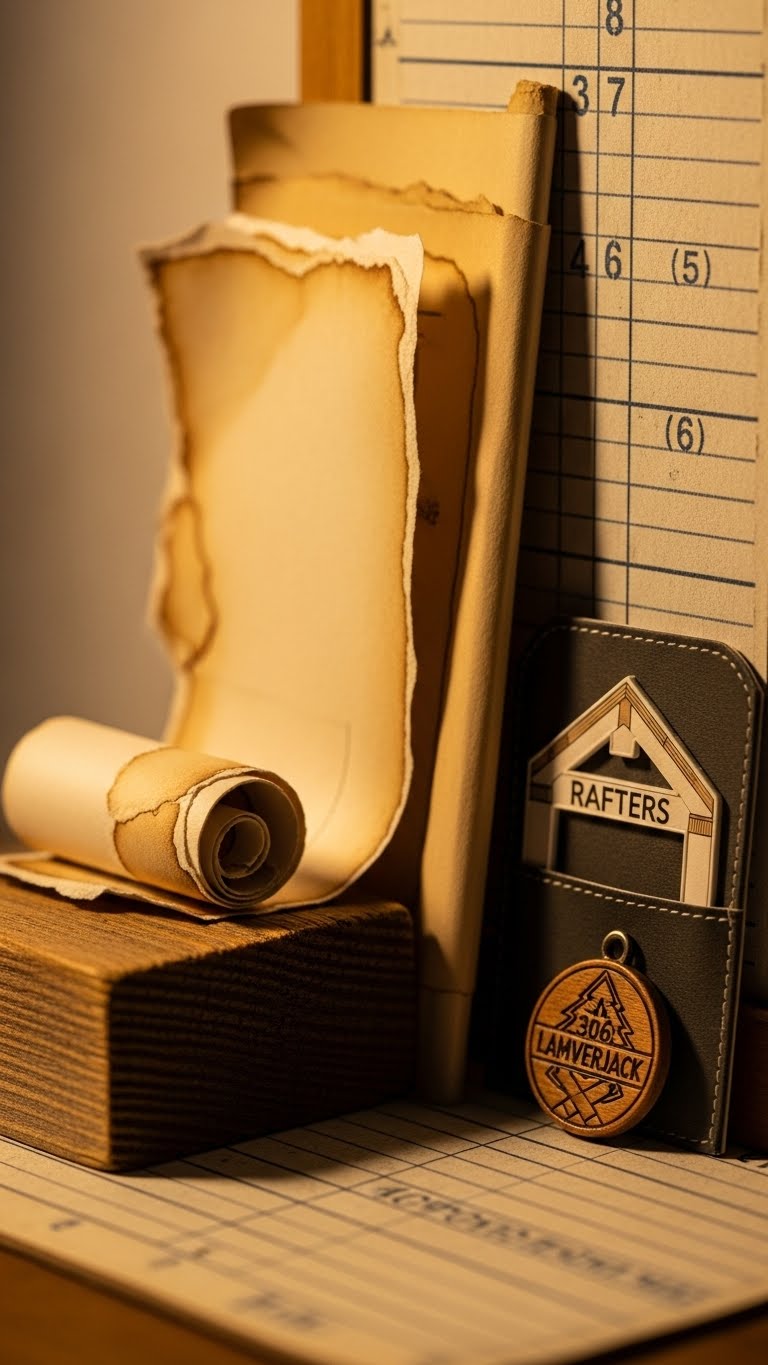
Think of tiny vignettes as micro-stories: layer torn, tea-stained paper with curled edges over small reclaimed wood plinths and you’ll get instant age and intimacy. You’ll arrange brittle ephemera against faded ledgerboards, tuck a pocket sized rafters mock-up beside a miniature lumberjack token, and let shadows and patina speak. Keep compositions spare, rebellious, tactile—each scene feels free, lived-in, deliberate.
Mini Architectural Shelves With Ornate Crest Accents
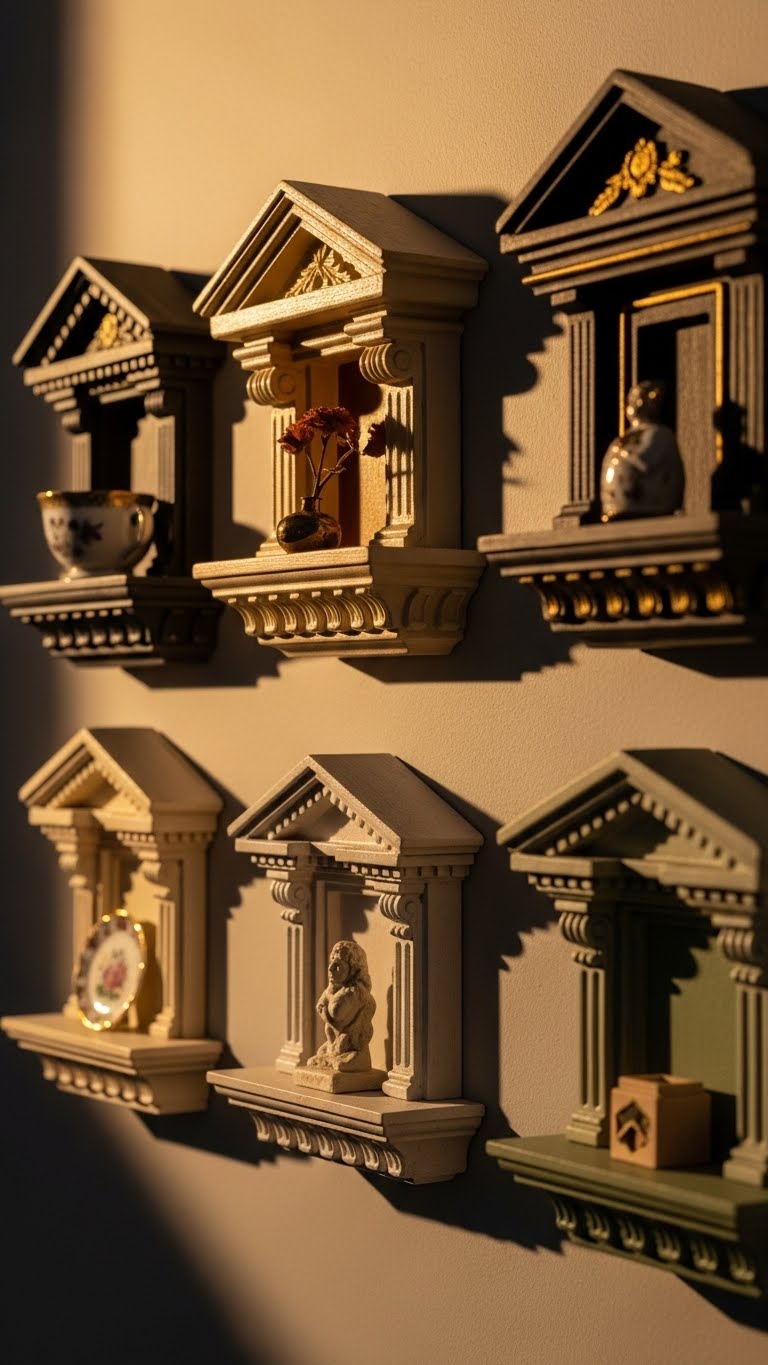
When you mount mini architectural shelves with ornate crest accents, they act like tiny stage sets that elevate small objects into architectural moments—bold cornices, scalloped crests, or gilded pediments give otherwise modest displays instant character. You’ll pick a compact mini ledge, position pieces that breathe, and lean into crest motifs. These shelves let you curate fearless, dramatic vignettes that read like tiny rebellions.
Patina Trays From Thrifted Silverware (Easy Method)
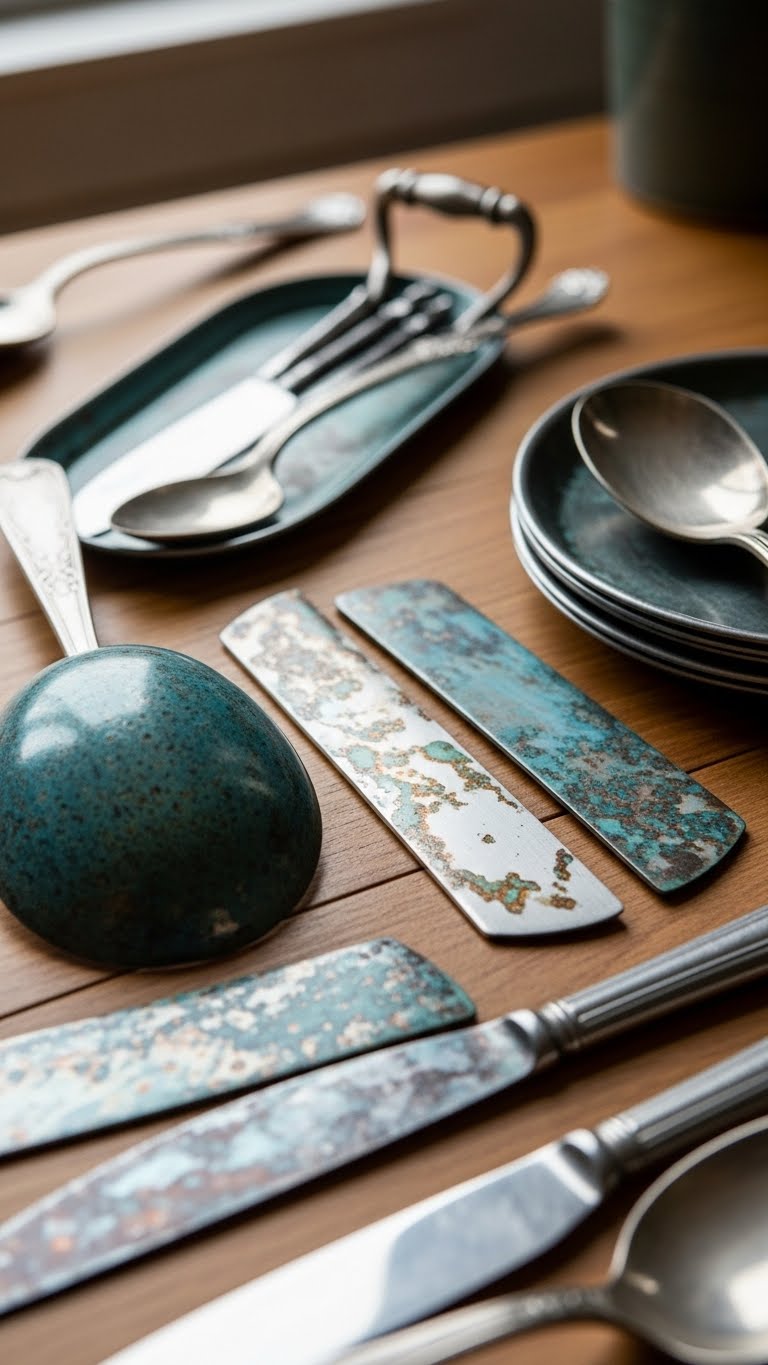
Give thrifted silverware a second life by turning spoon bowls and knife blades into low-profile patina trays that punch up any vignette. You’ll run simple oxidation experiments — vinegar, salt, ammonia — to coax layered blues and greens, then seal. Use handles for clever storage hooks or stackable trays. It’s a bold, freeing craft that feels cultured and effortless.
Reimagined Picture Ledges in Cast Iron Tones

Swap out skinny white ledges for chunky, cast-iron–toned picture ledges to anchor your walls with weight and warmth.
You’ll place art and objects against cast iron silhouettes that read bold and deliberate. Shadowed ledges create drama without fuss, letting prints lean, plants droop, and found objects breathe.
You’ll craft a liberated, gallery-like wall that feels intentional and free.
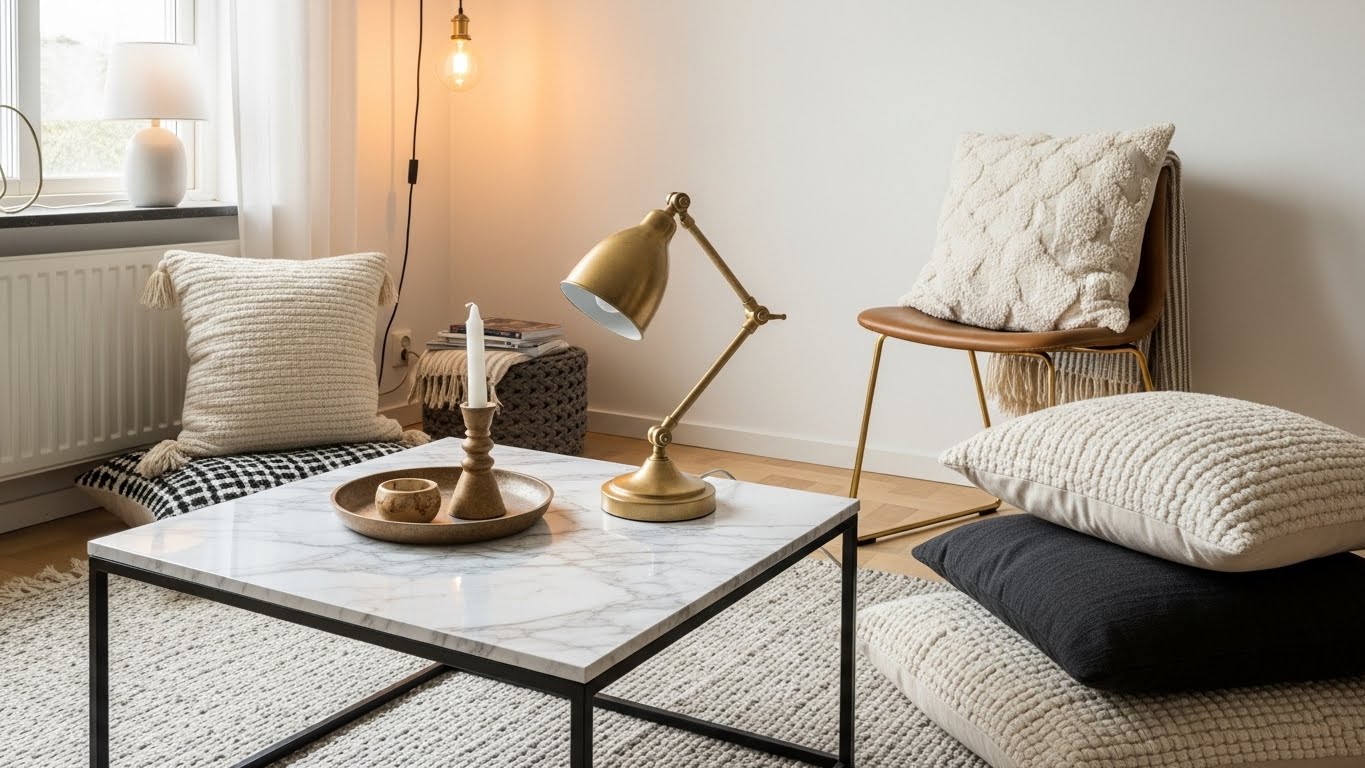
Thrifted Lamp Base Makeover With Metallic Washes
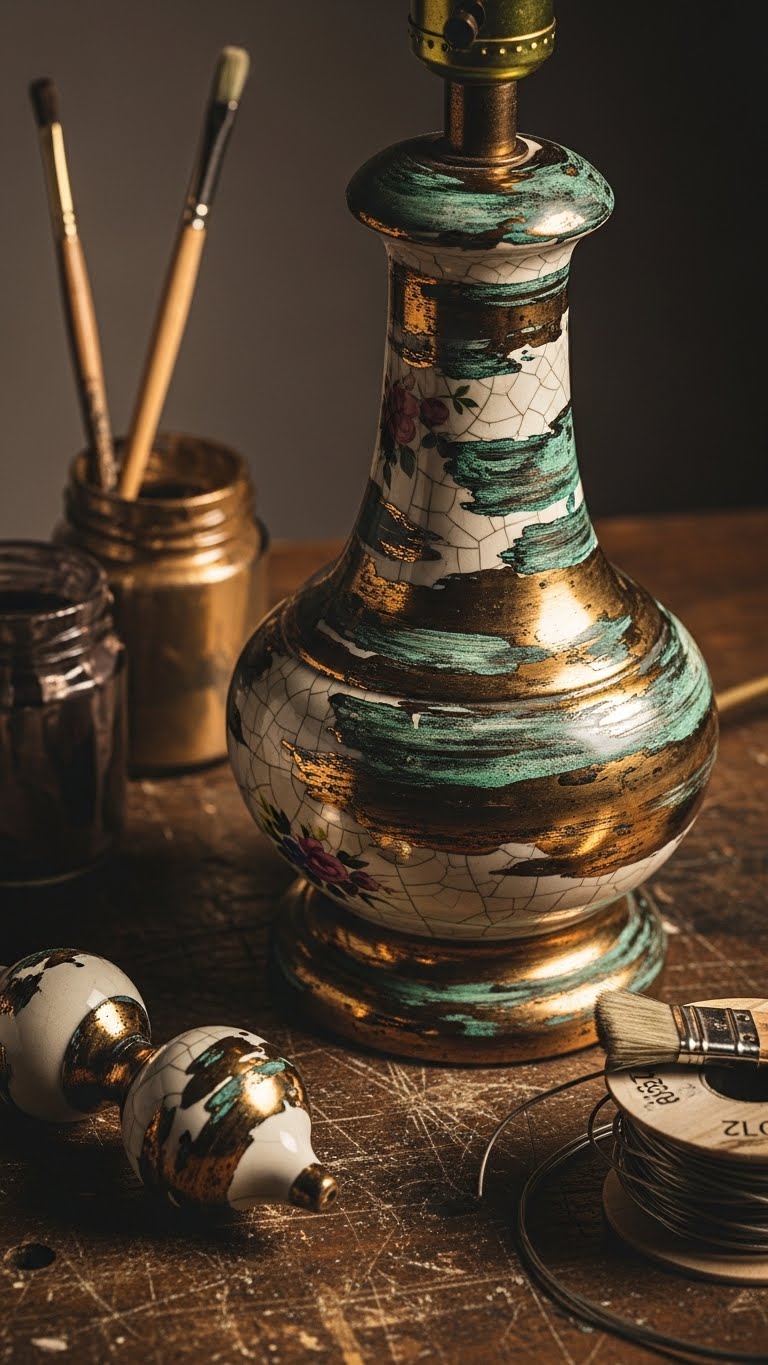
Track down a beaten-up lamp base and turn it into a luxe focal point with a quick metallic wash—you’ll get high-impact patina without splurging on new lighting. Rescue salvaged porcelain or chipped ceramic, apply layered metallic glazes for oxidized brass hints, swap ceramic finials, and consider a lamp rewire for safety. The result feels intentional, moody, and defiantly freeform.
Layered Distressing: Step-By-Step for Antique Patina
When you want that weathered, museum-quality patina without overworking the piece, layer your distressing in short, deliberate passes—each one adds depth and believable age. You’ll start with light sanding, use micro abrasion for subtle texture, then apply thin washes and controlled oxidation layering.
Rub back highlights, seal selectively, and let imperfections read as freedom—raw, lived-in, intentional.
Moody Candle Clusters and Seasonal Stem Styling
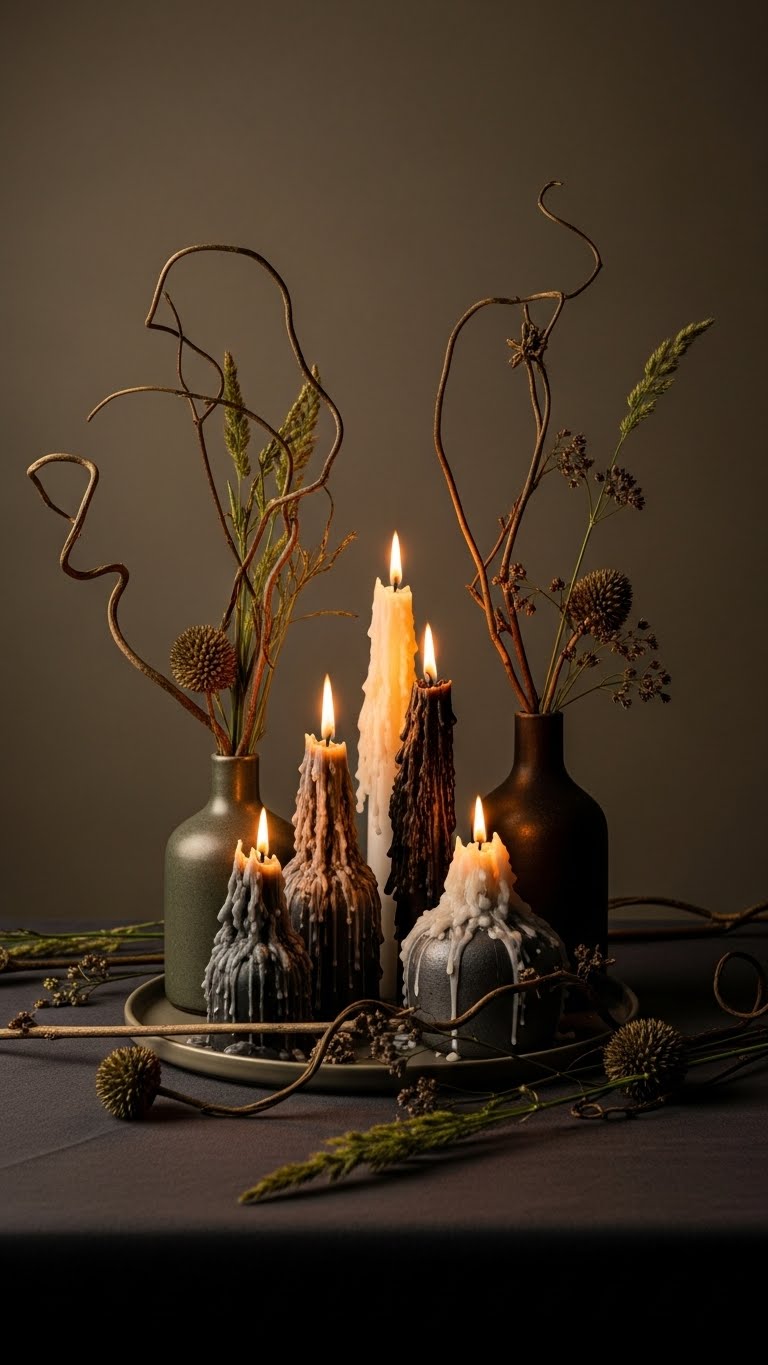
Bring together clustered candles and seasonal stems to craft moody, sculptural vignettes that anchor a room. You’ll mix varied heights of drip candlework with found branches, grasses and seedpods from seasonal foraging. Arrange asymmetrically on a low tray, let wax trails and matte vessels read like quiet sculptures, and rotate stems with the season so each vignette breathes and feels untethered.
Small-Object Groupings for Dramatic Tabletop Vignettes
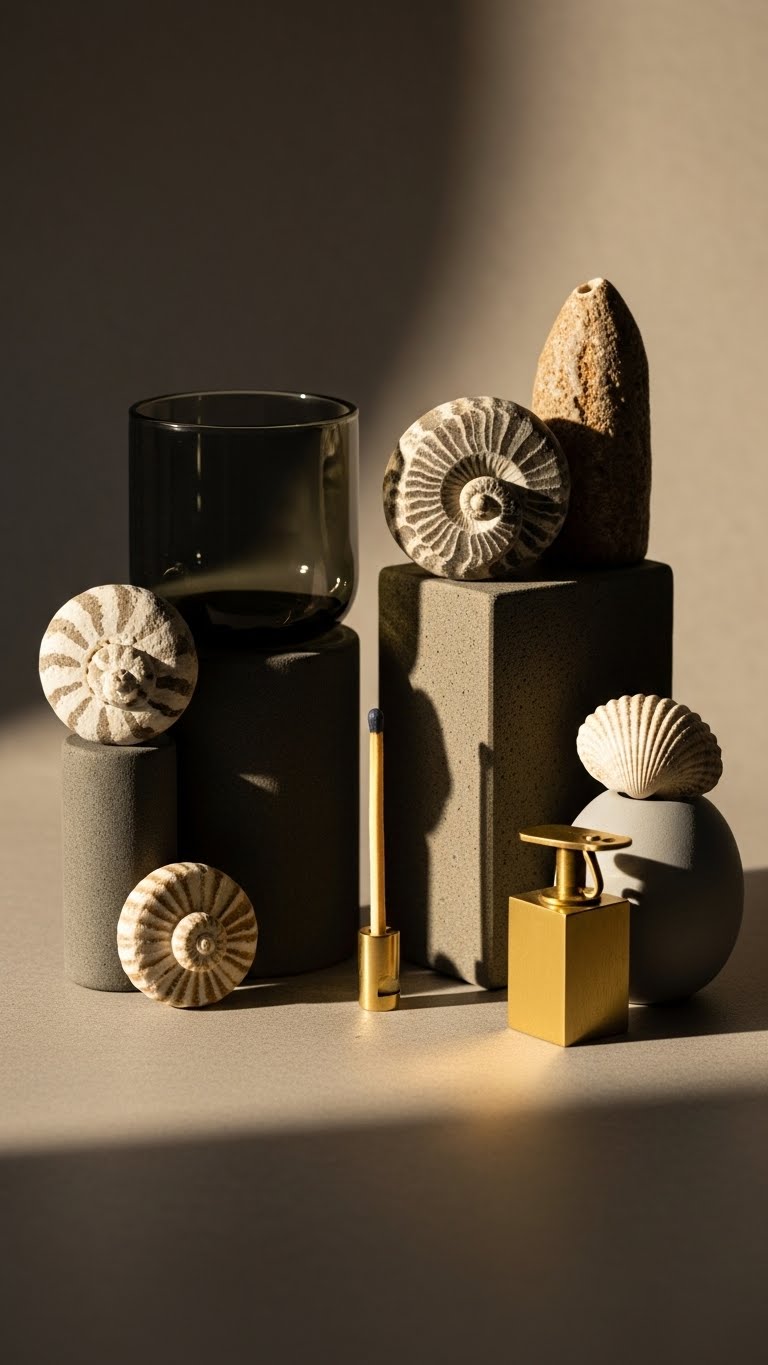
Curate small-object groupings like a sculptor: gather a mix of tactile finds—smoky glass, matte ceramics, fossilized shells, a single brass match striker—and place them in deliberate, uneven clusters that read as a single composition. You’ll experiment with miniatures arrangement and ceramic contrasts, balancing scale, negative space, and texture. Trust instinct, edit ruthlessly, and let each vignette feel unapologetically free.
Care and Maintenance for Moody Finishes
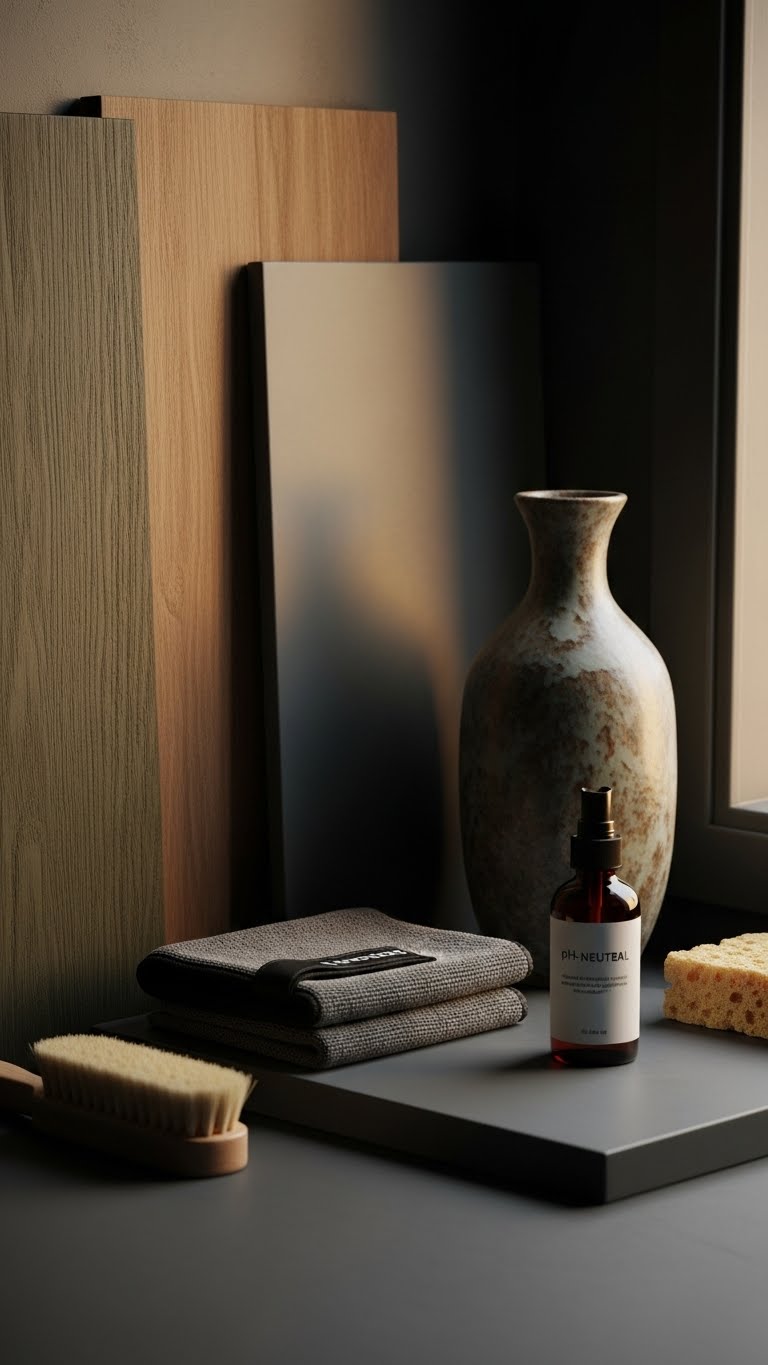
Because moody finishes rely on texture, tone, and subtle patina, you’ll want a maintenance routine that protects depth without stealing character. You’ll dust with soft brushes, spot-clean with pH-neutral solutions, and avoid abrasive scrubbers. Prioritize ventilation practices when painting or sealing, and keep cloths in microfiber storage to prevent scratches. Refresh patina gently; let surfaces age deliberately, not by neglect.