Okay, real talk – I’ve been collecting cheap garden edging ideas like they’re tiny treasures lately. My backyard is small, stubborn, and full of potential, so finding low-cost ways to make borders feel intentional has become my latest little obsession.
I started this because I completely burned through my “trial and error” budget – literally spent a Saturday on a plan that looked great in my head and less great in the rain. After trying a dozen inexpensive fixes (some glorious, some facepalm moments), I wanted to share what actually worked for me – the stuff you can do on a weekend with minimal tools.
Below are 20 practical, budget-friendly edging ideas with honest notes, tiny hacks, and a few silly stories from my own attempts – you’ll get inspiration, what to watch out for, and which options are truly worth the effort.
20 Cheap Garden Edging Ideas You’ll Actually Try
Simple Wood Stakes
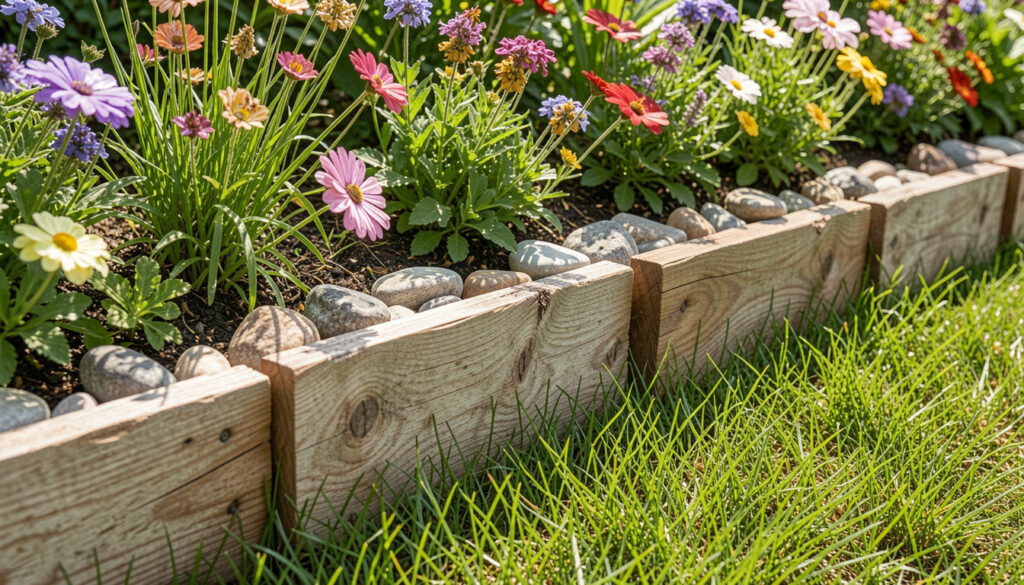
Using short wood stakes is literally the easiest thing to do when your lawn needs a defined edge fast. I once used leftover fence slats and hammered them in around my herb bed – looked rustic and cost me nothing but a few nails. If you go this route, just be ready to replace any pieces that rot – but, hey, the charm can kind of grow on you.
Rock Hammer Border
Arranging rocks into a low border is classic and practically free if you raid a local supply or collect from a nearby spot (always check rules first). I spent a lazy afternoon with a hammer once reshaping a few big stones and felt oddly meditative – a good playlist helps. It’s forgiving, too; if one rock shifts, you can nudge it back without starting over.
Soil Mound Edge
Piling soil into a neat berm along beds is a subtle, no-cost way to edge flower patches and keep mulch in place. I used my leftover topsoil once and noticed it also helped with drainage near a low spot – bonus. It’s not the fanciest look, but when you’re on a budget, function wins a lot of the time.
Classic Brick Border
Bricks make such a neat, finished edge and secondhand bricks are often affordable on local buy/sell groups. I laid a short border by hand one weekend and the satisfaction of that clean line? Chef’s kiss. If you don’t want to mortar them, just press into a compacted base and they’ll stay put for years.
Shovel-Cut Lawn Edge
A sharp shovel and a steady hand can give you a crisp, no-cost edge between lawn and bed that looks super tidy. I learned the hard way that a dull blade = ragged lines, so sharpen first – trust me on that. Once you get the muscle memory, you can refresh edges in under an hour.
Recycled Sheet Edge
Using leftover plastic or corrugated sheets as a hidden barrier is brilliant for containing mulch and stopping grass runners. I found a big gray sheet once behind a neighbor’s shed and repurposed it – no shame, it looked tidy and lasted. Just make sure the edge is sunk low enough so it doesn’t look like a weird plastic wall.
Lighted Path Border
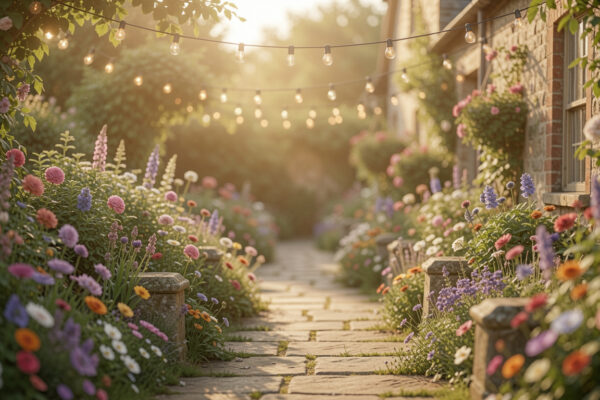
Stringing solar lights along an edging line adds charm and gives your yard a little night-time magic for cheap. I put these along my pebbled path and suddenly the backyard felt like a boutique hotel – dramatic, but in a good way. They’re also great for guiding guests to the door after dusk.
Plant-Front Small Edge
Laying a narrow plant row in front of beds creates a living border that’s low cost if you use baby perennials or seedlings. I once planted tiny marigolds along a curve and it instantly read as intentional – the neighbor even complimented it. The trick is keeping plants trimmed so the border stays neat.
Stone Planter Trim
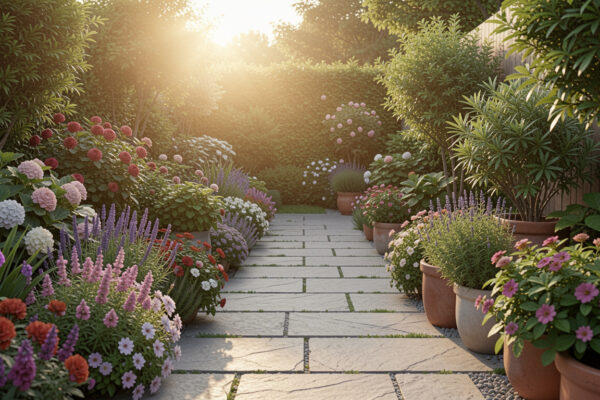
Using stones to frame a planter gives a natural, durable edge that pairs beautifully with cottagey flowers. I stacked some leftover pavers around a volunteer purple patch and it suddenly looked like I meant it – lol. Stones are a slow-burn upgrade; they age well and require almost no upkeep.
Paver Cleanup Tip
If you already have pavers, a quick sweep and re-level will make your path edge look fresh without spending a cent. I used a cheap broom and some elbow grease once and my tired pathway got a second life. Small maintenance goes a surprisingly long way, honestly.
Stepping Stone Trail
Creating a stone stepping path through grass uses fewer materials than a full walkway and gives your border a charming guide. I remember trudging through mud until I laid a few stones – immediate bliss. Scatter them with some mulch edges and you’ll mask gaps like a pro.
Reused Tray Border
Repurposed trays or old containers can be sunk partially into soil to form a tidy straight edge – budget-friendly and quirky. I experimented with seed trays as a temporary fix while planning a garden redesign and it worked better than expected. It’s not permanent, but it’s great to test a shape before committing.
Flower-and-Brick Mix
Mixing small bricks with perennial flowers softens a hard edge and feels intentional without being expensive. I mixed salvaged bricks with purple phlox and it reads like a vintage postcard now – cheesy, but true. Plant choice matters though; go for low, spreading varieties to hide any gaps.
Metal Roof Reuse
Recycling old corrugated metal as a sleek border is industrial-chic and surprisingly affordable if you can score scrap pieces. My cousin used roof panels along her vegetable beds and it kept soil tidy and critters less curious. Just wear gloves – those edges can be sharp.
Mixed-Plant Edge
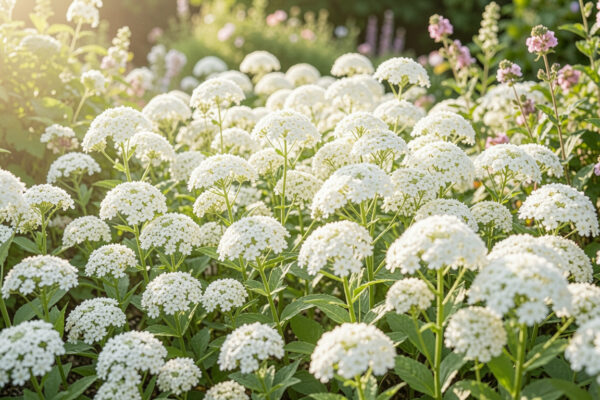
Planting a mix of textures and heights at the bed edge creates an organic finish that costs little if you start with cuttings or divisions. I stole clippings from friends (they didn’t mind) and ended up with a lush, layered look. It’s forgiving and looks better the messier it gets – in a good way.
Rocks + Grass Bed
Scatter larger rocks at the transition between lawn and planting to create a natural, no-fuss barrier that still looks curated. When I first did this, a bird made a nest between the stones – adorable, chaotic, and proof nature will add its own touch. Resist micromanaging it and enjoy the vibe.
Crate or Box Border
Stacking wooden crates or boxes as an edge is a cute, vertical option for raised beds and it gives you storage too. I used old fruit crates for a while and loved how easy it was to rearrange when I got tired of the layout. Paint them or leave them raw depending on your style – both work.
Thin Wood Slat Edge
Cutting thin wood slats into short lengths creates a low, modern border that you can nail or stake in place. I measured once, double-measured, and still learned to eyeball a curve because I am not a perfectionist – and it turned out sweetly imperfect. Use treated wood or seal it to extend lifespan.
Feature-Led Edge
>
If you have an odd focal point like a hydrant or statue, use simple edging to highlight it and make it purposeful rather than awkward. I once centered a small circular bed around an old post and the yard suddenly had character – neighbors asked if I hired a landscaper, lol. A little attention goes a long way with these features.
DIY Brick Walkway
Laying a narrow brick walkway doubles as an edge and adds structure to the garden layout. I spent a weekend on a path like this and while my back complained the next day, the finished result made me proud. Tight joints and a compacted base are the small details that make it look pro.
How to Actually Make This Work For You
Start by walking your space and choosing one small section to test an edging style so you don’t overwhelm yourself or your budget, then step back and live with it for a week before changing anything else. Measure the length and note how water flows so you pick materials that won’t shift or rot where you live, and if you’re unsure, mix a living edge with inexpensive hard material to hedge your bets. Finally, use what you already have first – leftovers and secondhand finds often give the most charming, personal look and you’ll learn what really matters before you spend a lot.
Can I make garden edging last without spending much?
Yes – choose durable materials like stone, brick, or sealed wood and make sure you prepare a stable base and compact the soil. Regular check-ins and minor repairs cost less than major replacements, so a little maintenance goes a long way.
Which edging is best for stopping grass from creeping in?
Metal or plastic edging buried slightly below grade is most effective, but stones or bricks with a tight fit also work well. For a plant-based option, dense groundcovers along the border can slow grass, though it’s less foolproof.
How deep should I set my edging materials?
Typically sink edging at least 2-4 inches for low materials and deeper for larger stones or metal to prevent shifting. In frost-prone areas, deeper installation reduces heaving and keeps things tidy across seasons.
Any quick tips for making a budget border look intentional?
Keep lines clean, choose a repeating material, and use plants or mulch to unify the look – consistency makes even simple solutions read as deliberate. Small details, like edging color and a tidy finish, trick the eye into thinking you spent more than you did.