Hey girl, remember when I threw that surprise brunch for my bestie’s birthday and needed DIY photo centerpieces that wouldn’t break the bank? I was scrolling Pinterest at 2 a.m., panicking because the table looked so plain. These little photo displays totally saved the day – they’re personal, pretty, and super easy to whip up.
I’ve been obsessed with DIY photo centerpieces ever since my sister’s wedding last summer, where they had these sweet table setups with family pics tucked into florals. I tried a few myself for a dinner party, and honestly, they made everything feel so heartfelt without spending much. You know how store-bought stuff can feel generic? This is way better.
In this post, I’m sharing 12 quick DIY photo centerpieces on a budget that’ll have your table looking Insta-worthy. You’ll get simple ideas, my real-life tweaks, and tips to make them your own. Let’s make your next gathering pop!
12 Budget-Friendly DIY Photo Centerpieces You’ll Wish You Tried Sooner
Window Shelf Flower Glow
These tiny vases on a sunny shelf scream effortless charm – pop in some fresh blooms and lean a few printed photos against them for that personal touch. I did this for my coffee nook and it instantly felt cozier. Perfect for brunches where you want light filtering through.
Sunny Table Pic Meadow
Flowers spilling over a table with photos propped up – it’s like a garden party met your photo album. That window view? Total vibe. I recreated this for Mother’s Day and my mom teared up seeing old family shots mixed in.
Fruit and Candle Mix
Wooden table loaded with vases, fruit, candlesticks, and sneaky photo frames – so rustic and inviting. You can swap apples for whatever’s in your fridge. Last holiday, I added pics from our vacay; guests kept snapping their own photos of it.
Photo-Topped Cake Delight
A cake crowned with edible flowers and tiny photo toppers? Genius for birthdays. Print wallet-sized pics on cardstock, attach to toothpicks – done. I made one for my niece’s party; kids loved spotting themselves on it. (Oops, mine tilted a bit, but that’s the charm!)
Lemon Jar Photo Pop
Lemons rolling around jars with photos inside – fresh, zesty summer centerpiece. Stuff pics into glass containers with a ribbon tie. You could use oranges too. I tried this for a BBQ and it smelled amazing all day.
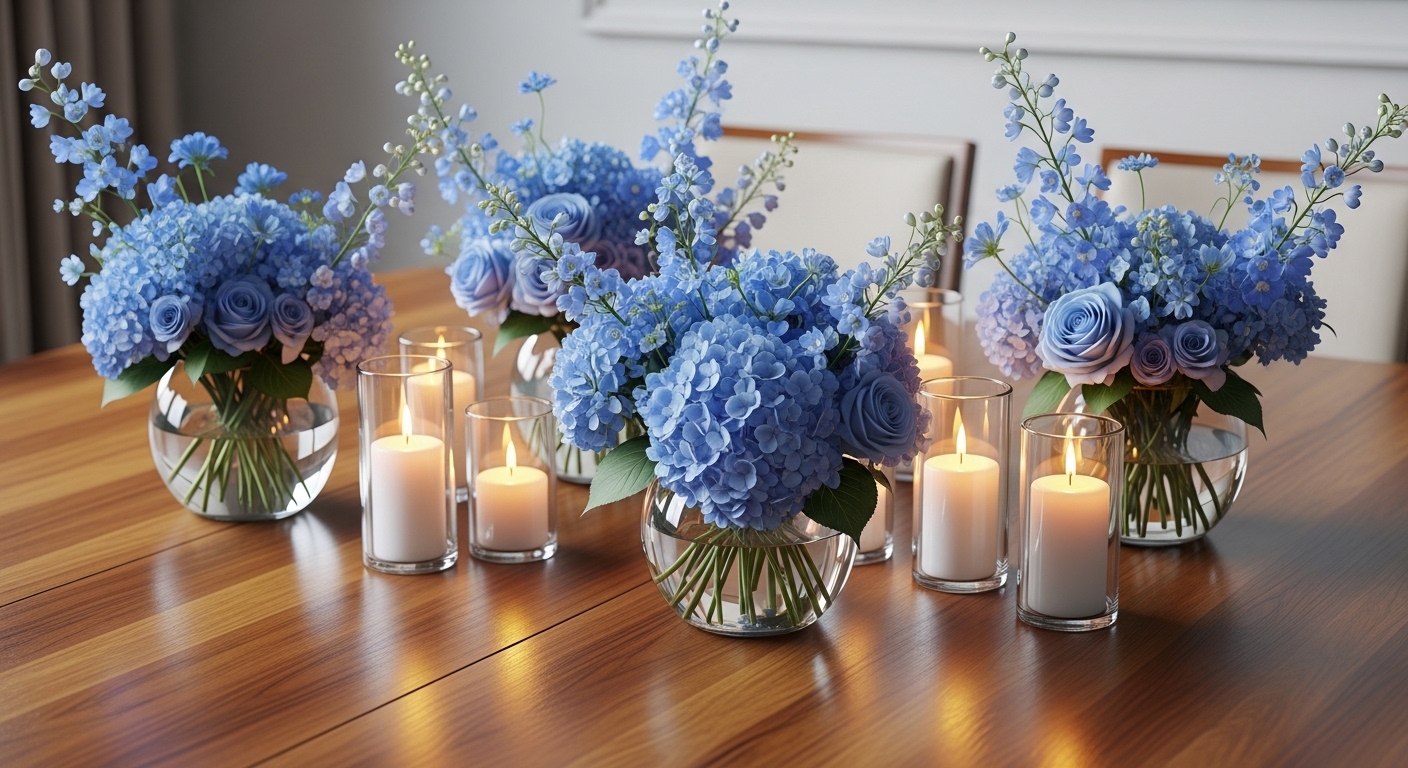
Tablecloth Flower Burst
One massive vase of wildflowers dominating a crisp white tablecloth – add photo stands nearby for balance. That gray wall backdrop keeps it modern. Super quick; I grabbed grocery store flowers and it fooled everyone into thinking I planned for weeks.
Candlelit Wedding Whimsy
Wedding tables with flickering candles, blooms, and photo accents – romantic without fuss. Layer heights with books under vases. For my engagement dinner, I snuck in our dating pics; it got all the “awws.”
Framed Floral Feast
Wooden frame bursting with flowers over white linens and place settings – elegant yet DIY. Print polaroid-style pics to tuck in. I did a version for book club; we chatted about the memories all night. (Pro tip: Use faux stems if fresh wilts fast.)
Stump Bouquet Simplicity
Bouquet on a wooden stump with photos leaned against the wall – outdoorsy indoors. So forgiving if you’re not precise. My picnic setup used this; wind knocked it over once, but pics stayed safe.
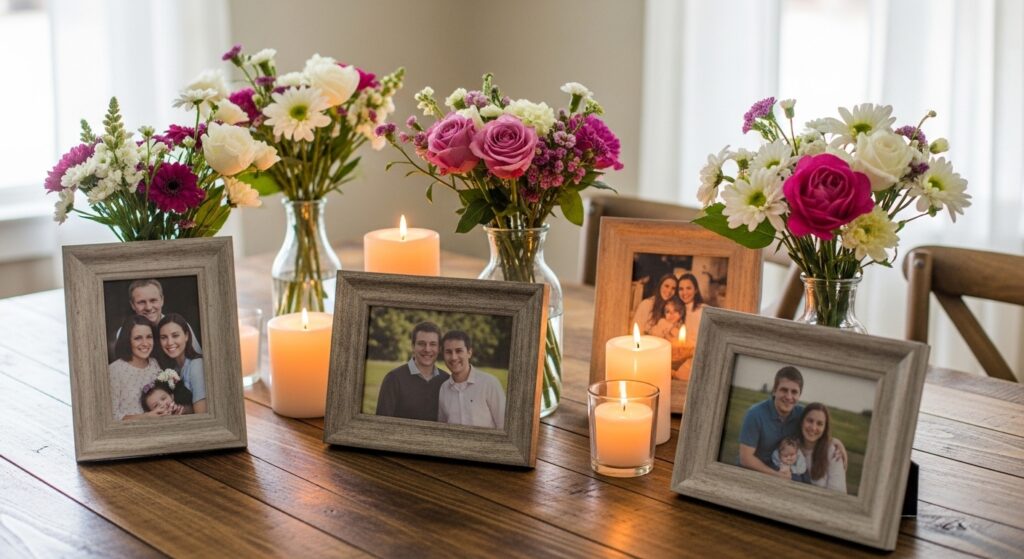
Flower-Pic Table Harmony
Simple table with scattered pictures amid flowers – mix sizes for interest. You can use clothespins on twine for hanging some. I love how personal it gets; one time I included pet photos and everyone melted.
Greenery Candle Frames
Wooden table draped in greenery, topped with photo frames and candles – lush and glowing. Thrift frames work great here. For a fall gathering, I added mini pumpkins; it was a hit, though leaves shed everywhere.
Colorful Vase Party
Vases of vibrant flowers with plates ready – slip photos between stems. Brightens any meal. I whipped this up for girls’ night; we laughed recreating poses from the pics. Total mood booster.
How to Actually Make This Work For You
Okay, real talk – start by picking 5-10 photos that tell a story, like family milestones or trip highlights, and print them small so they don’t overwhelm. Grab thrift store vases or jars, fill ’em with whatever flowers are cheap at the market that week, and layer heights with books or boxes under your displays for that pro look. Play with lighting too – candles at night or window spots daytime make everything pop; I learned this the hard way after one dim dinner party. Oh, and always test on your table first – mine wobbled once from uneven legs, total facepalm.
What materials do I need for DIY photo centerpieces?
You’ll want printed photos (wallet or 4×6 size), glass jars or vases, fresh or faux flowers, candles, and maybe ribbons or clips. Scavenge your kitchen for lemons or fruit to add color. Keeps it under $20 easy.
How do I keep photos from getting ruined?
Laminate wallet-sized prints or use plastic sleeves – super cheap at office stores. Avoid direct water contact by propping them up. I’ve had zero issues after two parties.
Can I make these for outdoor events?
Totally, just weigh down bases with rocks and use wind-proof clips for pics. Go for sturdy stumps or trays. My backyard BBQ version held up great even in a breeze.
What’s the best budget flower hack?
Hit the grocery store marked-down section end of day – roses for pennies. Mix with greenery from your yard. That’s my go-to for looking fancy without the spend.