Imagine the golden light of autumn filtering through a canopy of amber leaves, the crisp scent of falling leaves filling the air, and your front door dressed in a charming, rustic grapevine wreath that welcomes the season with warmth and natural beauty. There’s something truly special about a handcrafted wreath—it brings not only style but a sense of connection to the outdoors and the cozy spirit of fall. If you’ve been dreaming of a DIY project that adds that perfect touch of rustic charm to your home, making a grapevine wreath is easier than you think!
Gather Your Materials and Prepare Your Workspace
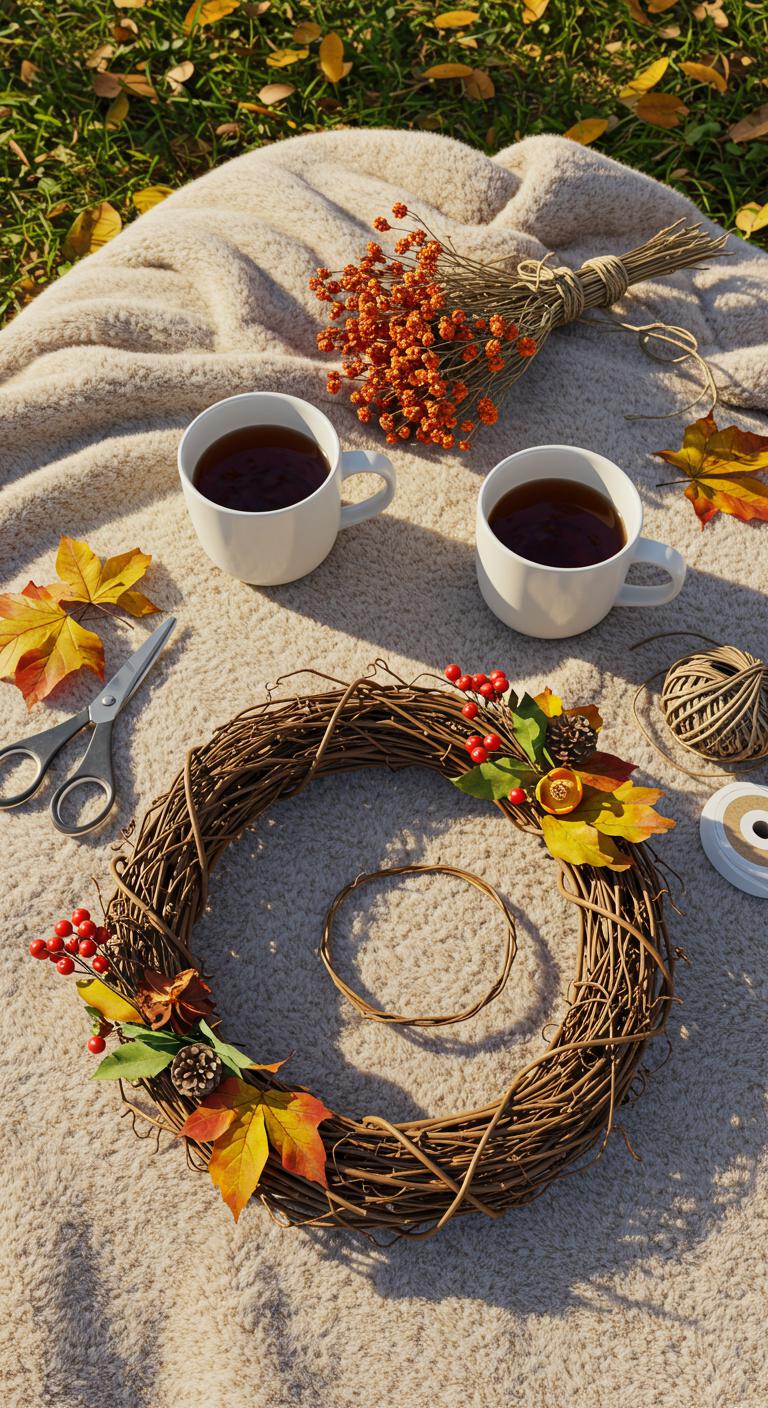
Before diving in, let’s make sure you have everything you need at your fingertips. Setting up a well-organized workspace will make crafting your wreath a relaxing and enjoyable experience.
What You’ll Need:
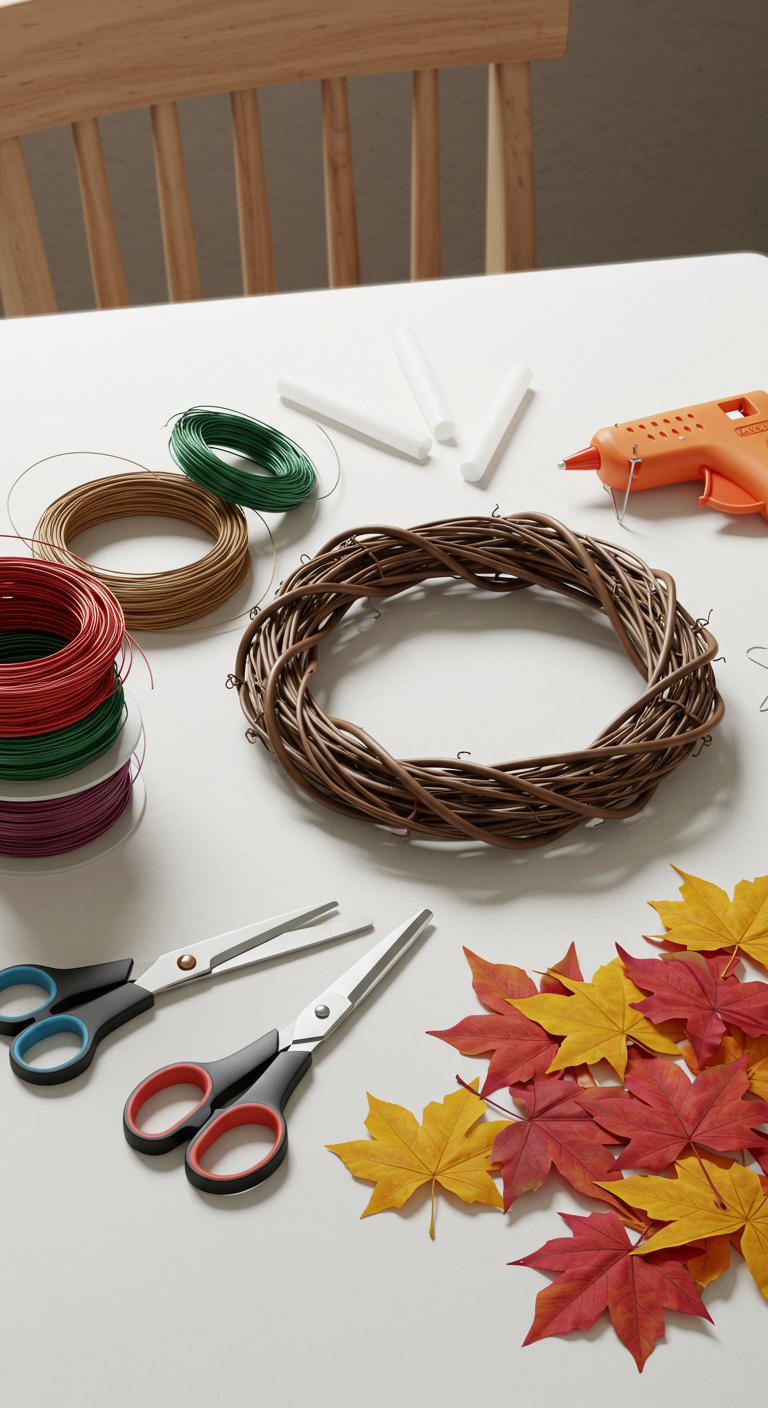
- A 12- to 16-inch grapevine wreath base (available at craft stores or garden centers)
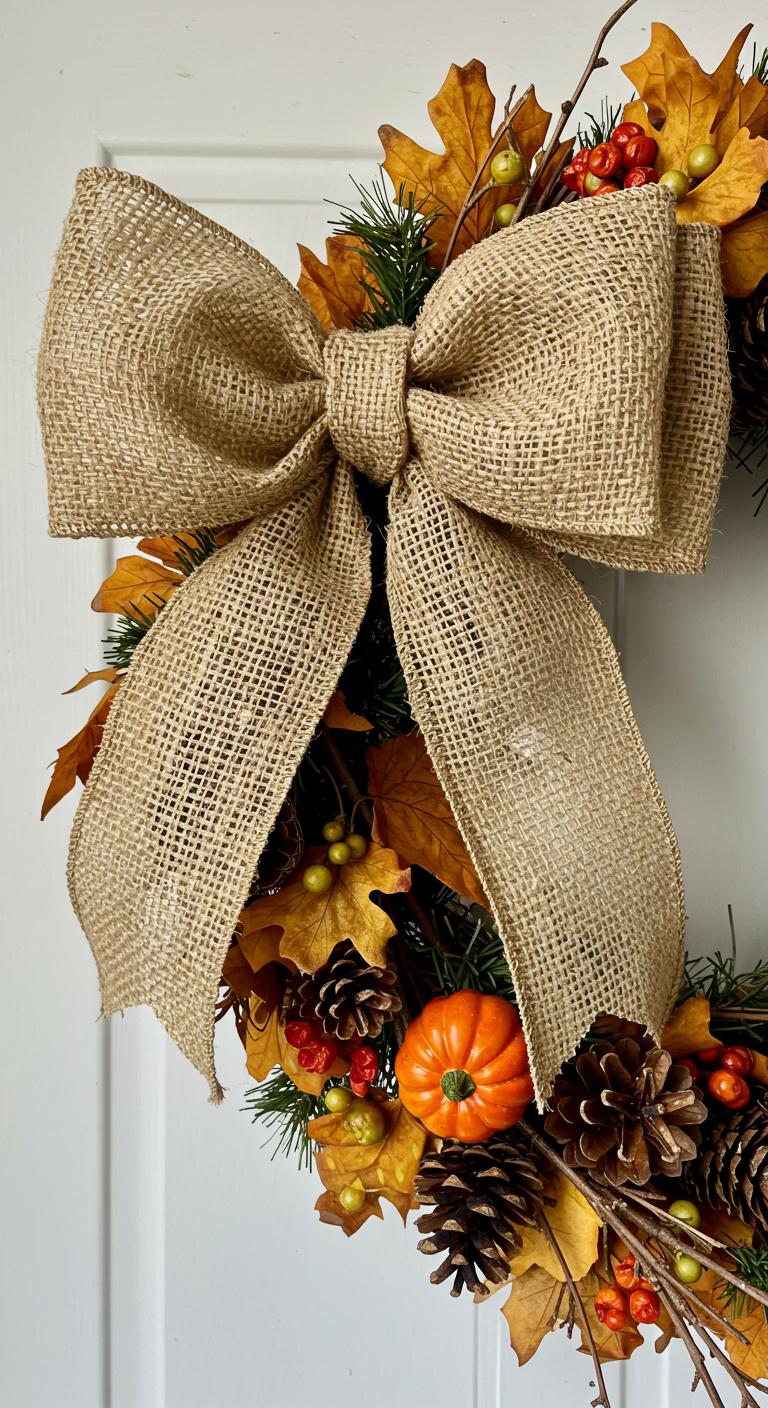
- Autumnal faux foliage and accents: think maple leaves, berries, small pinecones, wheat stalks, and mini pumpkins
- Floral wire (green-coated is best for blending in)
- Wire cutters and scissors
- Hot glue gun and glue sticks
- Optional: Burlap ribbon or twine for hanging or bows
Prep Tips:
- Lay down newspaper or a craft mat to catch loose bits and protect your surface.
- Plug in your hot glue gun early to warm up.
- Sort your foliage and accents by type and size for easy selection as you craft.
Getting Started: The Base Layer
Start with your grapevine wreath base, which sets the rustic foundation. The natural twists and bends of the grapevine provide texture and character, so embrace its imperfections!
- Examine your wreath base and remove any loose twigs or debris.
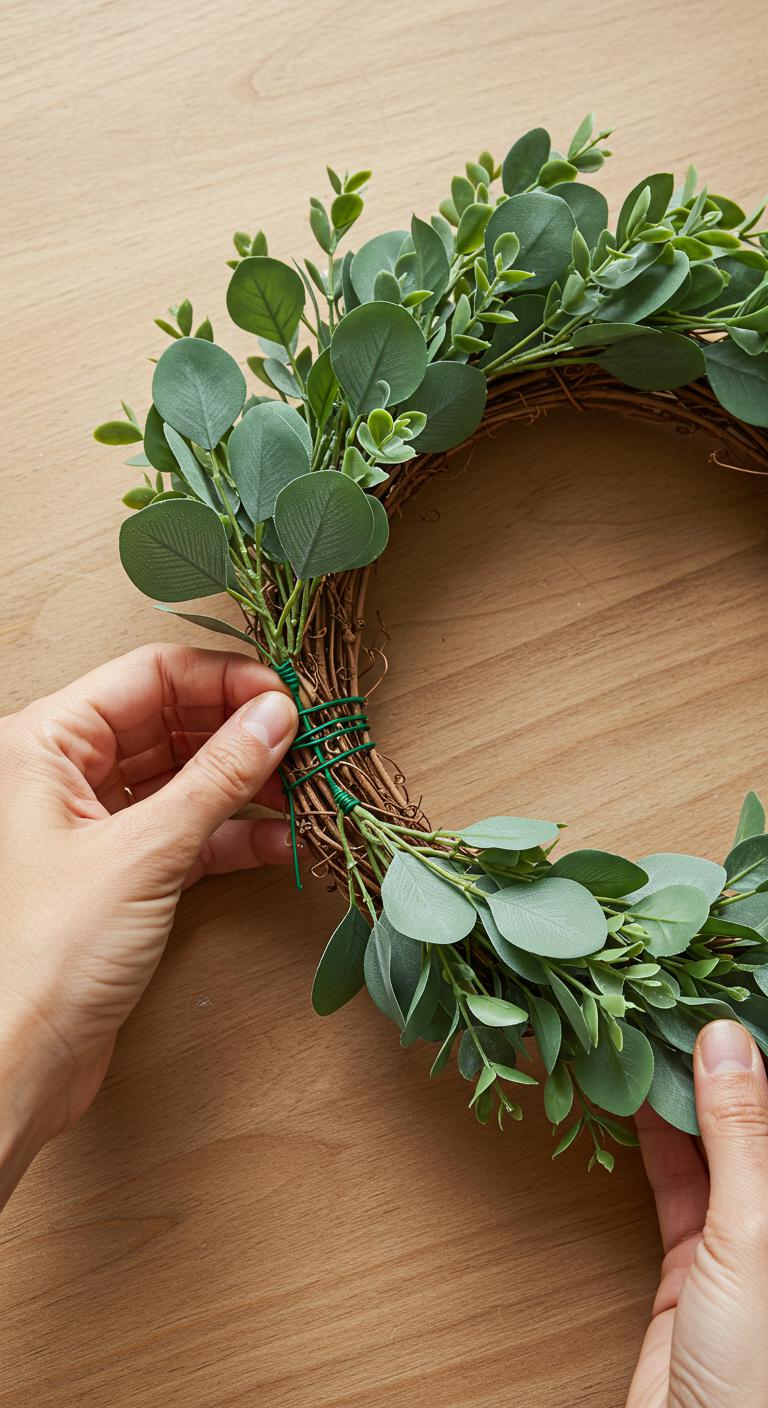
- If you want a fuller look, gently tuck in some greenery like faux boxwood or eucalyptus, securing with floral wire.
- Secure your greenery by wrapping floral wire around the wreath base in a few spots, twisting tightly at the back.
This base layer will create a lush backdrop that makes your autumn accents pop.
Layering Autumn Elements: Bring Warmth and Color
Now for the fun part—adding layers that celebrate the colors and textures of fall!
- Start with larger elements like faux leaves and small pumpkins. Position them evenly around the wreath for balance.
- Attach them with hot glue and reinforce with floral wire if necessary, especially for heavier items.
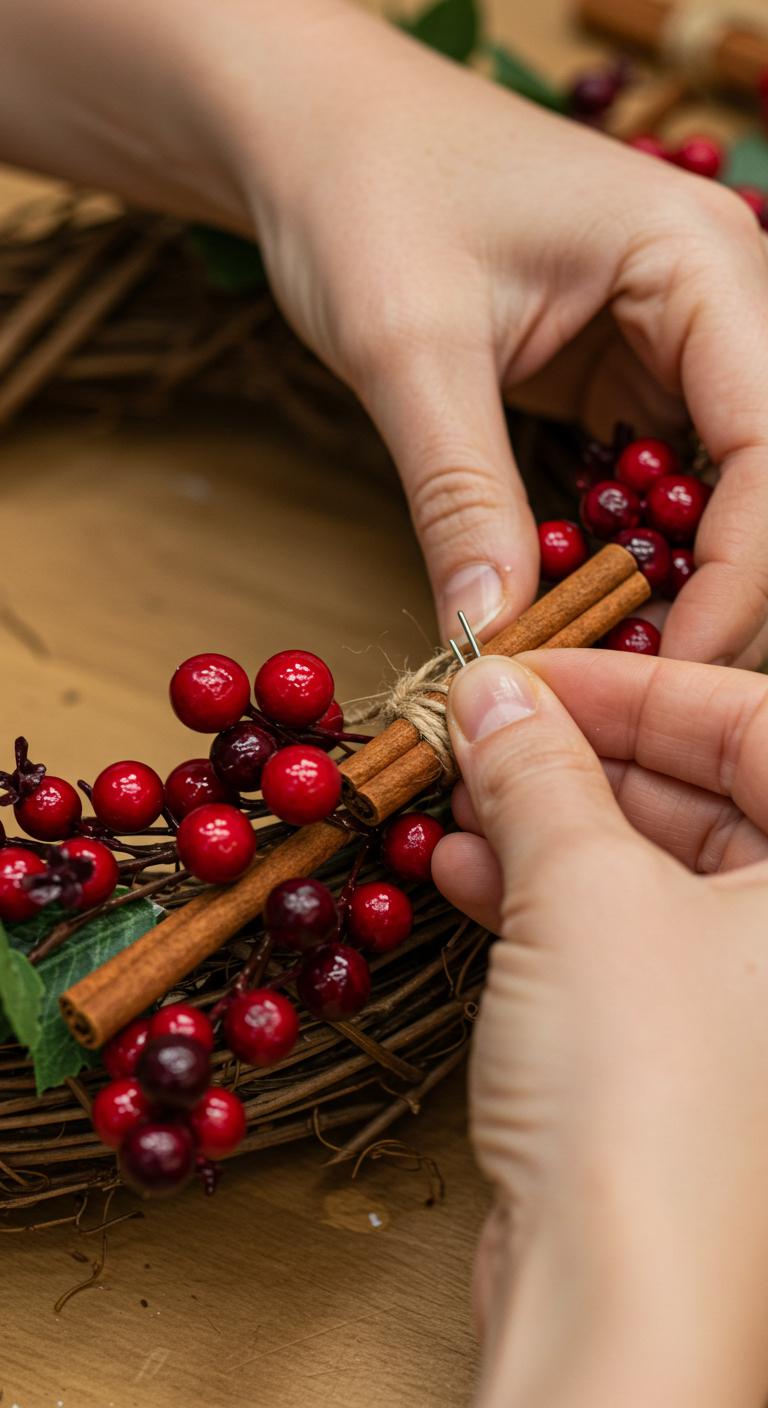
- Next, add medium-sized accents like pinecones, berries, or wheat stalks—these add dimension and natural interest.
- Finish with smaller details: tiny acorns, twigs, or even a sprig of cinnamon sticks for scent and additional texture.
Pro Tips:
- Work in small clusters or groupings for a natural, organic feel rather than placing decorations evenly spaced.
- Don’t forget to cover the back where wires or glue might peek through.
- Step back every now and then to view your wreath from a distance—this helps spot areas that need balancing or filling.
Adding the Final Touches: Ribbon and Hanging
A burlap or plaid ribbon can be the finishing touch that amps up the cozy, rustic vibe.
- Cut a length of ribbon (about 18-24 inches) and make a simple bow or a loop for hanging.
- Secure the ribbon by tying it around the top of the wreath base, or hot glue the bow into place.
- If your wreath will be hanging outdoors, opt for a thick twine loop for durability.
Bonus Idea:
- Personalize your wreath with a small wooden sign or initial letter for an inviting, customized touch.
Troubleshooting and Styling Tips
Even if this is your first wreath, don’t worry! Here are some quick fixes and ideas to keep your project stress-free:
- Wreath too sparse? Add more foliage or layer on additional mini accents to plug gaps.
- Decorations falling off? Reinforce with extra floral wire or a dab of hot glue.
- Too heavy? Swap heavier items for lighter faux materials or prune your grapevine wreath base to loosen dense sections.
- Want more color? Mix in pops of orange, gold, or deep red florals or ribbons.
Style Inspiration:
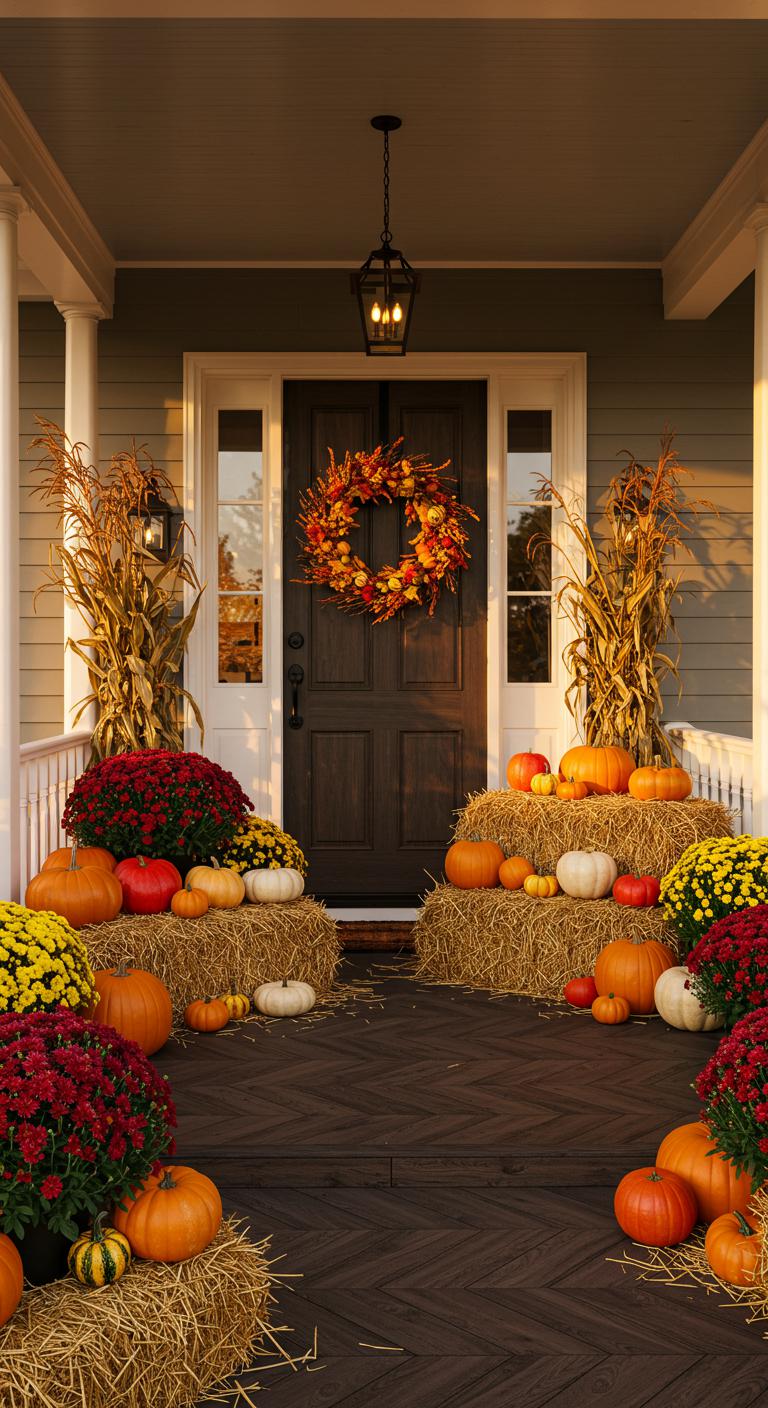
- Hang your wreath on a rustic wooden door with a sunflower or pumpkin nearby.
- Use it as a centerpiece by placing it flat and adding a large candle in the middle.
- Share your creation on social media with #RusticAutumnWreath and inspire fellow DIY lovers!
Wrap-Up: Your Rustic Autumn Welcome
Crafting a rustic grapevine wreath is a simple yet satisfying way to bring seasonal charm and personality into your home. It’s a project that invites creativity, connects you to nature’s textures, and offers a warm welcome to guests. Plus, it makes a memorable gift!
Save this guide, gather your supplies, and carve out a cozy afternoon to make your own piece of autumn magic. Happy crafting!