I have been obsessed with mulch bed edging ideas lately – they make such a difference when you’re trying to make your yard look intentional, not tossed-together. I swear a crisp edge is the difference between “I garden sometimes” and “I actually care,” at least in my head.
I wrote this because I spent last spring trying a dozen edging tricks on a tiny front bed and learned a few hard lessons – hello, weeds that cheat their way under cheap plastic. I want to share what worked for me and what felt like a lot of trial-and-error so you don’t waste a whole Saturday like I did.
Read on and you’ll get 15 practical mulch bed edging ideas, honest notes about upkeep, and a couple of my own oops moments so you can pick the right edge for your yard and lifestyle.
These 15 Mulch Bed Edging Ideas You’ll Actually Try
Simple Stone Border
I used river stones for a simple stone border once when I lived in a rental and wanted something temporary but pretty. It kept mulch in place and made mowing around the bed way less annoying; plus, rocks are forgiving if you mess up placement. If you like a natural, low-fuss look that still reads tidy from the street, this was my go-to fix.
DIY Brick Edge
Bricks feel classic and they line up so nicely, you know? I spent an afternoon kneeling in clover to set a small brick border around my herbs – nothing pro, but it made me proud. If you don’t mind a bit of muscle, you can create curves or straight lines and they’ll stay put for years.
Cut Lawn Edge
A clean soil cut between grass and mulch is my favorite cheap trick when I’m lazy about materials. I use a half-moon edger and re-cut once a month during growing season – it makes everything look freshly installed even if it was done weeks ago. Honestly, you can get a crisp look with almost zero budget, but it does ask for consistency.
River Rock Path Edge
River rock adds texture and reflects light nicely – perfect if your mulch is dark and you want contrast. I once gathered mismatched rocks from my parents’ garden (sorry, Mom) and made a charming, slightly imperfect edge that visitors loved. Side note – rocks can shift over time so expect the occasional tidy-up.
Black Mulch Contrast
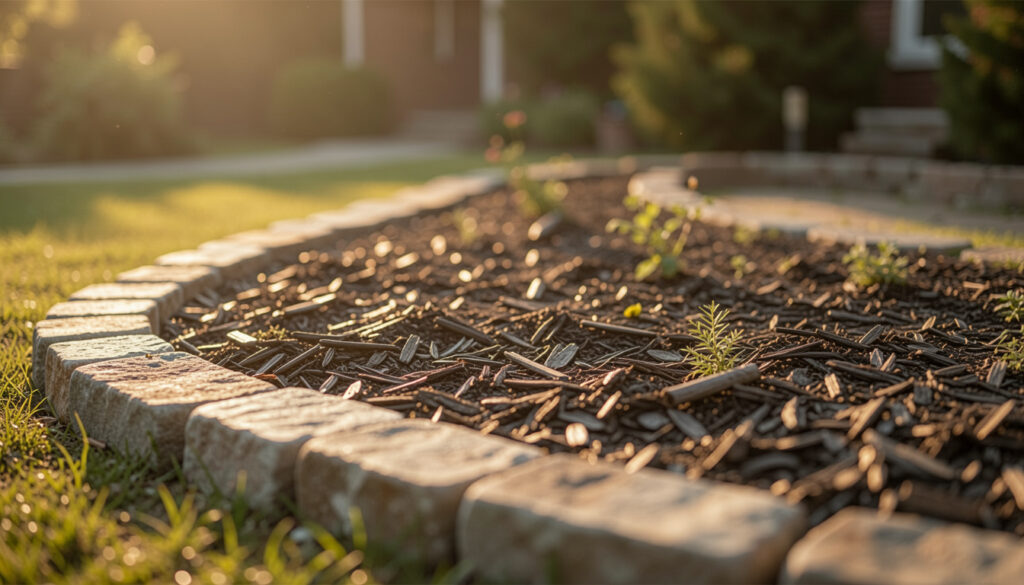
Dark mulch right against a stone or concrete edge looks dramatic and modern; I used this outside my white house and it made everything pop. It hides moisture marks, too, which is great because I water like it’s summer every day – oops. If you want a polished, bold look, black mulch is your friend.
Natural Wood Edge
Log rounds or reclaimed timbers give a rustic vibe and warm up cool stone features. I nearly used old pallet wood once, which sounded clever until it started to rot a bit after a wet autumn – lesson learned. You get a cozy, cottage feel, but choose treated or rot-resistant wood if you want longevity.
Curved Gravel Border
Gravel with a planted strip can feel airy and modern at the same time. I tried a curved gravel border around a perennial patch and loved how it made the bed look like it naturally belonged there. Pro tip – a weed barrier underneath helps, although it’s not 100% magic against persistent weeds.
Stone Step Accent
Using flat stepping stones as both an access path and an edge detail is smart for function and looks. I placed a few by my front steps so I wouldn’t tramp mulch into the house, and neighbors actually asked where I bought them – flattered! It’s a small upgrade that feels fancy without being fussy.
Mulch Texture Pile
Sometimes the mulch itself is the star – a deep, evenly raked bed with a crisp edge reads very intentional. I once spread a fresh truckload and raked morning light across it like I was staging for a magazine – dramatic, I know. If you keep it topped up and neat, you don’t need much else.
Low Stone Wall
A short stacked-stone wall gives height and prevents mulch from washing out in storms. My dad taught me how to stack them without mortar for a little bed by the driveway – it felt very “we built this together.” It’s a bit more work up front, but solid results if you’re after permanence.
Sitting Rock Border
Large sitting rocks make a relaxed, sculptural edge and double as impromptu benches for garden breaks. I remember collapsing onto one after planting a whole row of lavender – maybe not the most graceful, but the rock saved me. If you like to linger in your garden, this feels very welcoming.
Sign & Bed Edge
Framing a small sign or feature plant with a tidy mulch edge draws the eye and organizes space visually. I used this trick for a tiny pollinator patch and friends actually stopped to read the plant tags – success. Simple framing can make even a modest bed feel intentional and loved.
Rock Garden Mix
Mixing larger rocks with smaller stones and mulch creates depth and keeps things low-maintenance – perfect for sunny slopes. I once combined salvaged flagstone with pea gravel and it lasted through the wettest spring without drama. It looks curated but is forgiving when you’re not perfect about upkeep.
Stone Steps & Flowers
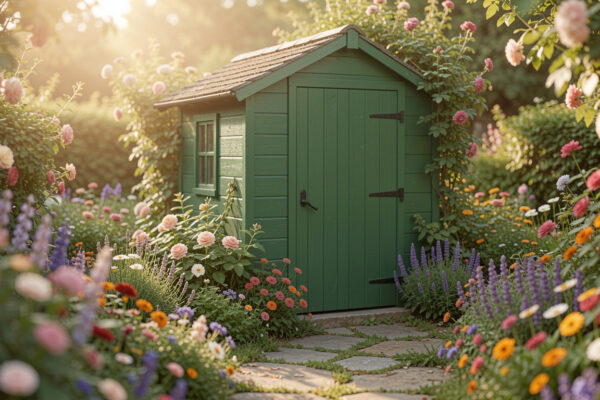
Stone steps framed by mulch beds with flowers soften an entrance and make your approach feel intentional. I painted the door a bright color to match the flowers once and suddenly everything felt like a tiny, happy set – maybe too theatrical, but it worked. Edging here keeps the look tidy and walkable.
Roadside Rock Bed
A rock bed along a roadside or sidewalk is low-maintenance and durable against foot traffic and rain. I helped my neighbor redo her curb strip and we used larger stones to avoid constant re-leveling – less fuss for both of us. If you want something that survives city life, this is a solid pick.
How to Actually Make This Work For You
Start by being honest about how much time you want to spend on maintenance – if you hate weekly tidying, pick rock or a solid masonry edge instead of delicate wood that rots or mulch that needs topping up. Next, think about the tools and budget you have – edging can be a weekend DIY or a small contractor job, and both are fine depending on your energy level. Finally, plan for seasons – consider how rain, freeze-thaw cycles and mower bumps will affect your edge choice so you don’t end up redoing it in a year.
How long does mulch edging usually last?
Depends on the material – stone, brick, and metal can last decades with little fuss, while wood and loose gravel may need refreshing every few years. Proper installation and drainage extend lifespan a lot, so don’t skip prepping the base.
Will an edging prevent weeds?
Edging helps by creating a physical barrier, but it won’t stop all weeds on its own – use landscape fabric sparingly and maintain a bit of weeding to keep beds looking sharp. Mulch depth also matters; a good 2-3 inches suppresses many weed seeds.
Can I install edging myself?
Yes, many edging projects are DIY-friendly if you have basic tools and the patience to dig straight lines or set stones. If you’re doing a heavier build like a low wall, consider a friend to help or a pro for safety and stability.
Which edging is best for small yards?
Low-profile edges like brick, pavers, or a simple soil cut work great in small spaces because they don’t overwhelm the area. Choose materials and colors that complement your home so the space feels larger, not cluttered.