I used to feel exposed on my patio. Cars passed. Neighbors peeked. One weekend, I added a high planter and a roll-up screen. My patio felt private that evening. These 26 ideas span budget-friendly hacks to permanent upgrades. Most projects cost $25–$500. I note exact sizes, colors, and where I bought items so you can recreate the same secluded oasis.
This guide leans modern-meets-boho. I focus on affordable options and some splurge pieces. Works for small balconies, mid-size patios, and large backyard decks. Expect plant-forward solutions, hardscape options, and flexible screens.
Tall Planter Boxes With Ornamental Grasses
Style/Vibe: Modern Farmhouse
Budget: $$ ($100–300)
Best For: Patio edge, balcony
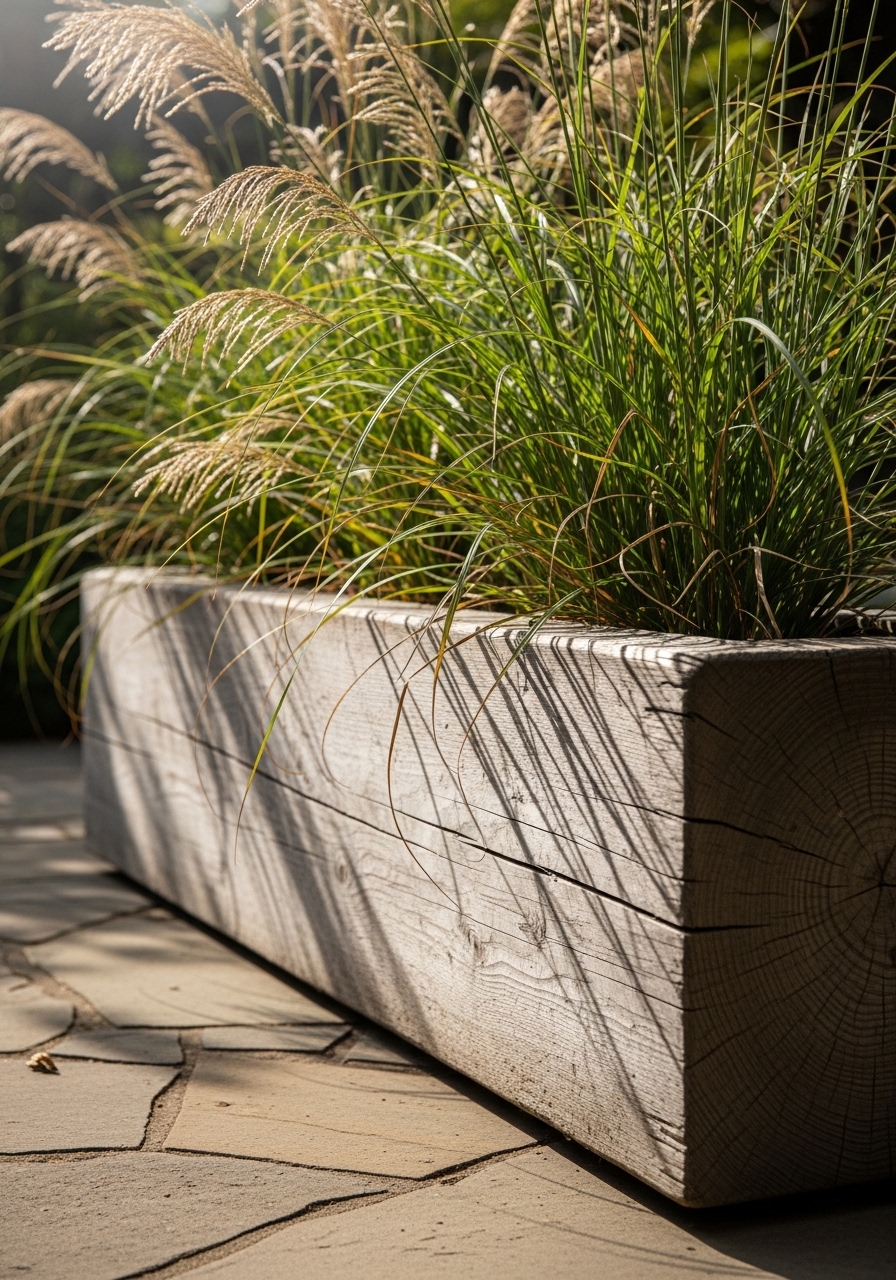
I placed a 6-foot cedar planter along my deck railing. I used Miscanthus sinensis 'Gracillimus' for height (5–6 ft mature). The planter I bought from Home Depot was 72 x 14 x 14 inches and cost about $180. I paired it with this cedar planter box and miscanthus grass plugs. Visually, the tall grasses create a soft screen that moves in the breeze. Styling tip: stagger plant heights in groups of three. Common mistake: planting too densely; roots need room to thrive.
Bamboo Roll-Up Screens For Breeze-Friendly Shade
Style/Vibe: Coastal
Budget: $ (under $100)
Best For: Porch, balcony
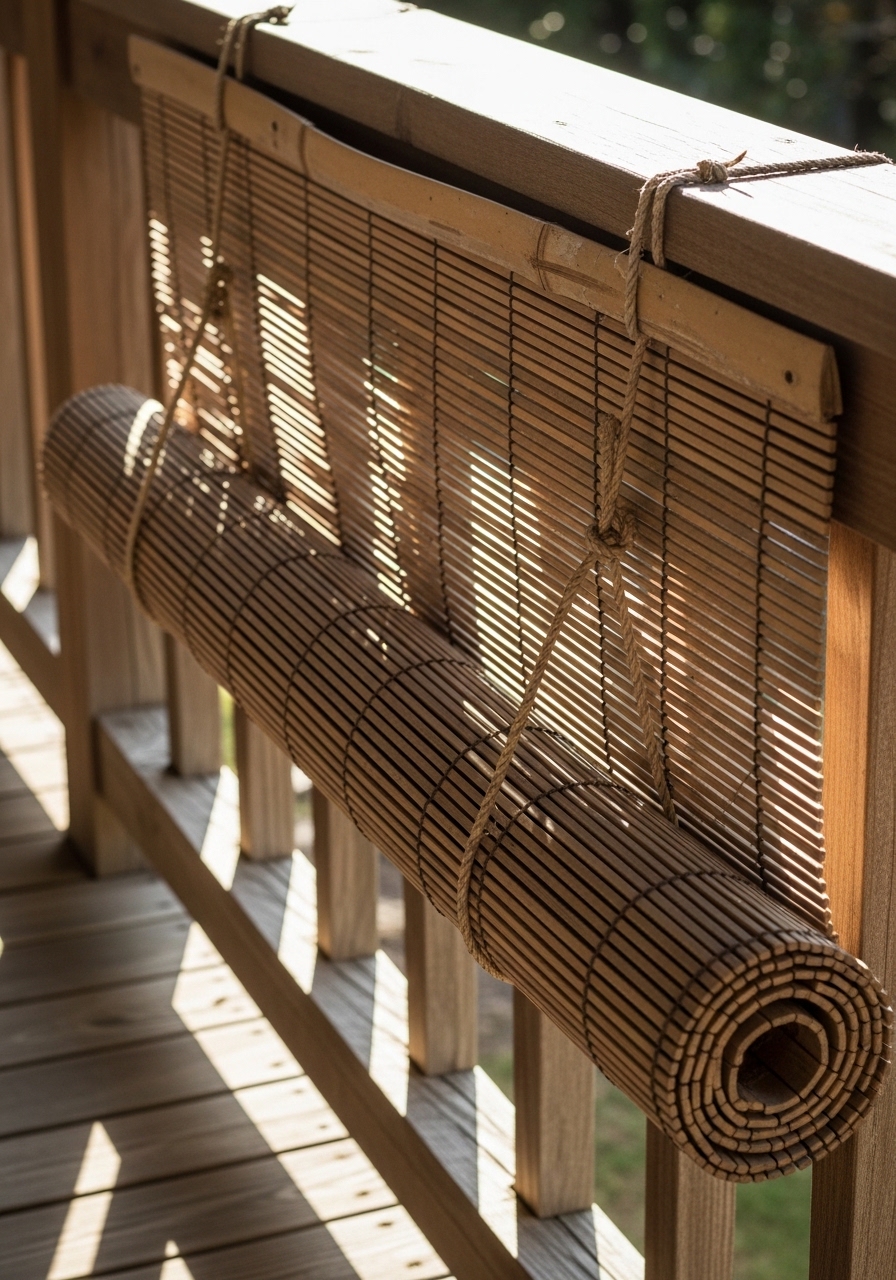
On a hot afternoon, I rolled down a bamboo screen and the space felt instantly private without blocking airflow. I installed a 6 x 8 ft roll from Amazon for about $45. I used roll-up bamboo shades and s-hooks for hanging. The look is casual and beachy. Styling tip: trim the bottom evenly for a clean line. Common mistake: fastening too low—keep the top secure so wind doesn't tear the weave.
Outdoor Curtains On Ceiling Tracks For Soft Separation
Style/Vibe: Boho
Budget: $$ ($100–300)
Best For: Pergola, covered patio
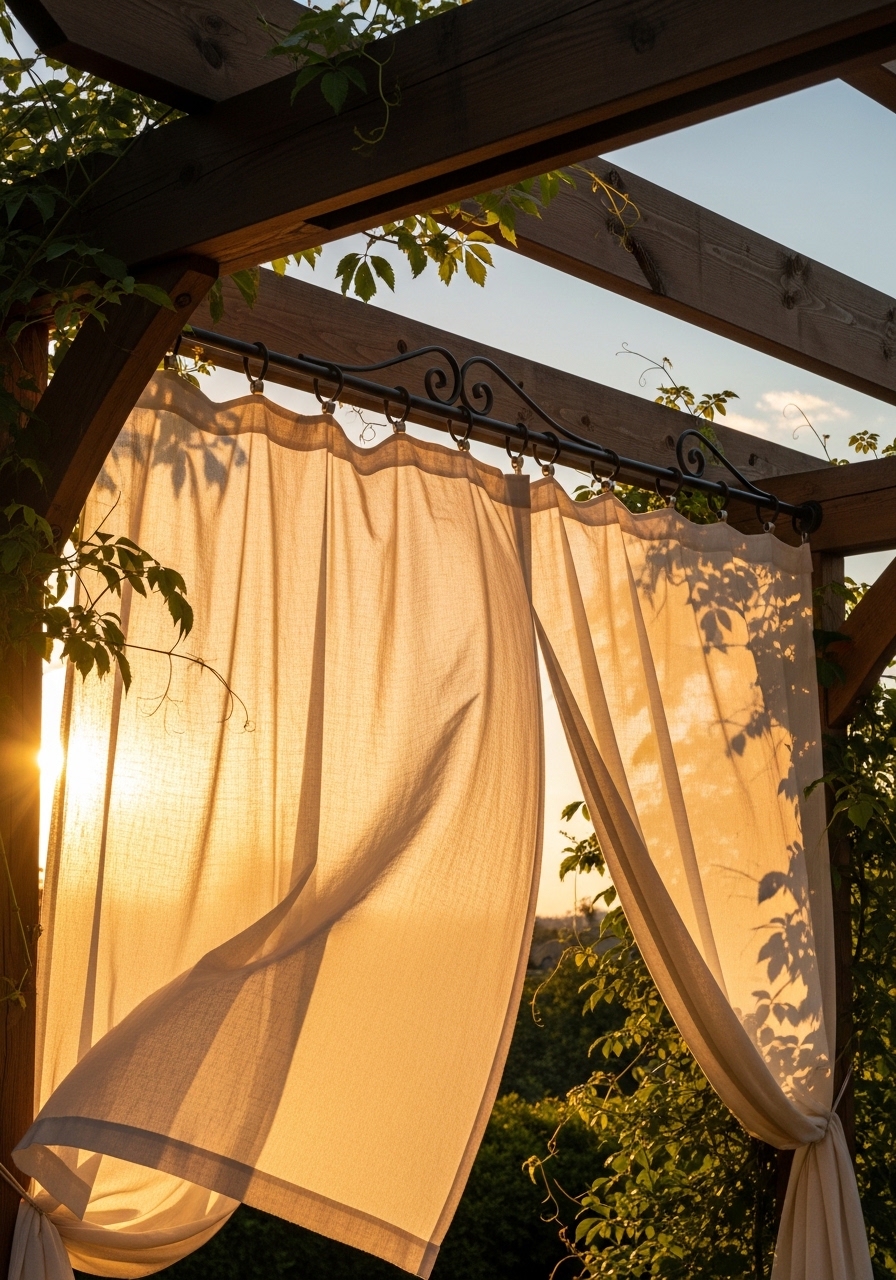
I installed ceiling-mounted curtains across my pergola. I chose white linen-look outdoor panels, 96 inches long, to make the space feel taller. I bought outdoor curtain panels and a ceiling-mounted track kit. They offer privacy and still let light through. Styling tip: use tiebacks at seating height for a layered look. Common mistake: panels that are too short—always go longer for drama.
Pergola With Sheer Drapes For Intimate Dining
Style/Vibe: Mediterranean
Budget: $$$ ($300–800)
Best For: Dining area, backyard patio
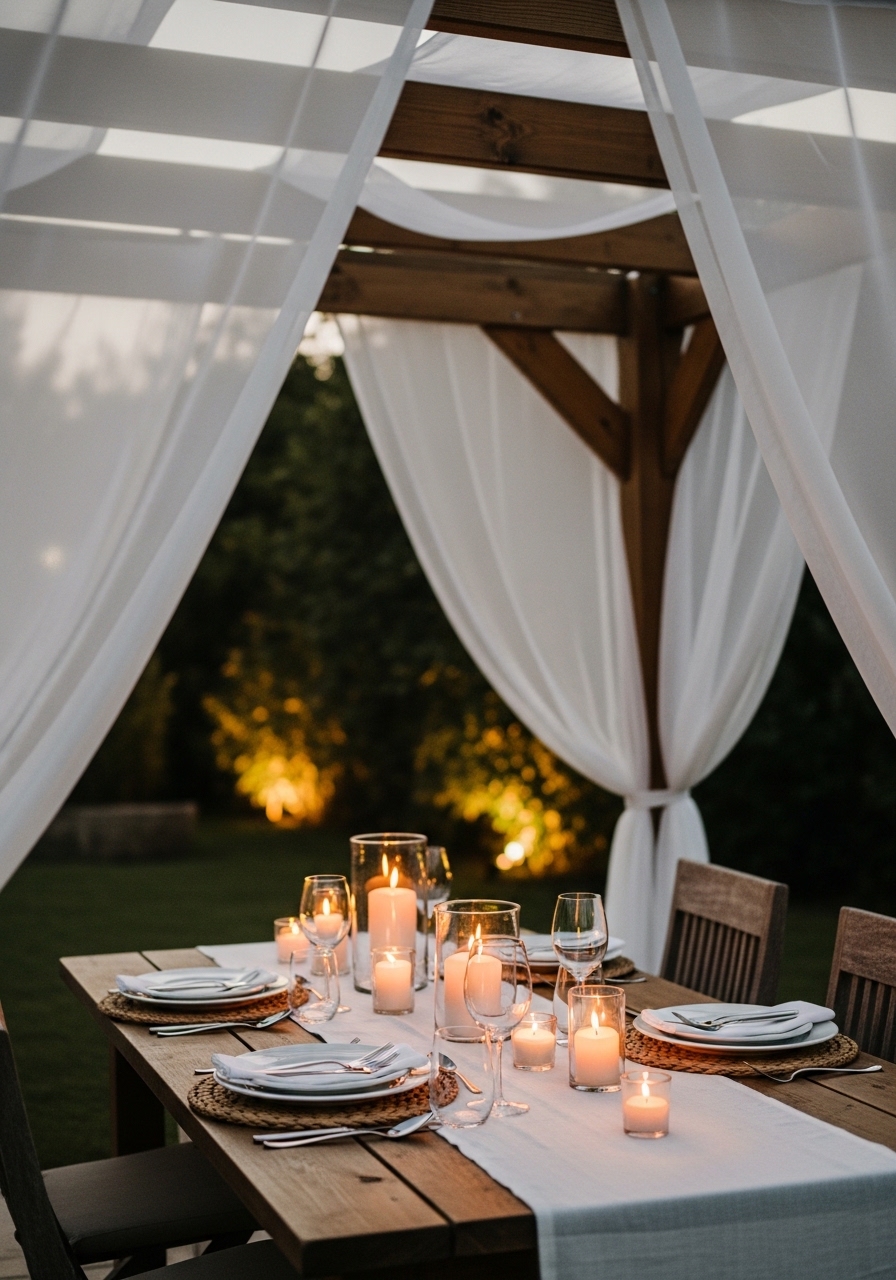
I framed my alfresco dining area with a stained cedar pergola and sheer cream drapes. The result felt sheltered but open. I used 200 x 96 inch outdoor drapes and cedar beams from a local lumber yard. The pergola added structure and the drapes softened sightlines. Styling tip: add string lights inside the pergola for depth. Common mistake: choosing heavy fabric—sheer works better for air flow.
Lattice Panels With Climbing Vines For Classic Privacy
Style/Vibe: Cottage
Budget: $ (under $100)
Best For: Garden border, deck
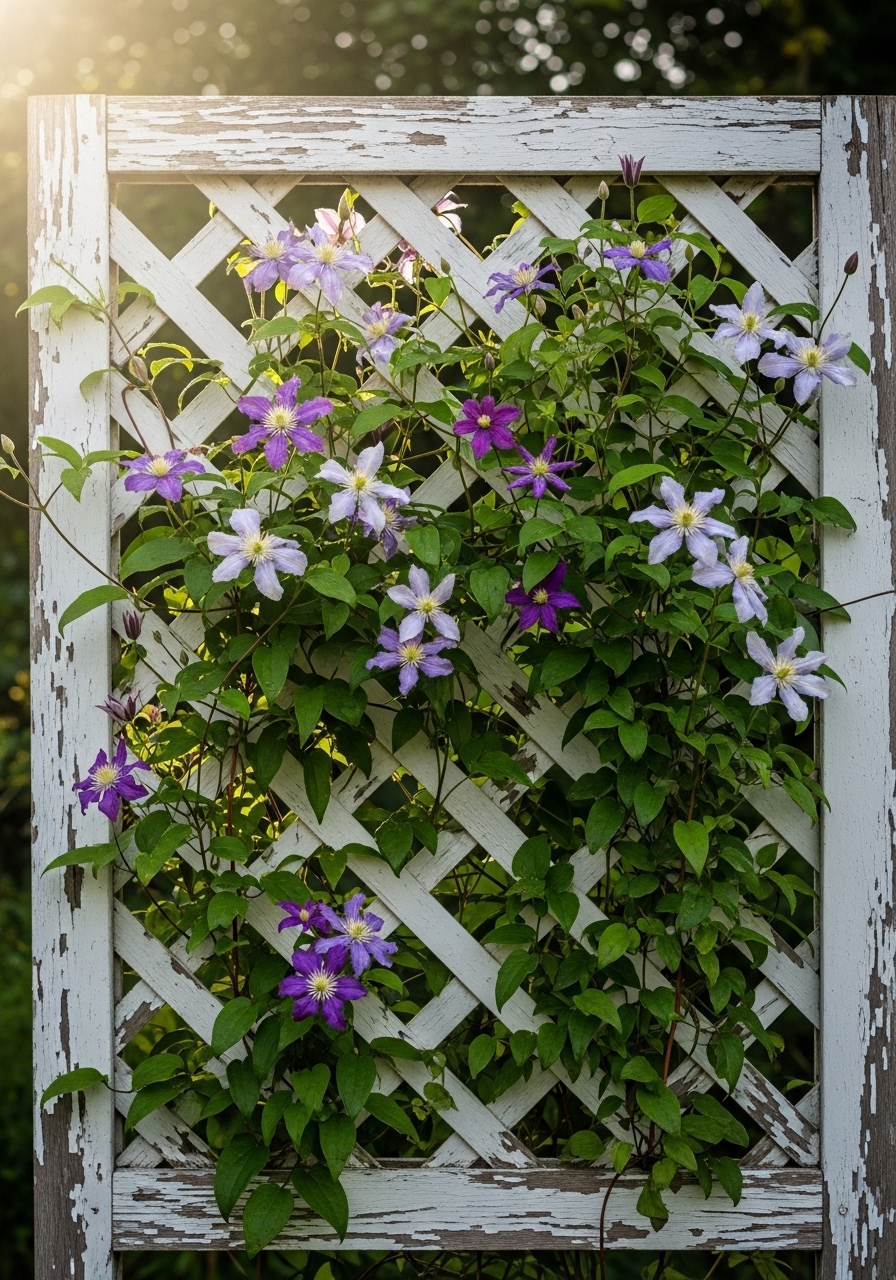
I attached 4 x 8 ft lattice to the fence and trained clematis up the trellis. Within one season, it blocked the view and added flowers. I bought vinyl lattice panels 4×8 for about $40 and clematis vine starts. The white lattice keeps things bright. Styling tip: mix evergreen climbers for winter coverage. Common mistake: skipping a support frame—the lattice needs solid anchoring to avoid sagging.
Vertical Garden Wall Planters For Lush Seclusion
Style/Vibe: Urban Jungle
Budget: $$ ($100–300)
Best For: Small patios, balconies
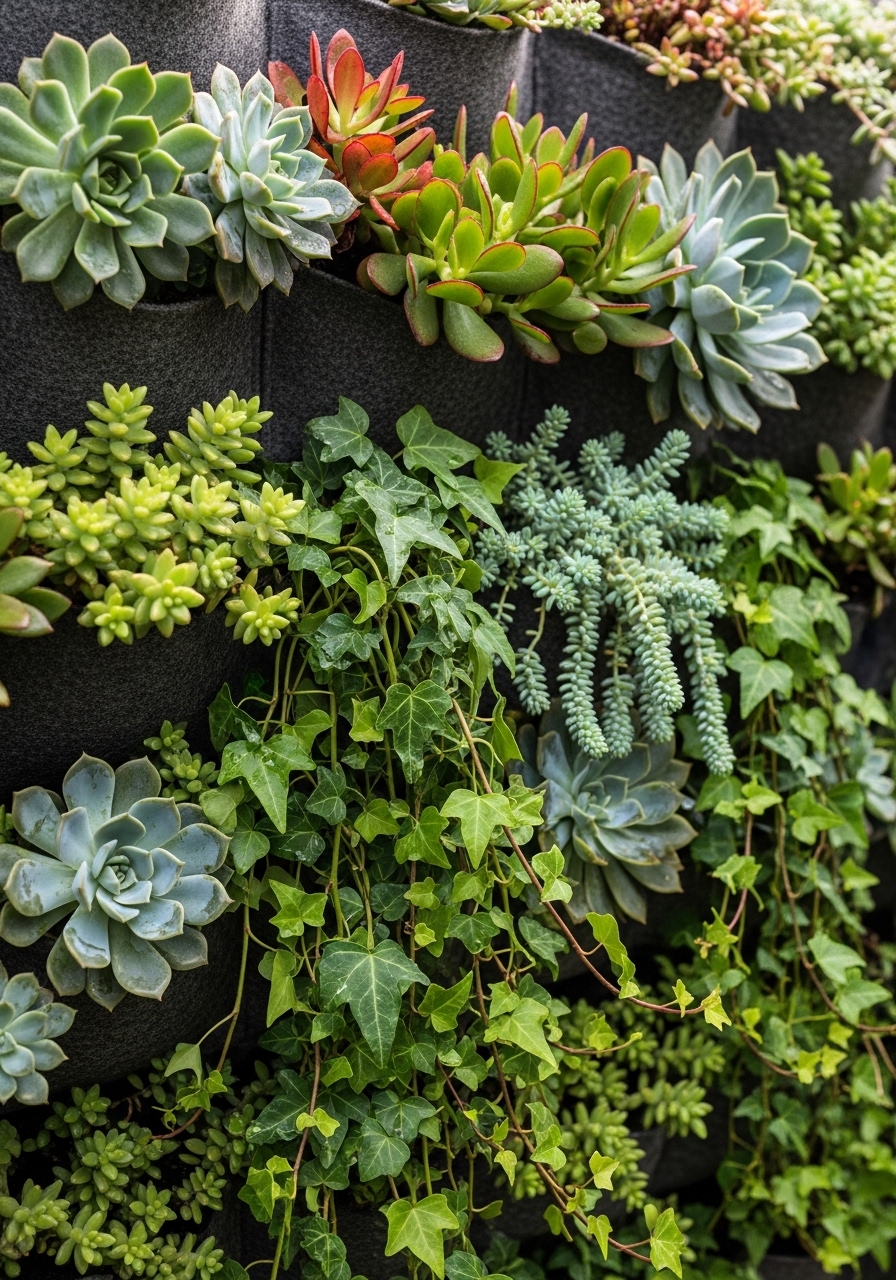
I mounted modular pocket planters on my balcony wall and filled them with succulents and trailing ivy. The modular system gave me instant height and greenery. I used pocket wall planters and self-watering felt pockets. The green wall muffled street noise. Styling tip: combine textures—fern fronds with glossy pothos. Common mistake: planting thirsty plants in shallow pockets; match plant water needs to planter depth.
Freestanding Metal Privacy Panels For Modern Edge
Style/Vibe: Industrial
Budget: $$$ ($200–500)
Best For: Deck, patio entry
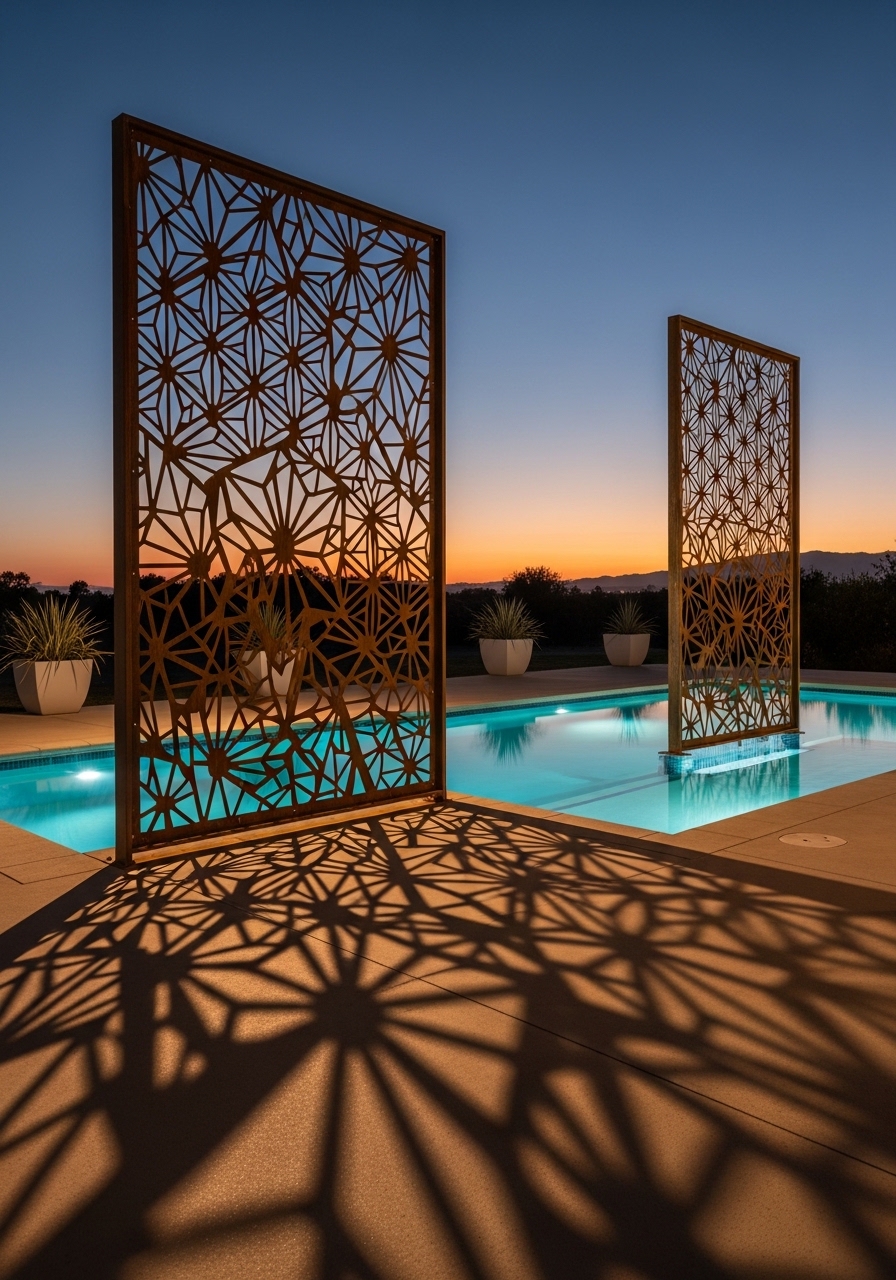
I stood a pair of laser-cut steel panels behind my sofa and they became the focal point. I bought two 6 x 6 ft panels in corten steel look for $350 each from an online seller. I linked similar laser-cut metal panels and galvanized mounting brackets. The front-lit patterns cast beautiful shadows at sunset. Styling tip: backlight them for evening drama. Common mistake: poor anchoring—metal is heavy and needs proper footing.
Slatted Wood Fence Inserts For Scandinavian Simplicity
Style/Vibe: Scandinavian
Budget: $$ ($100–300)
Best For: Backyard fence update
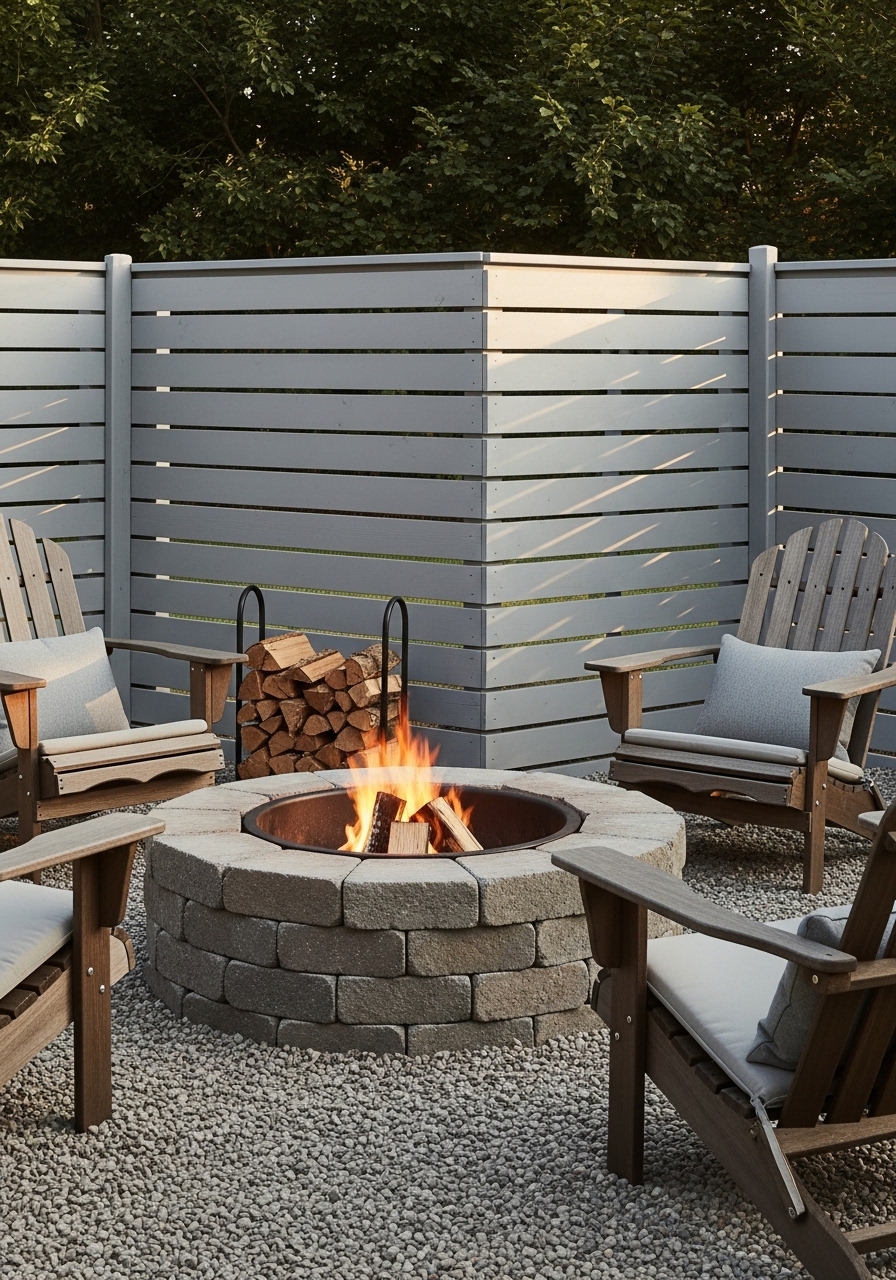
I replaced sections of my old fence with horizontal slatted inserts in ash stain. The clean lines made the yard feel larger. I used 8 x 6 ft slatted wood panels and wood fence screws. The stain I used was "Driftwood Gray." Styling tip: maintain 1/2 inch spacing between slats for airflow. Common mistake: slats too close—this looks heavy not airy.
Living Hedge With Potted Evergreens For Year-Round Screen
Style/Vibe: Classic
Budget: $$$ ($200–500)
Best For: Patio perimeter
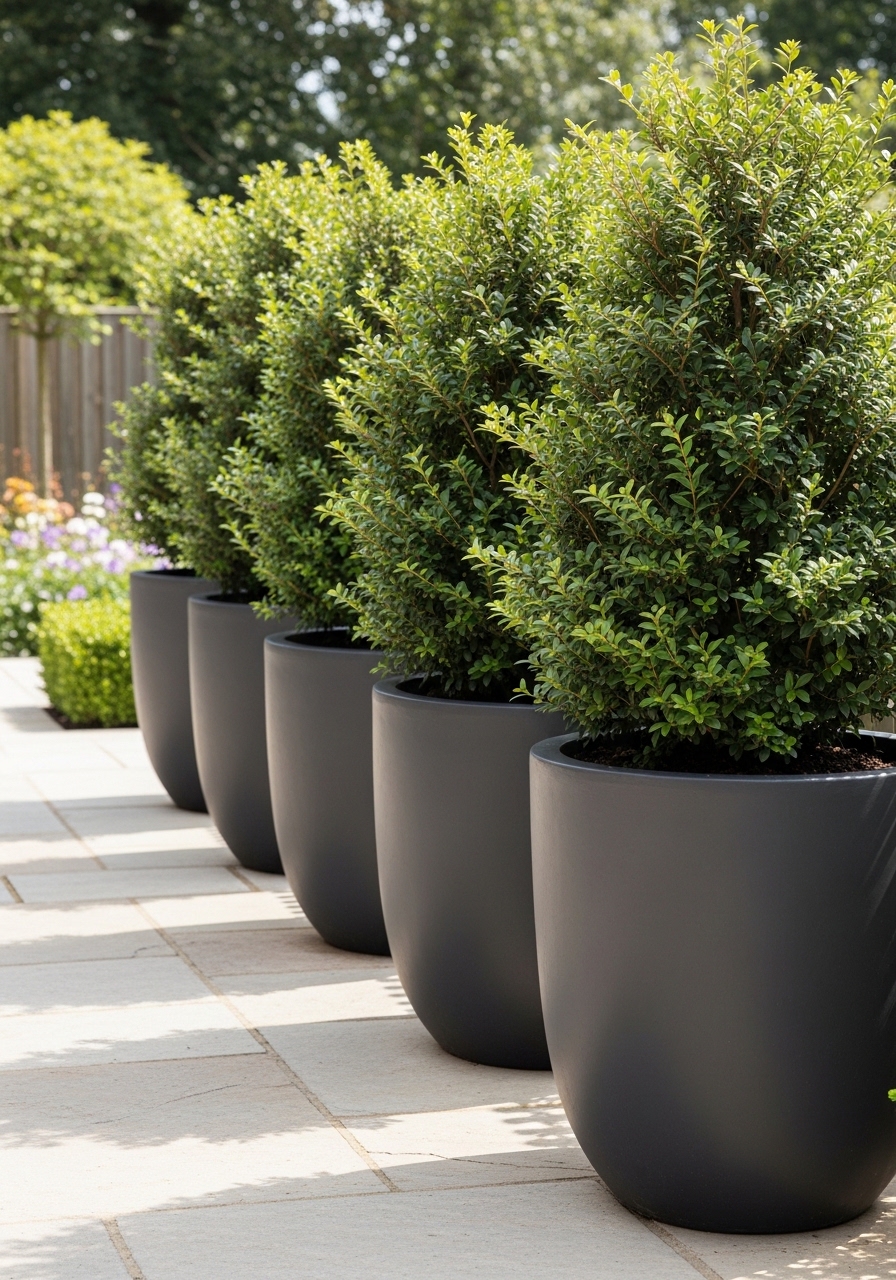
I placed five 24-inch pots with Thuja Green Giant along one side of my patio. They created an evergreen barrier that blocks sightlines in winter too. I bought 24-inch plastic planters and Thuja saplings. The look is formal and private. Styling tip: use matching pots for a unified line. Common mistake: under-potting trees—choose pots large enough for root growth.
Retractable Shade Sail Walls For Flexible Coverage
Style/Vibe: Minimalist
Budget: $$ ($100–300)
Best For: Rooftop, large patio
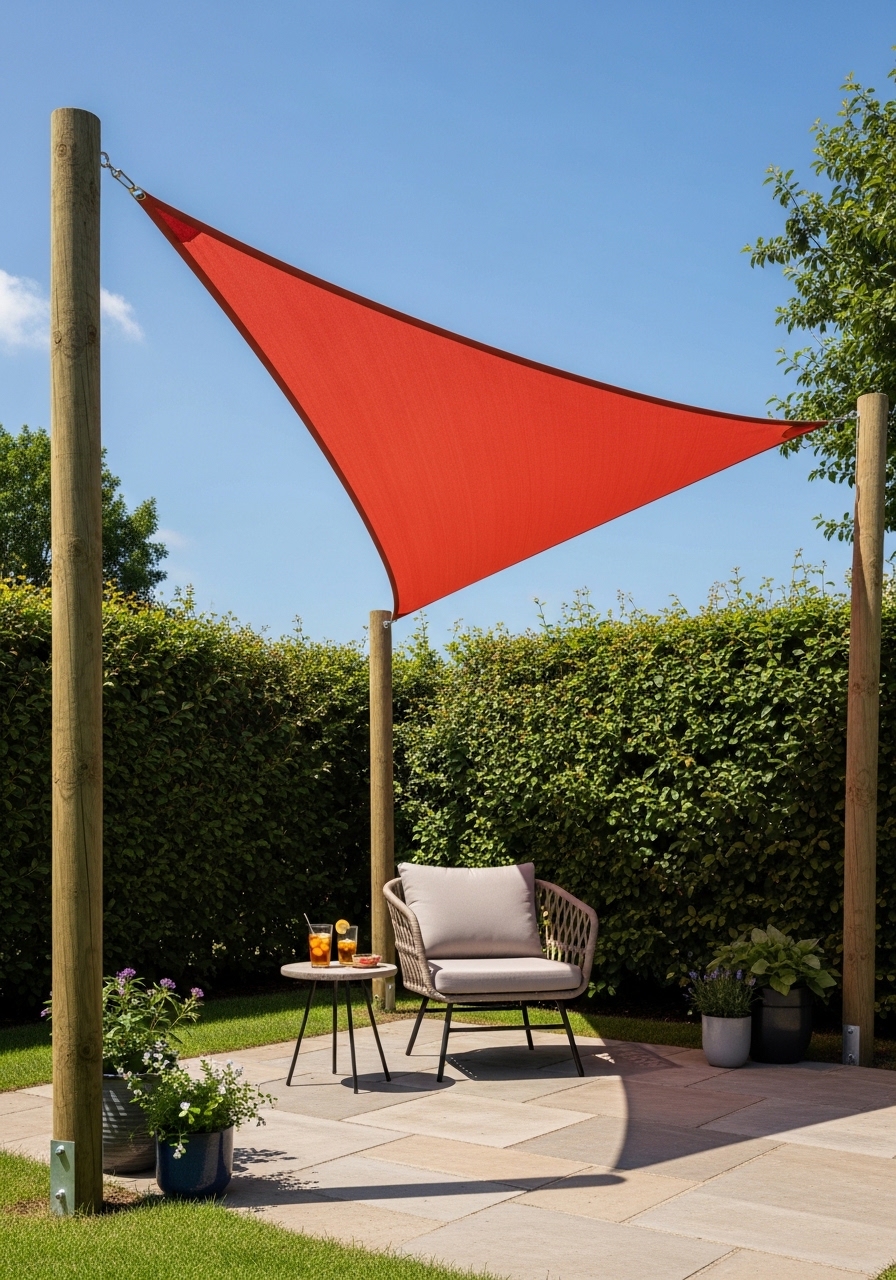
I installed a retractable shade sail on one side of my roof deck. When lowered, it blocks sightlines from the taller neighbor. I used a 12 x 12 ft sail in Charcoal for about $120. I linked 12×12 shade sail and heavy-duty turnbuckles. The shape adds a sculptural element. Styling tip: tilt sails slightly to shed water. Common mistake: anchoring to weak points—always tie into studs or solid posts.
Gabion Stone Wall Accent For Rustic Sound Buffer
Style/Vibe: Rustic
Budget: $$$ ($300–800)
Best For: Poolside, property edge
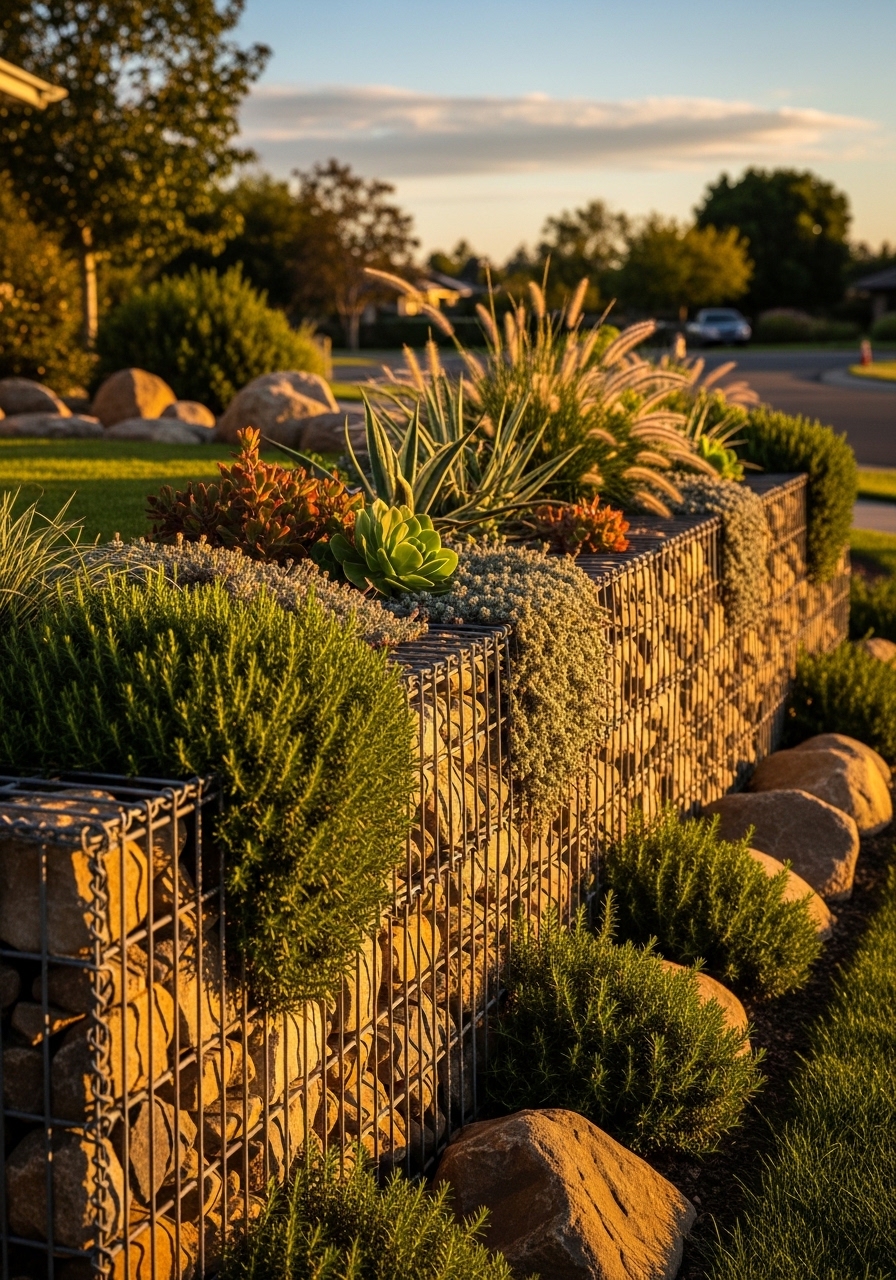
I built a 3 ft gabion wall as a partial visual barrier. The stone-filled cages cost about $400 total for a small length. I ordered gabion baskets 2x1x1 ft and crushed stone. The weight gives permanence. Styling tip: top with low plants for softening. Common mistake: using the wrong rock size—too small and the wall looks messy.
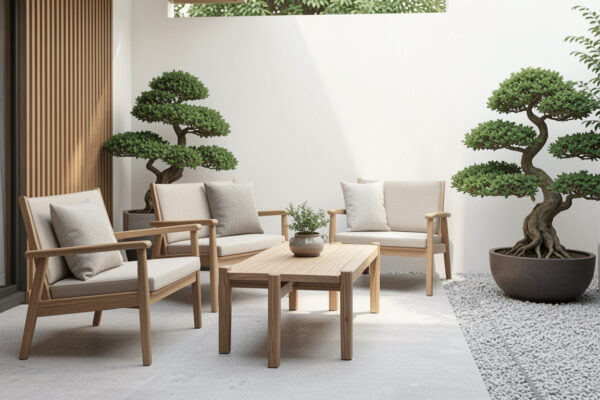
Tall Potted Ficus Or Olive Trees For Mediterranean Flair
Style/Vibe: Mediterranean
Budget: $$ ($100–300)
Best For: Patio corners
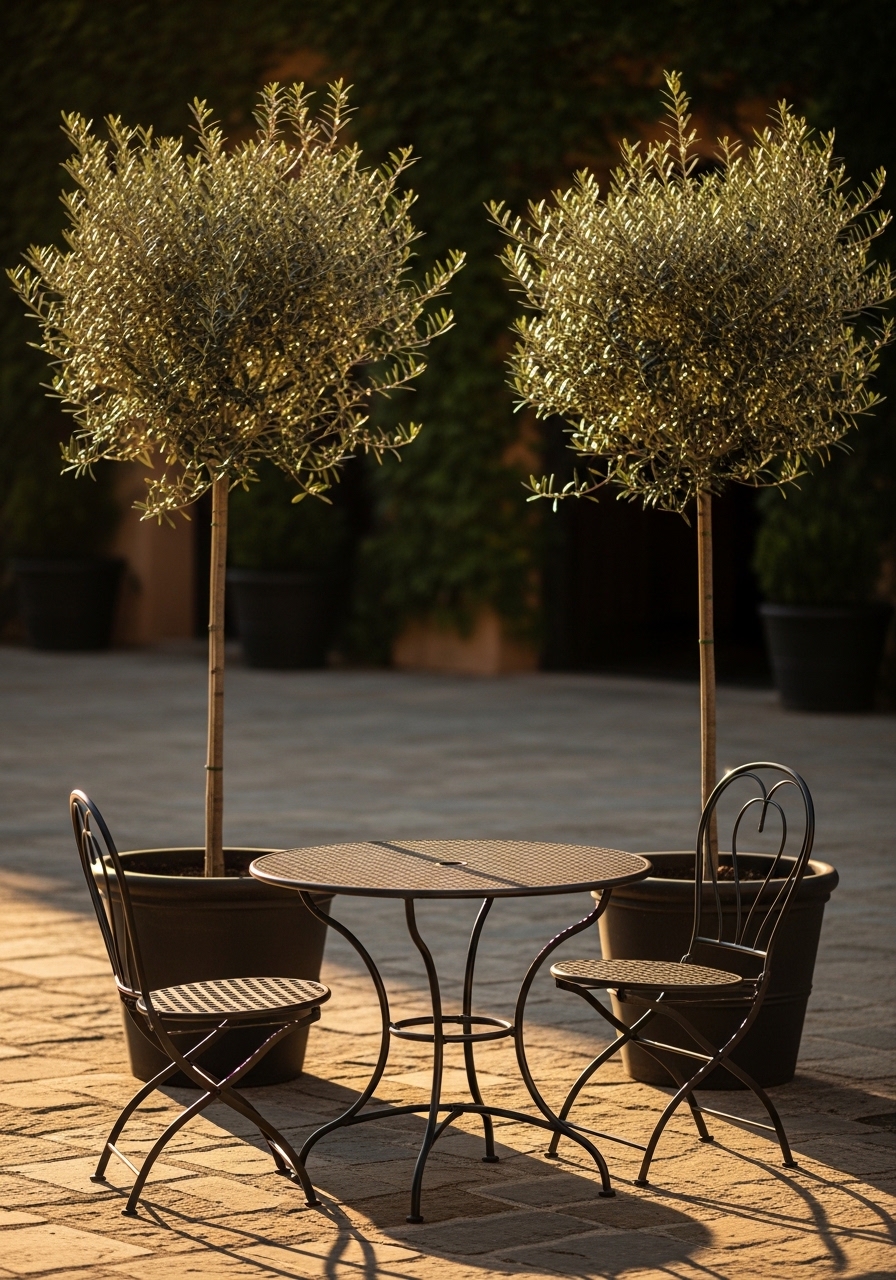
I added two potted olive trees (about 7 ft) to frame my bistro. They bring density and shade without a permanent fence. I sourced 7 ft olive tree potted options and used 30-inch planters. The silvery leaves diffuse view lines elegantly. Styling tip: use terracotta or matte black pots for contrast. Common mistake: choosing trees that need full sun for a shaded patio.
Privacy Trellis With Boxwood Panels For Instant Green
Style/Vibe: Formal
Budget: $$ ($100–300)
Best For: Patio backdrop
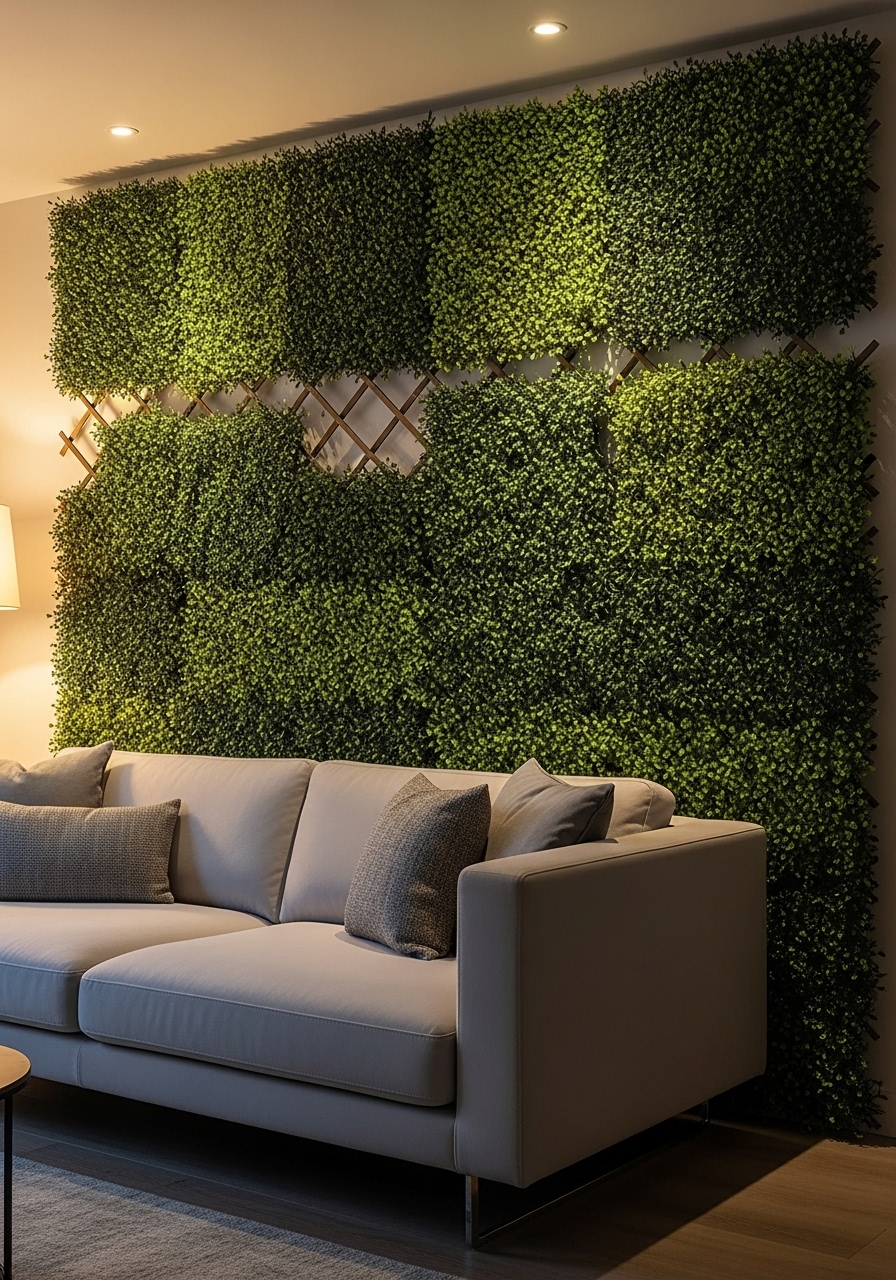
I clipped artificial boxwood panels to a wood trellis for an instant green wall that needs no watering. The 2 x 2 ft panels snap together. I used artificial boxwood panels and a wood trellis frame kit. Real boxwood works too, but demands pruning. Styling tip: mix real and faux textures for depth. Common mistake: using low-quality faux that looks plastic—choose UV-resistant options.
Folding Screen Panels For Flexible Zoning
Style/Vibe: Eclectic
Budget: $ (under $100)
Best For: Small patios, balconies
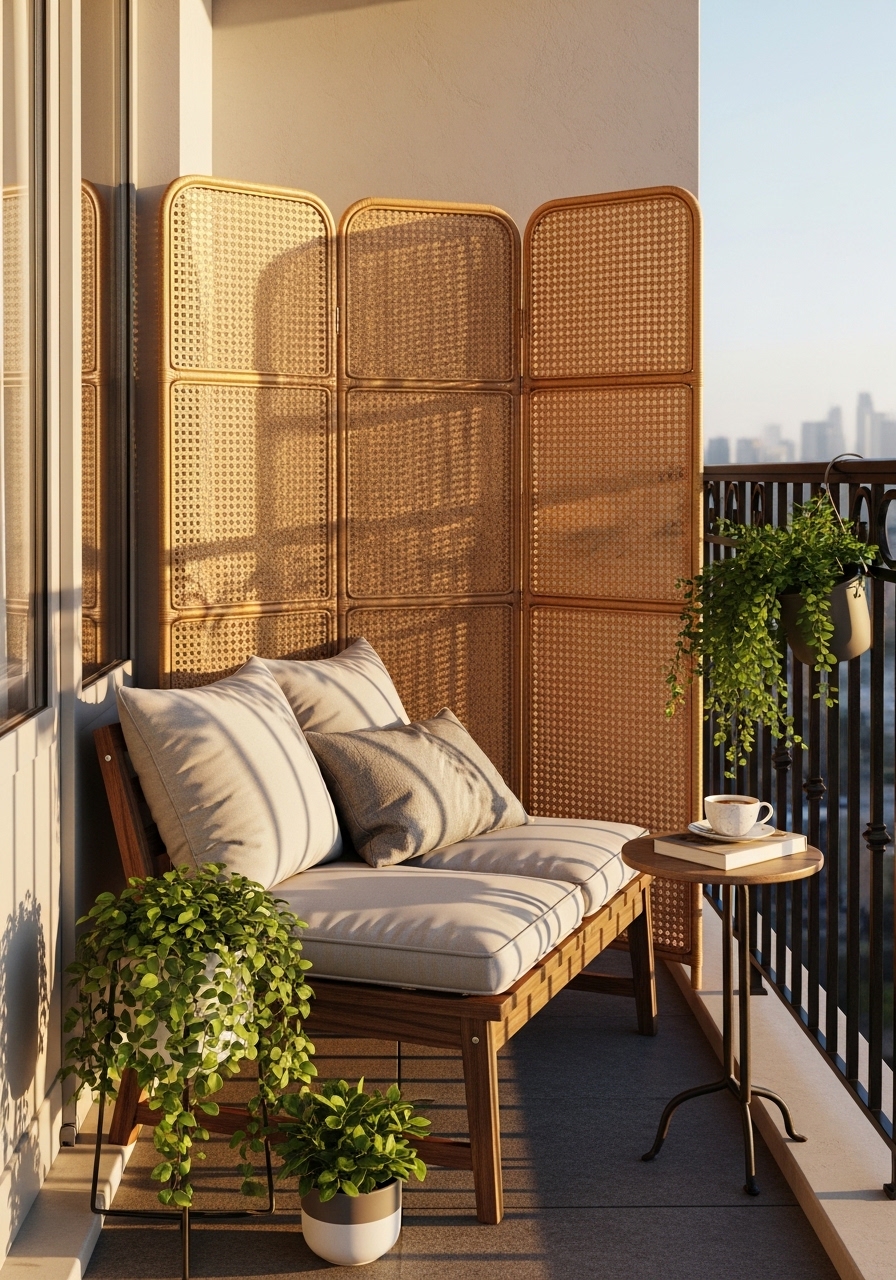
I use a three-panel rattan folding screen to block the neighbor's window on my small balcony. It folds away when I want the view. I bought three-panel rattan screen 60×72 for under $90. The texture adds warmth. Styling tip: pair with a tall plant for a layered look. Common mistake: choosing a screen that's too short—aim for eye level or above.
Macramé Hanging Screens For Boho Texture
Style/Vibe: Boho Chic
Budget: $ (under $100)
Best For: Pergola sides, balcony
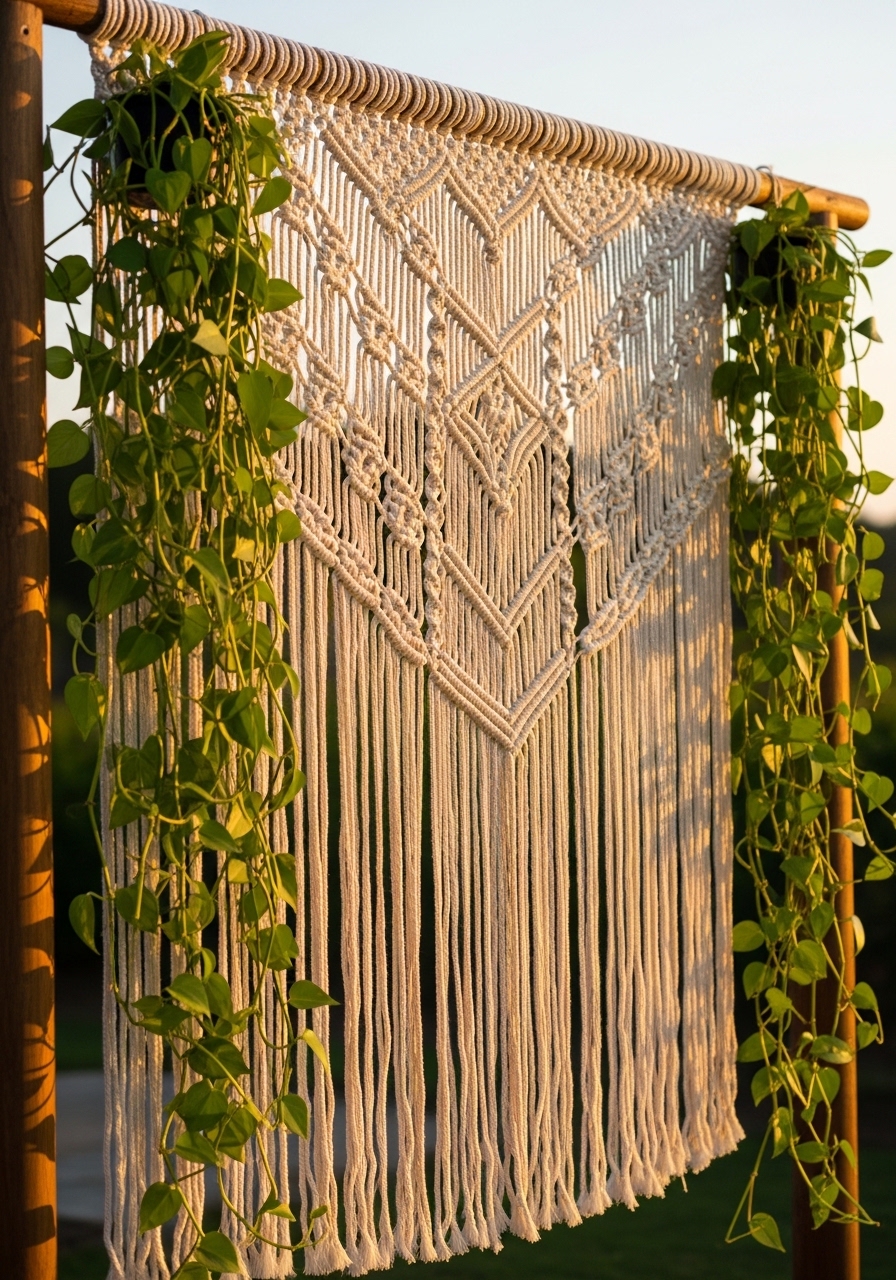
I hung a 4 x 6 ft macramé panel from my pergola beam. It provided partial screening and a relaxed vibe. I used outdoor macramé panel 4×6 and sisal rope hangers. The knotted pattern casts pretty shadows. Styling tip: layer two panels for more coverage. Common mistake: using indoor fiber—pick UV-resistant materials.
Decorative Laser-Cut Panels With Backlight For Night Privacy
Style/Vibe: Contemporary
Budget: $$$ ($200–500)
Best For: Poolside, patio rear
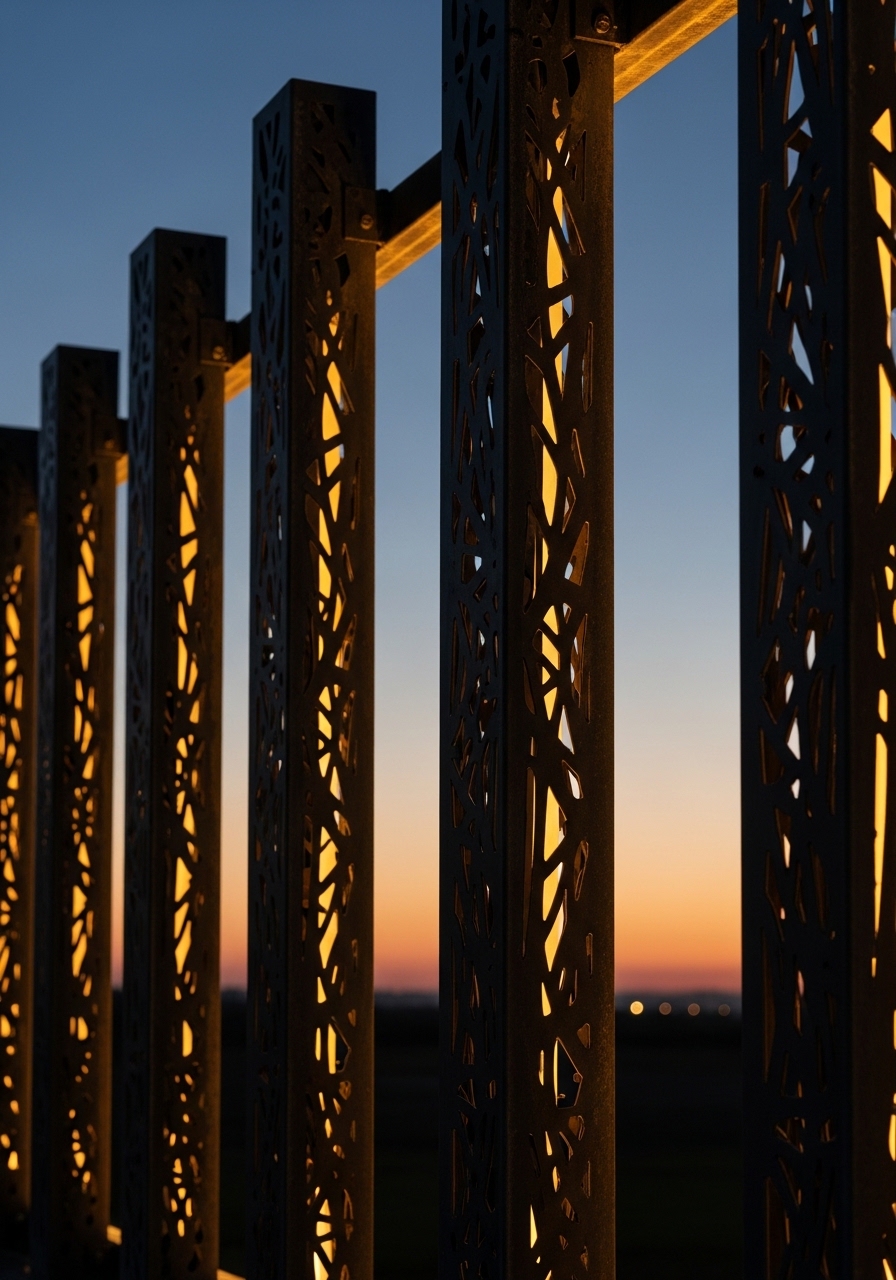
I mounted laser-cut panels and installed LED strip lights behind them. At night the panels read as solid privacy, and by day they feel sculptural. I linked decorative metal panels 6×6 and outdoor LED strip lights. The backlight is subtle but effective. Styling tip: choose warm 2700K light for flattering tones. Common mistake: using cool light that reads harsh against skin.
Reed Or Willow Screening For Natural Rustic Cover
Style/Vibe: Natural
Budget: $ (under $100)
Best For: Fence overlay, balcony
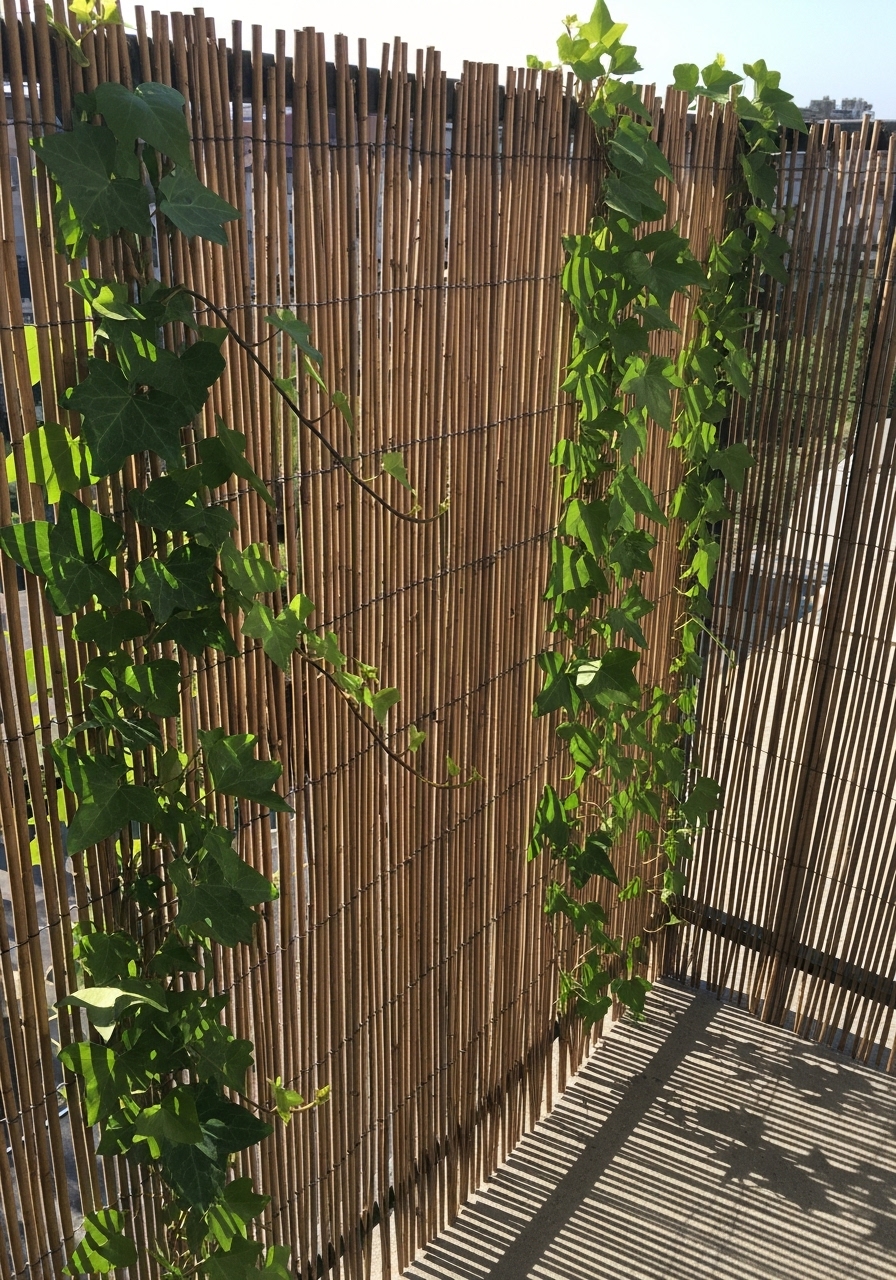
I wired reed screening to my balcony rail and the view softened immediately. A 6 x 20 ft roll costs about $30. I bought reed screening 6×20 and galvanized wire ties. The look is casual and blends with plants. Styling tip: trim the top to match railing height for a tidy edge. Common mistake: letting gaps show—overlap rolls when joining.
Painted Picket Fence For Colorful Privacy
Style/Vibe: Cottage
Budget: $ (under $100)
Best For: Front patio, small yard
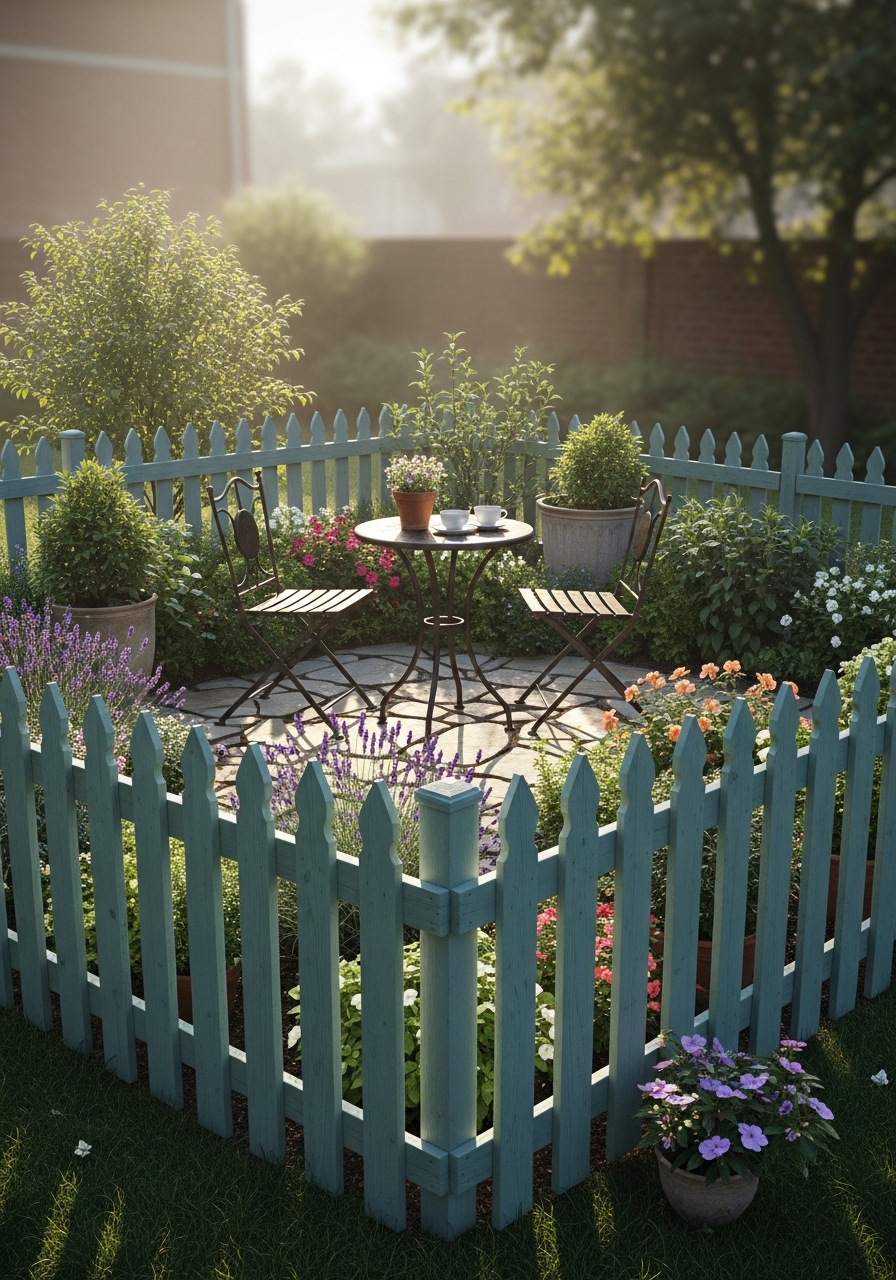
I painted a low picket fence in muted teal to block ground-level views. It cost about $70 for materials and paint. I used outdoor fence paint teal and pressure-treated pickets. The color distracts from intrusive lines of sight. Styling tip: keep the top horizontal for a neat silhouette. Common mistake: using glossy paint outdoors—it highlights dirt.
Stacked Wooden Pallet Wall For Budget Privacy
Style/Vibe: Budget Rustic
Budget: $ (under $100)
Best For: Backyard corner, temporary barrier
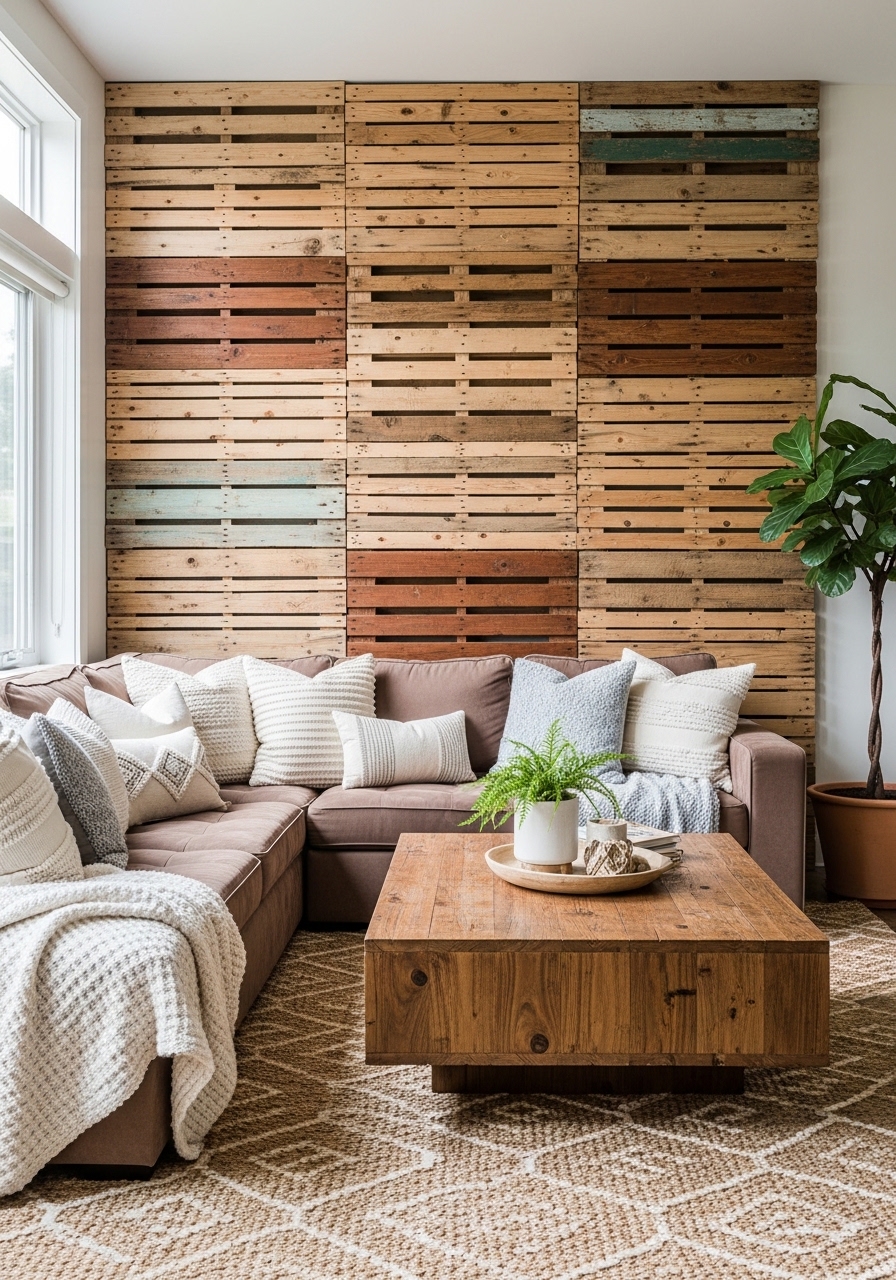
I repurposed pallets into a staggered wall behind my fire pit. It cost under $60. I sealed them with a clear outdoor coat. I linked wood pallet panels and outdoor wood sealer. The layered wood adds texture and blocks sightlines. Styling tip: leave small gaps for airflow and to avoid rot. Common mistake: using untreated pallets—choose heat-treated (HT) for safety.
Outdoor Roller Shades For Clean Minimal Privacy
Style/Vibe: Modern
Budget: $$ ($100–300)
Best For: Covered patios, porches
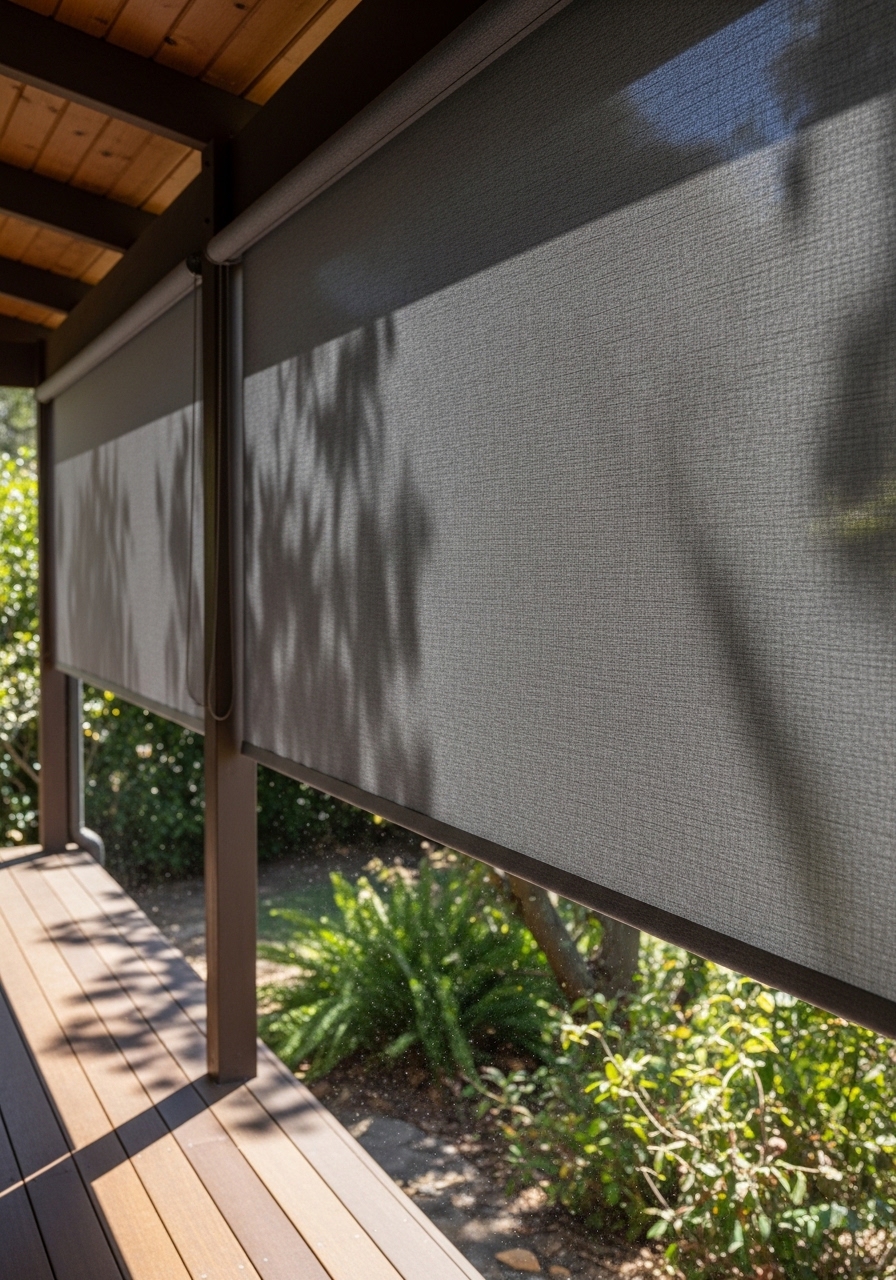
I installed a weatherproof roller shade that rolls into a cassette when not in use. My 70 x 84 inch shade cost about $140. I bought outdoor roller shade 70×84 and heavy-duty mounting brackets. It creates a clean line and blocks morning sun. Styling tip: match shade color to trim for a seamless look. Common mistake: using indoor shades outdoors—they won’t hold up.
Living Moss Wall Panels For Quiet Greenery
Style/Vibe: Zen
Budget: $$ ($100–300)
Best For: Small patio verticals
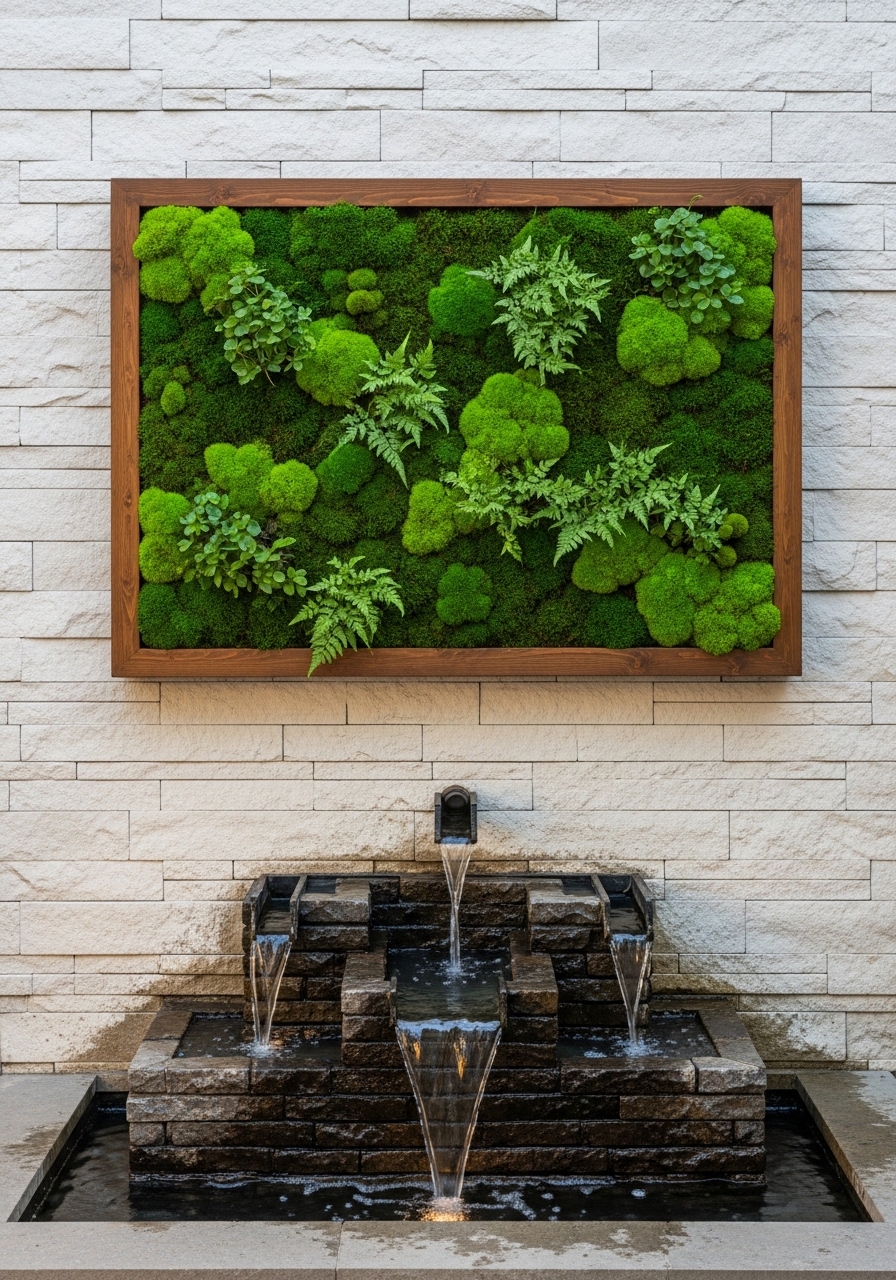
I hung a preserved moss panel on a sheltered wall to add green and dampen sound. The 24 x 24 inch panels cost about $70 each. I used preserved moss panels 24×24 and decorative frame mounts. They need no watering and feel tranquil. Styling tip: place near a water feature for a spa vibe. Common mistake: exposing preserved moss to heavy rain—it’s best under shelter.
Mirror Cluster To Distract Views And Add Depth
Style/Vibe: Glam
Budget: $ (under $100)
Best For: Small patios, balcony
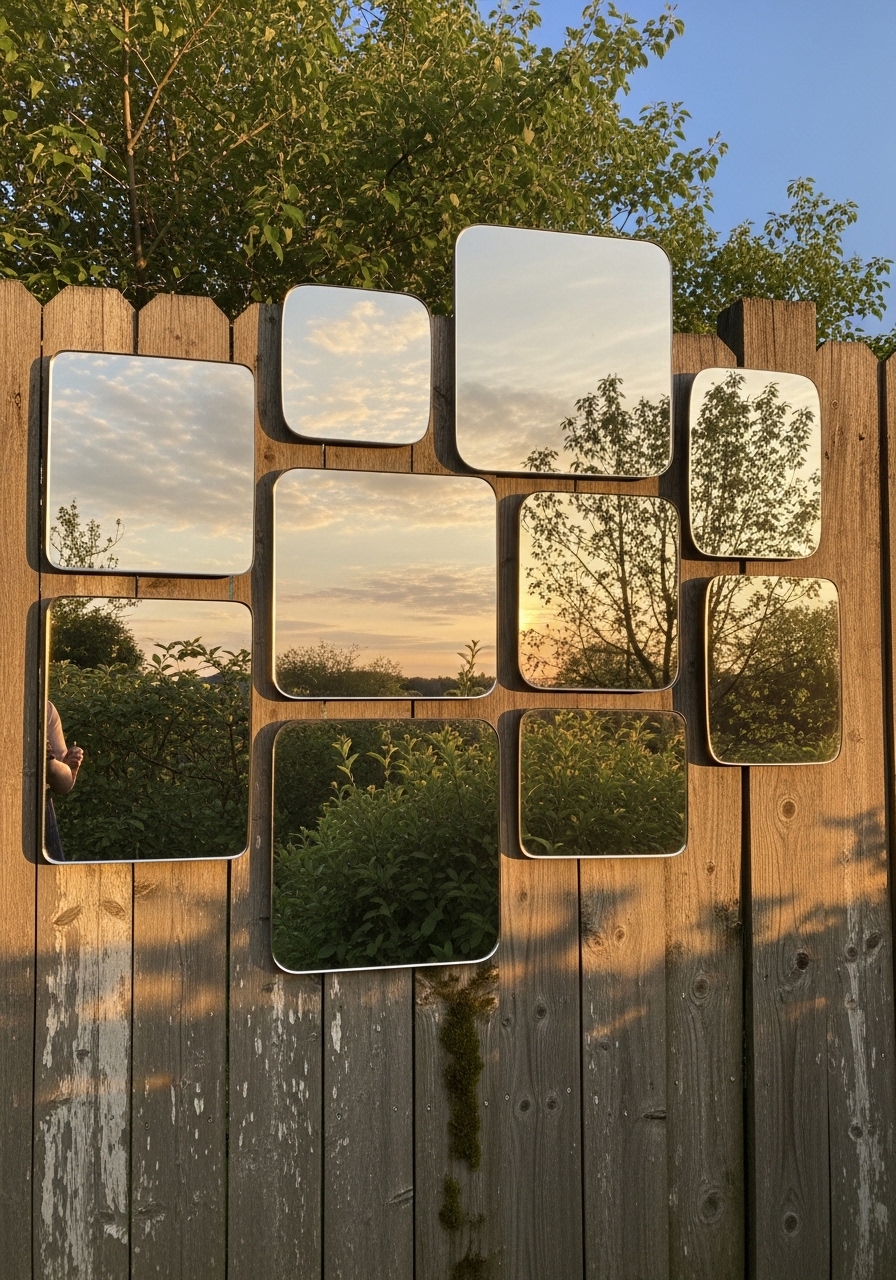
I hung three outdoor mirrors on my fence to reflect my garden and obscure a neighbor’s wall. I chose shatterproof, weatherproof mirrors—each 18 inches round for about $40 apiece. I linked outdoor round mirror 18 inch and mirror mounting strips. The reflected view tricks the eye and adds perceived space. Styling tip: stagger mirror heights to mimic window lines. Common mistake: installing where mirrors glare into neighbors’ windows—choose angles thoughtfully.
String Light Curtain For Soft Evening Privacy
Style/Vibe: Romantic
Budget: $ (under $100)
Best For: Pergola, balcony
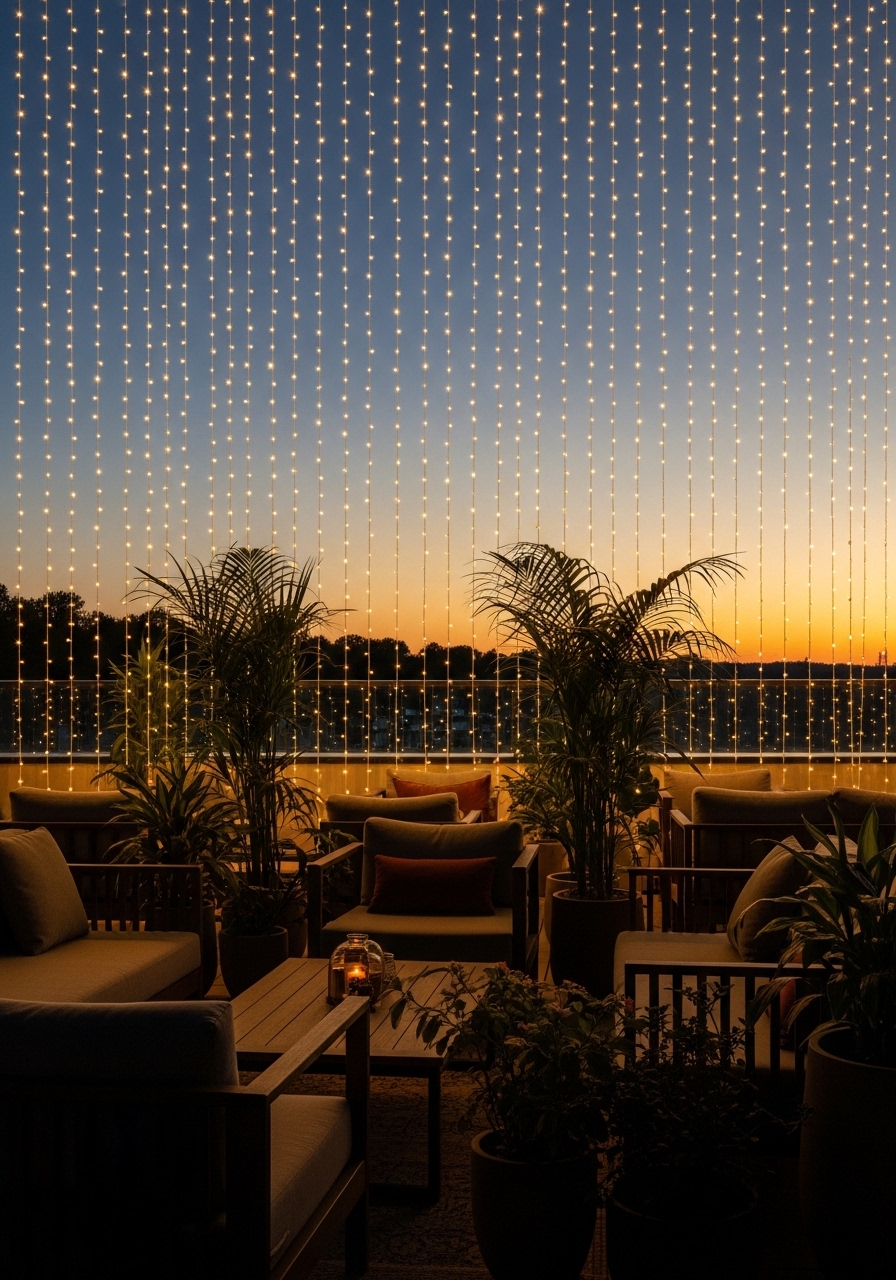
I hung a string light curtain behind my loveseat to obscure a busy street. The soft lights create a barrier and mood at once. I used a 6 x 8 ft curtain of warm LEDs for about $35. I linked outdoor string light curtain 6×8 and a waterproof extension cord. Styling tip: pair with a sheer panel for daytime coverage. Common mistake: leaving lights on all night—they can attract insects near seating.
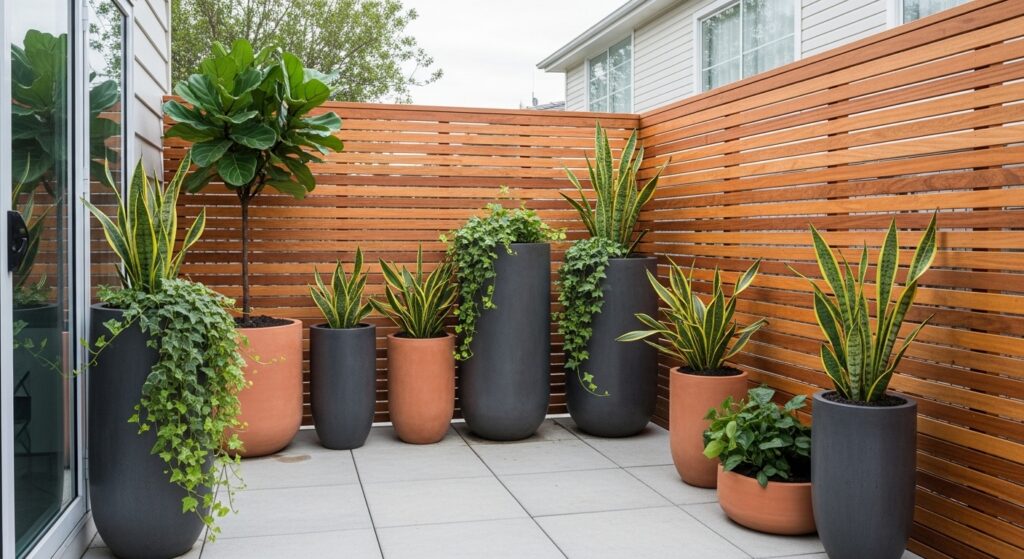
Tall Metal Planters With Bamboo For Asian-Inspired Screen
Style/Vibe: Asian Minimalist
Budget: $$ ($100–300)
Best For: Patio corners, entryway
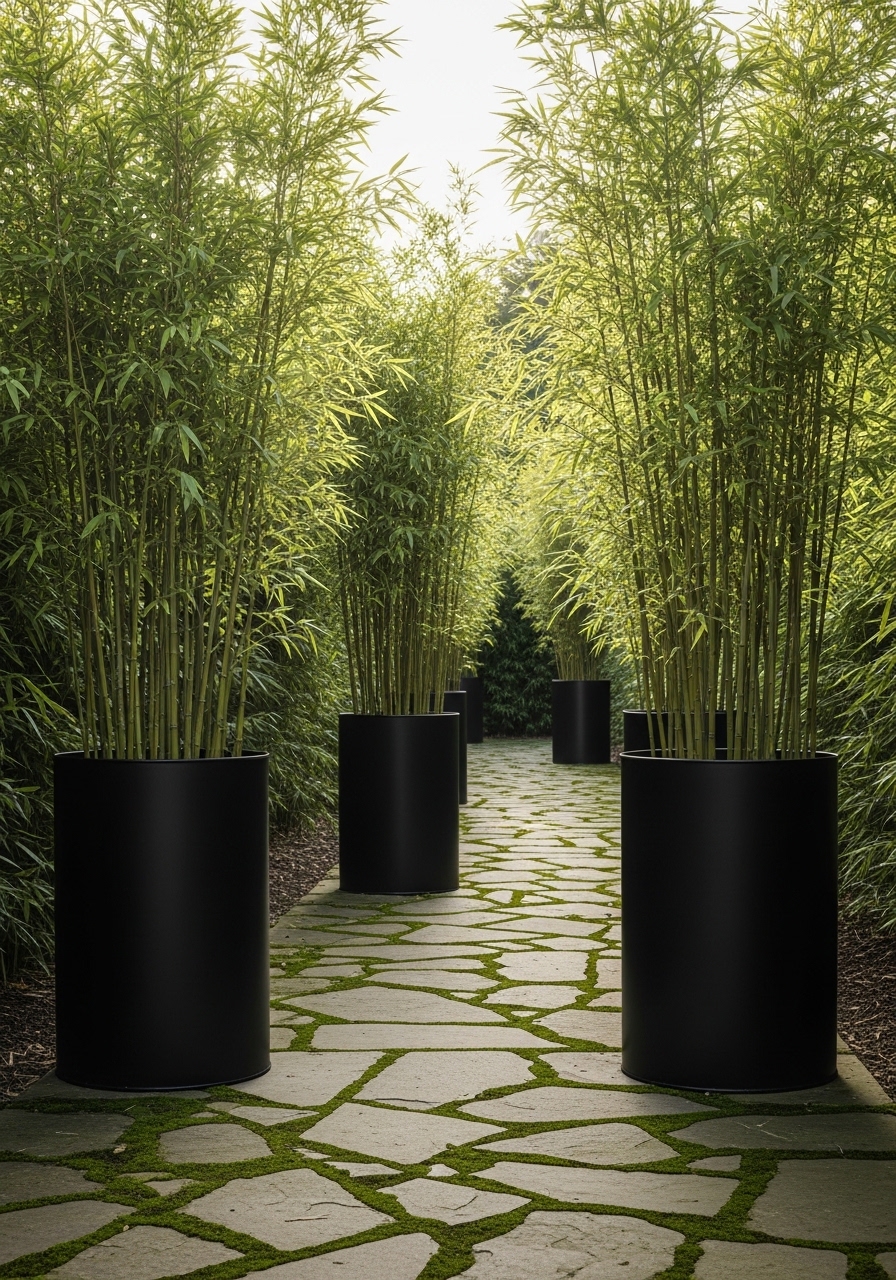
I placed 36-inch tall metal planters with clumping bamboo near my entry. The vertical lines create privacy without appearing heavy. I used 36 inch metal planters and clumping bamboo pots. The look is calm and sculptural. Styling tip: use a gravel top layer to keep the look tidy. Common mistake: planting running bamboo in pots—it escapes. Choose clumping varieties.
Trellis With Grapevines For Shade And Privacy
Style/Vibe: Country
Budget: $$ ($100–300)
Best For: Pergola roof, patio wall
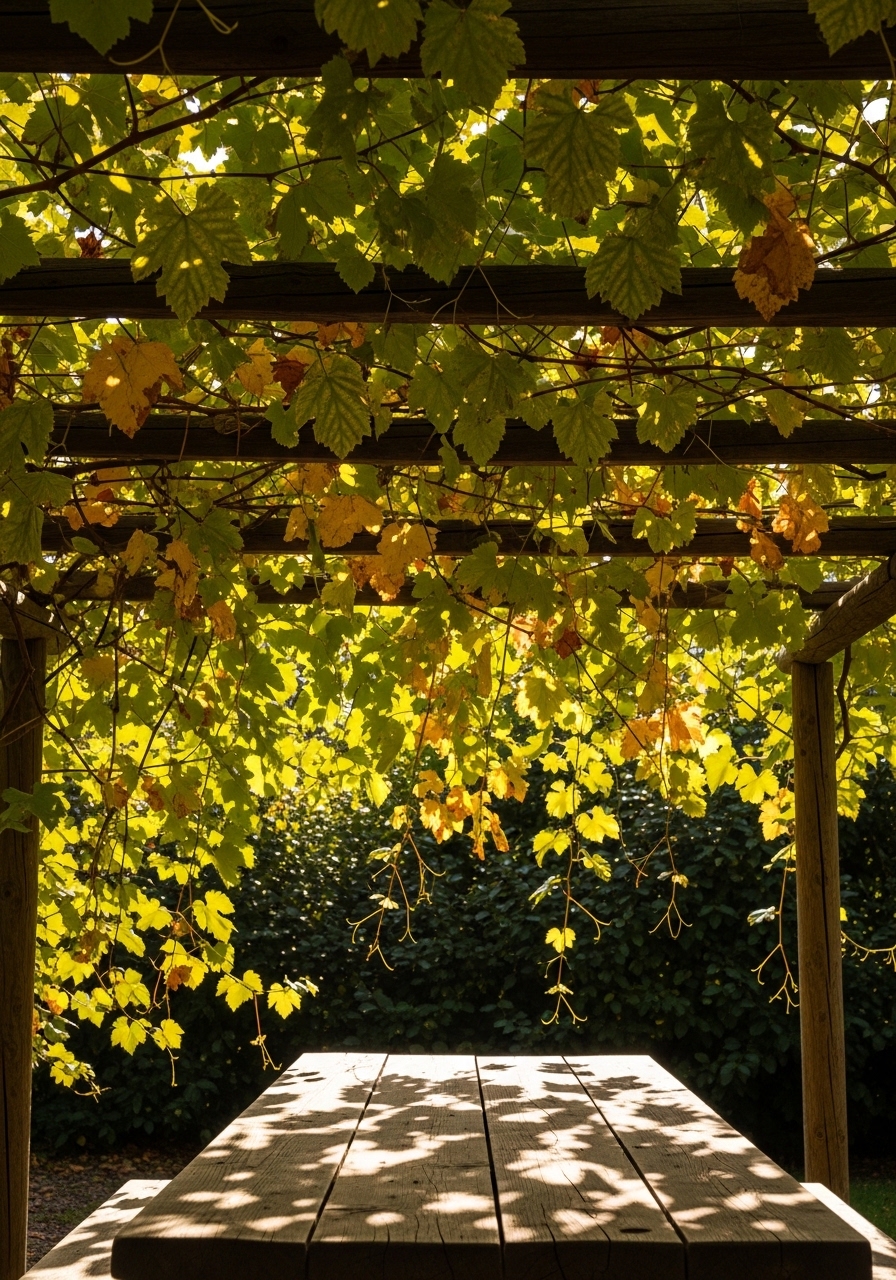
I trained grapevines across a trellis above my dining table. In summer the broad leaves create shade and a natural screen. I used pergola trellis kit 8×8 and grapevine starter vines. The green canopy feels private and edible. Styling tip: prune to shape and maintain light. Common mistake: overcrowding vines—they need airflow to avoid mildew.
Frosted Acrylic Panels For Wind Block And Modern Style
Style/Vibe: Modern
Budget: $$ ($100–300)
Best For: Rooftop terrace, balcony
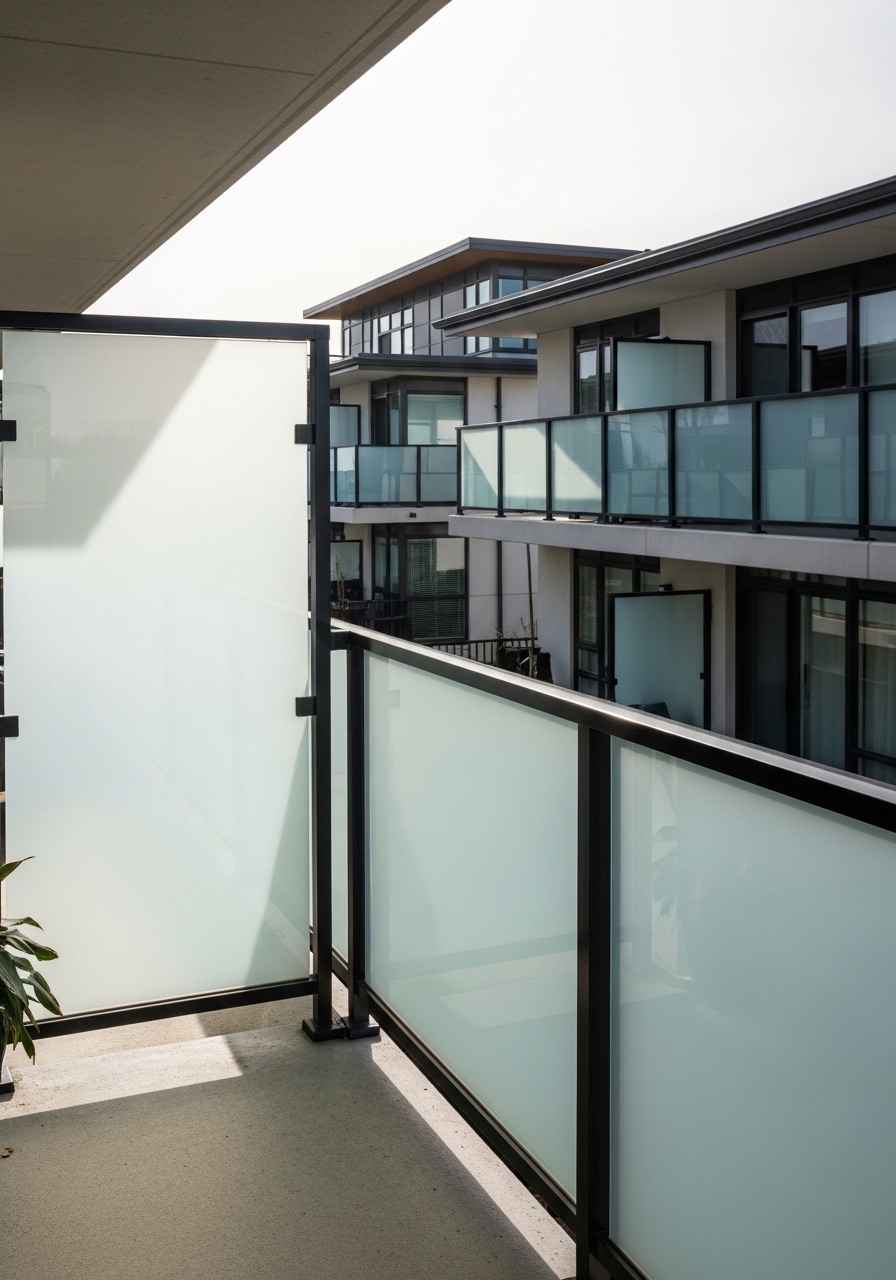
I fitted frosted acrylic panels into my balcony rail channels to block direct views while keeping light. A 48 x 36 inch panel ran about $90. I used frosted acrylic sheet 48×36 and outdoor mounting clips. The finish reads contemporary and private. Styling tip: clean with non-abrasive cleaner to avoid hazing. Common mistake: underestimating wind load—secure edges properly.
Weatherproof Woven Panels For Texture And Warmth
Style/Vibe: Coastal Boho
Budget: $ (under $100)
Best For: Patio walls, pergola sides
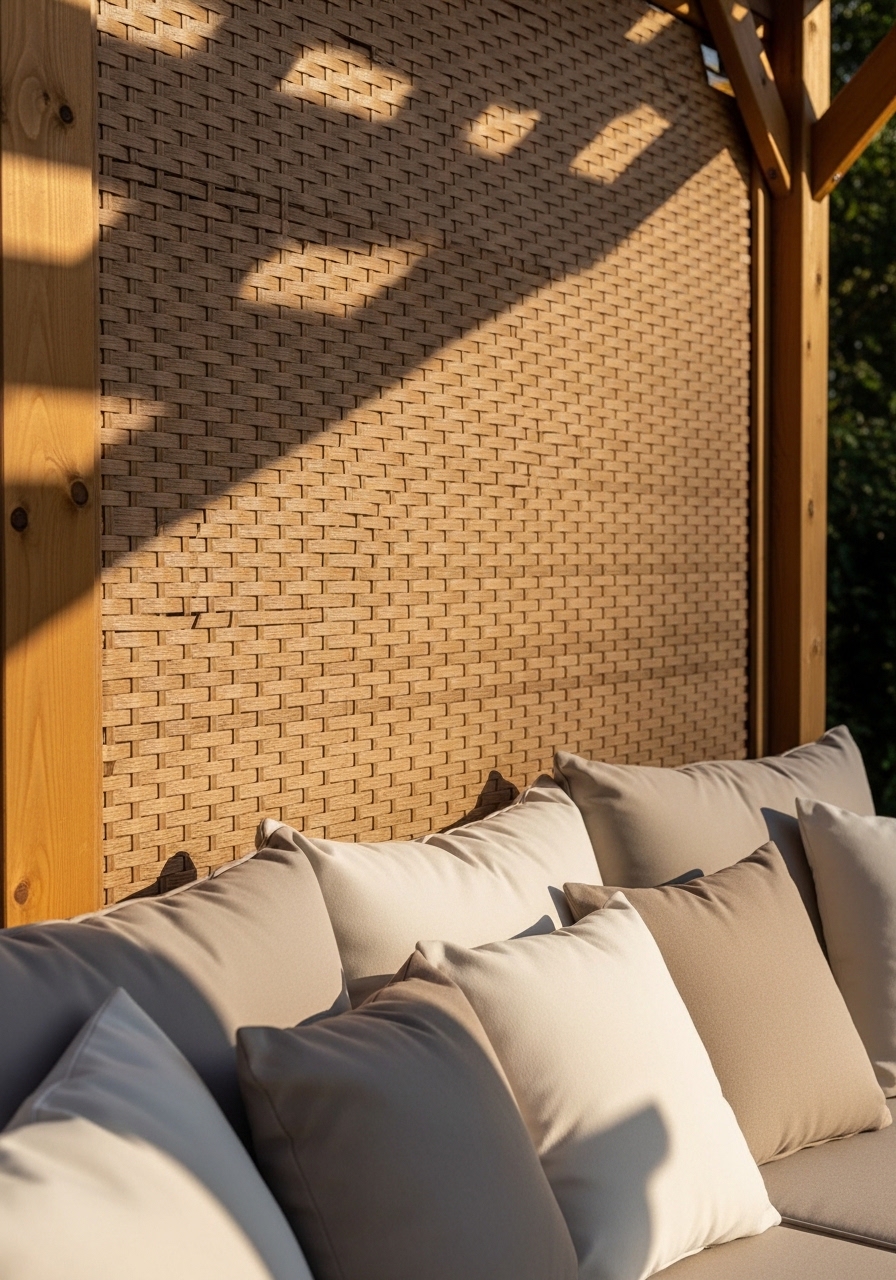
I clipped woven resin panels onto my pergola side to add texture and cover unsightly views. A 6 x 4 ft panel runs about $55. I linked woven resin privacy panel 6×4 and UV-resistant cable ties. The woven pattern breaks sightlines without being heavy. Styling tip: coordinate color with outdoor cushions. Common mistake: using indoor staples—they rust outside.
Living Wall With Vertical Planter Boxes For Herb Screen
Style/Vibe: Kitchen Garden
Budget: $$ ($100–300)
Best For: Patio kitchen, balcony
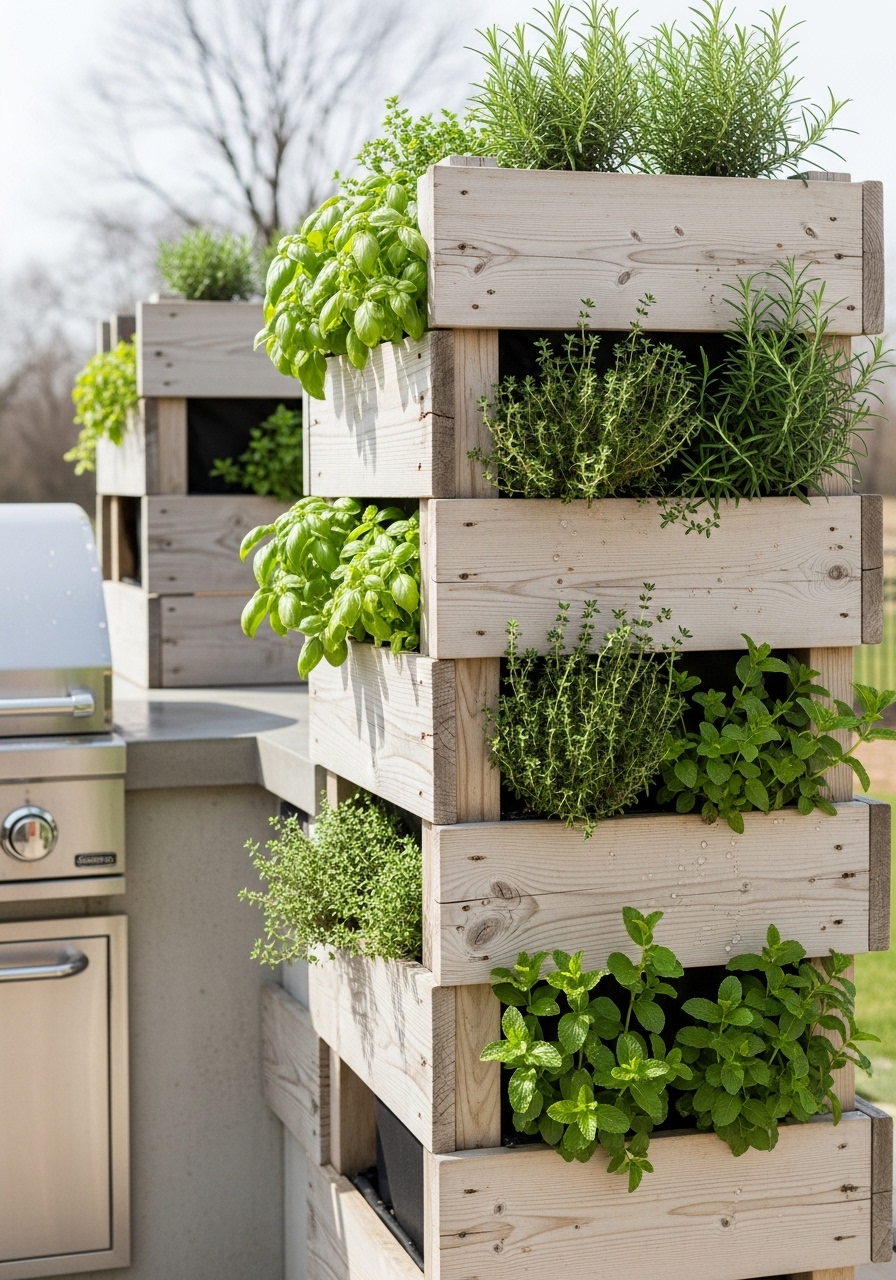
I installed stacked planter boxes and planted mint, rosemary, and sage. They smell great and block lower sightlines for dining privacy. The 4-box stack cost about $220. I used vertical wooden planter boxes 4 stack and herb starter pack. Styling tip: rotate herbs seasonally for color shifts. Common mistake: placing thirstier herbs in shallow boxes—check water needs.
Living Roof Pergola For Overhead Shelter And Privacy
Style/Vibe: Green Roof
Budget: $$$ ($500+)
Best For: Backyard pergola, large patio
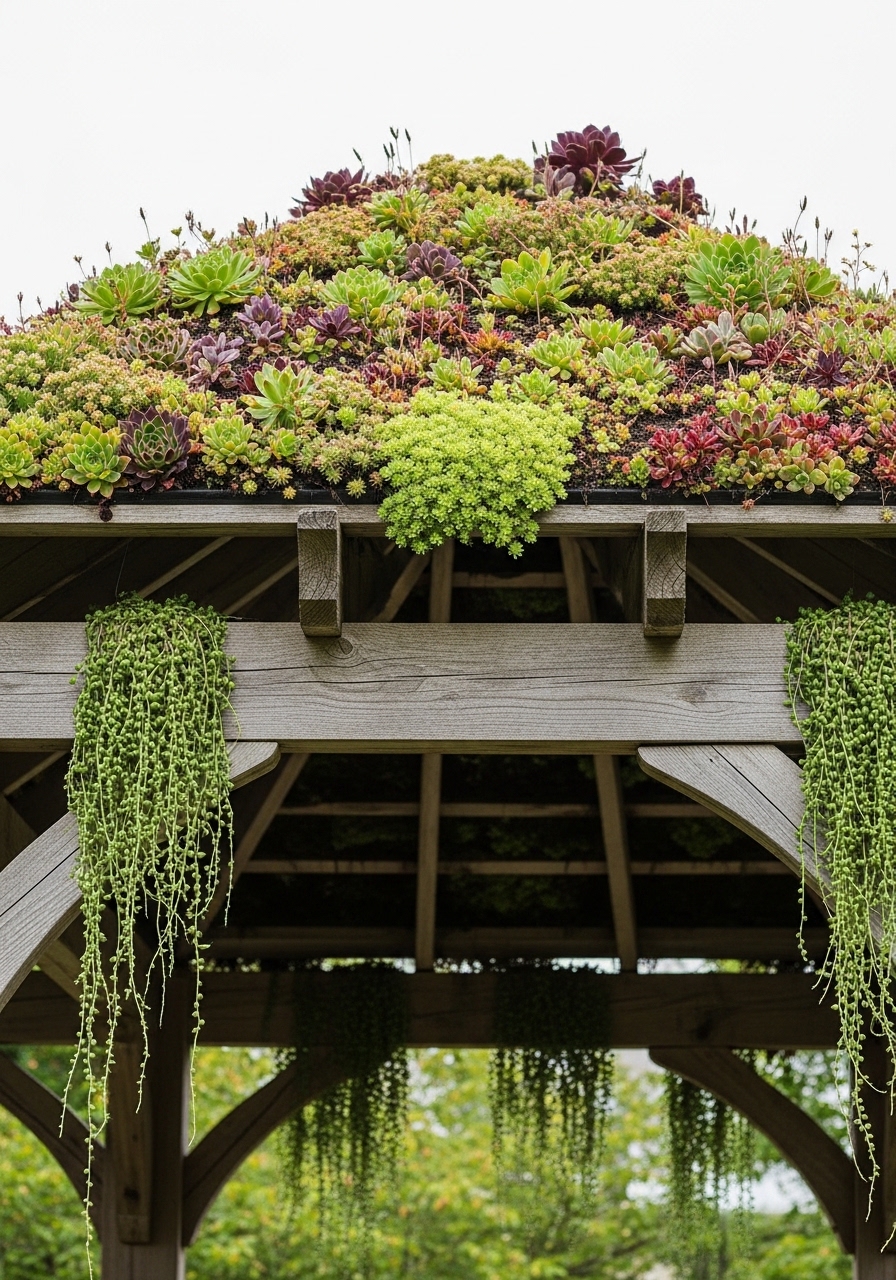
I retrofitted my pergola with lightweight succulent trays to reduce visibility from above and add a unique layer of privacy. Each tray is 2 x 2 ft and costs about $35; a small pergola used 12 trays. I linked sedum tray 2×2 and green roof membrane. The living roof feels quiet and private. Styling tip: pick drought-tolerant plants for minimal maintenance. Common mistake: overloading structure—check weight limits.
Shopping Tips for These Looks
Buy durable fasteners: Outdoor projects fail when hardware rusts. I use stainless steel screws. They cost $10–$20 per box.
Match scale to space: Large panels overwhelm small patios. Measure first and consider sample panel 24×24.
Opt for UV-rated fabrics: I replaced indoor cushions with UV outdoor cushions 20×20 to prevent fading.
Choose clumping plants for containers: Running varieties escape. Try clumping bamboo.
Use warm LED lighting: 2700K lights flatter skin and wood tones. I use warm LED strips.
Test placement before permanent fixes: I often hang temporary screens for a week. Portable options like folding screens help trial different positions.
Invest in quality anchors: Heavy panels need solid anchors. I rely on outdoor anchor kits.
Frequently Asked Questions
Q: What's the cheapest way to add privacy quickly?
A: Reed or bamboo roll-up screens are fast and cheap. Try bamboo roll-up 6×8 for about $40.
Q: Will plants alone give privacy year-round?
A: Not always. Evergreen species or potted evergreens like Thuja work best. See thuja sapling 3-4ft.
Q: How do I keep privacy features windproof?
A: Use proper anchors and heavier bases. Try heavy planters 24 inch and turnbuckle kits.
Q: What materials need the least maintenance?
A: Vinyl lattice, preserved moss panels, and metal panels need minimal upkeep. See vinyl lattice 4×8.
Q: Can renters add privacy without drilling?
A: Yes. Freestanding screens, tall planters, and tension-mounted shades work well. Try tension rod outdoor curtain kit.
Q: How much should I budget for a semi-permanent screen?
A: Expect $200–$800 depending on materials. Metal panels and pergolas sit at the higher end; roll-ups and screens are lower.
I hope one of these ideas feels doable. Start with a single panel or planter and see how it changes the way you use the space. If you want product links for a specific idea or a shopping list for your patio size, tell me your dimensions and style and I’ll pull everything together. Which idea are you leaning toward?