How to DIY a Pumpkin Wreath That Lasts All Season
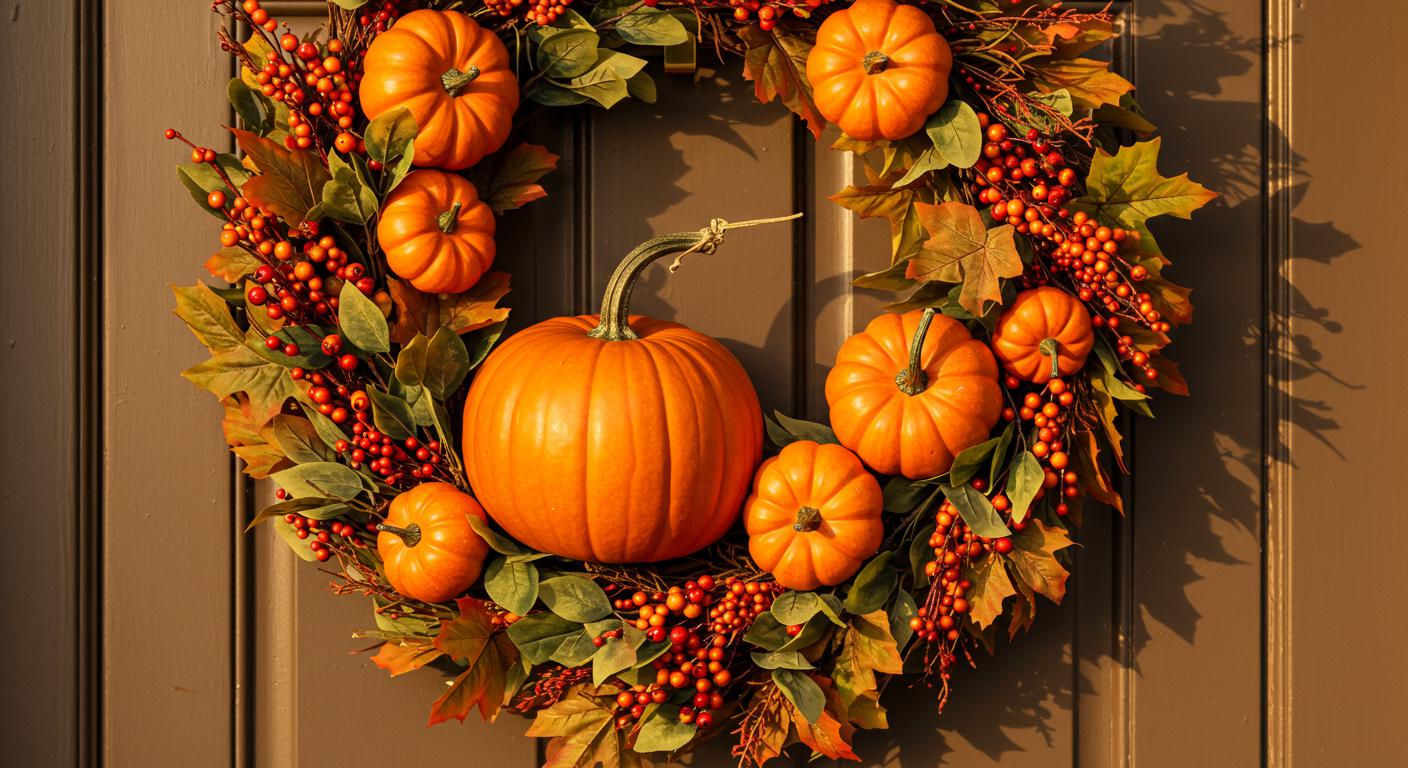
Imagine stepping up to your front door on a crisp autumn morning, greeted by a charming pumpkin wreath that captures the essence of fall – without the worry of pumpkins rotting away halfway through the season. A DIY pumpkin wreath that lasts all season is not only a beautiful fall statement but also a rewarding crafting project that adds warmth and coziness to your home. Whether you’re new to wreath-making or a seasoned pro looking for fresh ideas, this guide will walk you through creating a vibrant, durable pumpkin wreath that stands the test of time.
Gather Your Materials and Prep Your Workspace
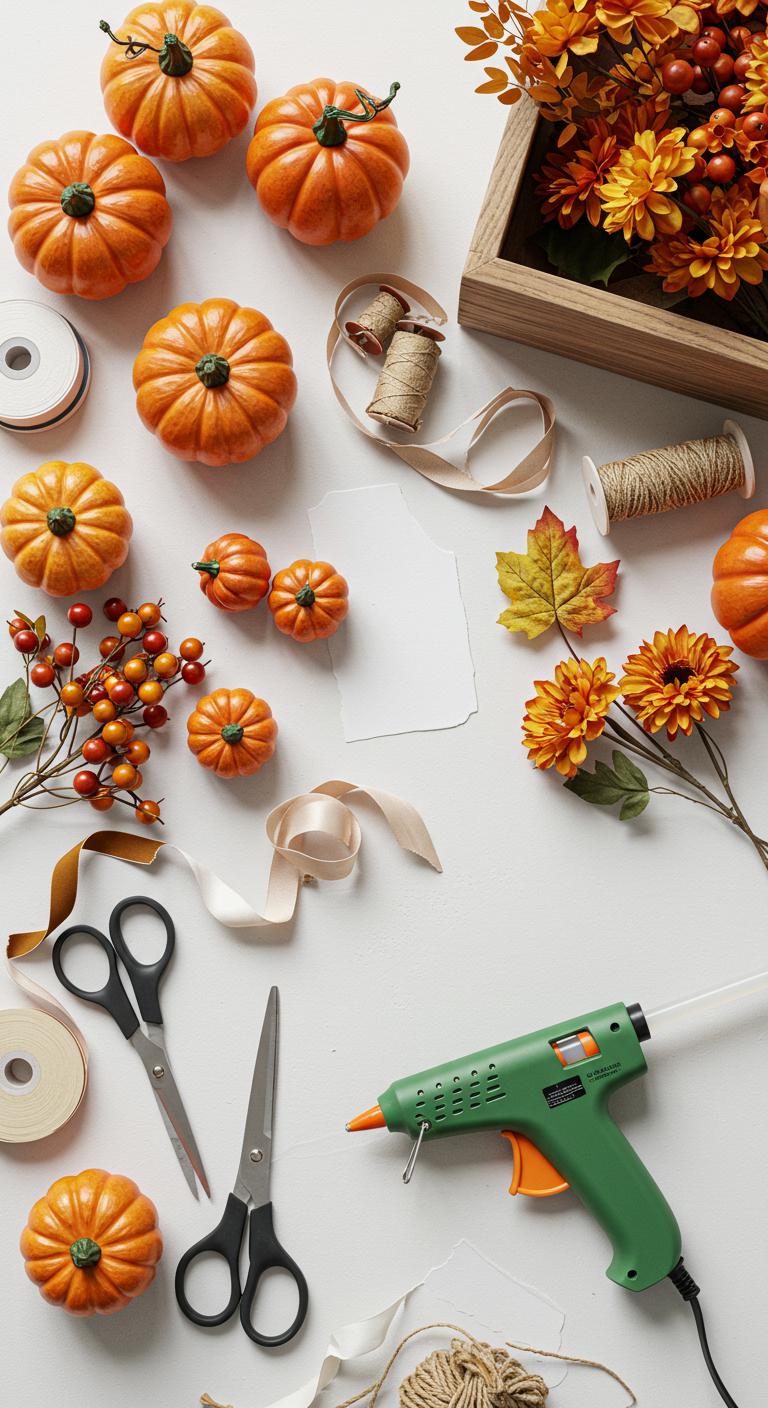
Before diving into crafting, it’s crucial to have everything ready for a smooth DIY experience. Here’s what you’ll need to create that perfect long-lasting pumpkin wreath:
- Base wreath frame: Grapevine, foam, or wire frames work well.
- Artificial mini pumpkins: Foam or fabric pumpkins last longest.
- Floral wire or hot glue gun: For secure attachment.
- Foliage and accents: Faux autumn leaves, eucalyptus, berries, pinecones.
- Ribbon or twine: For hanging and extra flair.
- Wire cutters and scissors to trim materials.
- Optional: Spray paint or glitter for added pizzazz.
Pro tip: Opt for faux pumpkins rather than real ones. Real pumpkins, while beautiful, decompose quickly. Artificial versions provide durability and come in various textures and colors that mimic real pumpkins perfectly.
Organize your workspace with all materials within reach on a flat table, steady chair, and good light. It sparks creativity and reduces frustration!
Step 1: Select and Prepare Your Base
The wreath base is your foundation. Grapevine wreaths are popular for a rustic look and give easy spots to tuck greenery and stems. Foam bases allow for pinning and gluing flowers firmly.
If you want a rustic vibe, leave the grapevine natural; for a modern twist, spray paint the base in matte black, white, or metallic bronze. This simple step enhances your color scheme and elevates the wreath’s overall look.
Once prepared, cover the base lightly with green eucalyptus or autumn leaves. Use floral wire or hot glue to attach the foliage, filling gaps and softening the frame edges.
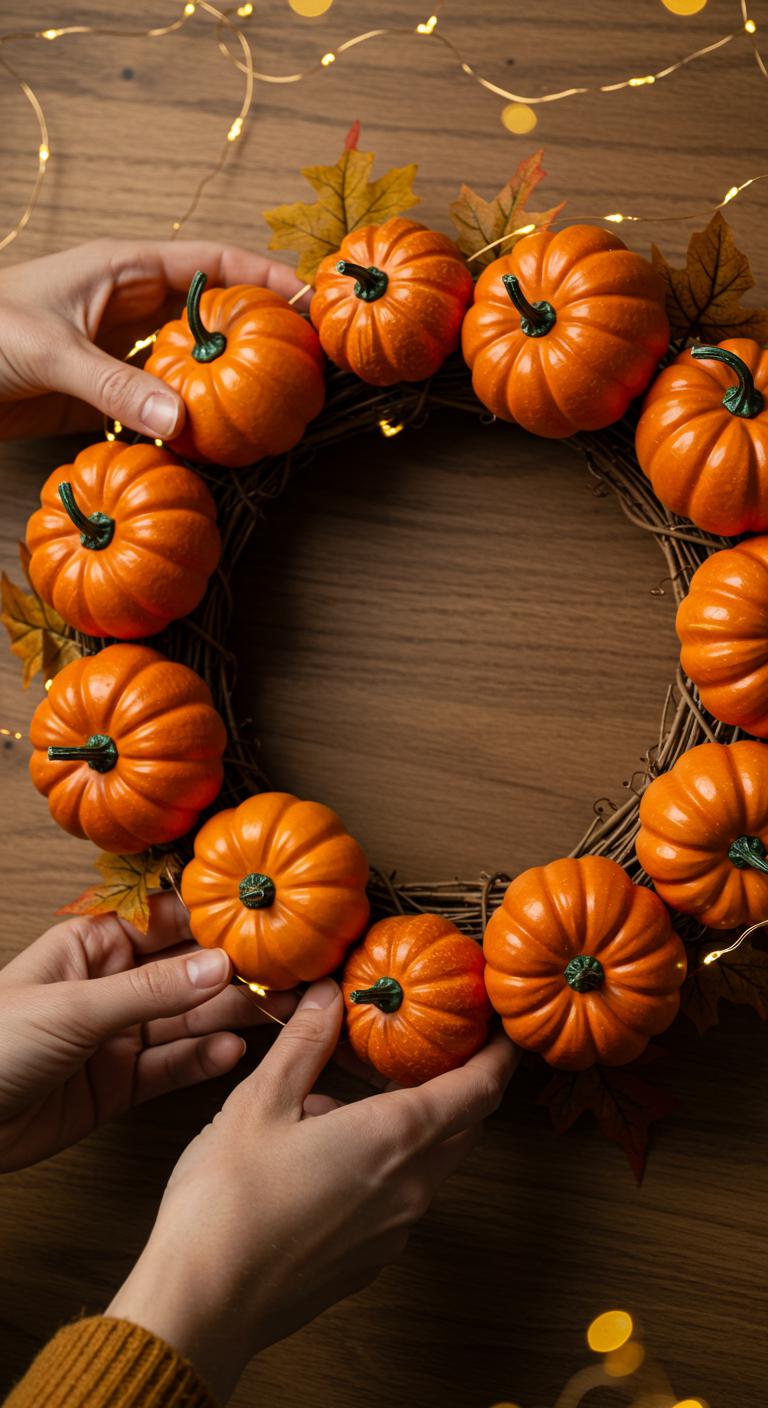
Step 2: Attach Your Pumpkins Artistically
Here comes the fun part— arranging your mini pumpkins! Instead of clustering them all in one spot, distribute pumpkins evenly around the wreath to create balance. Consider size variation:
- Use larger pumpkins as focal points.
- Fill spaces with smaller pumpkins for texture.
Secure each pumpkin with floral wire threaded through the stems or hot glue for foam ones without stems. Make sure each piece feels snug but be careful not to damage your artificial pumpkins.
Tip: Adding a touch of wire-wrapped fairy lights around the wreath’s base before attaching pumpkins makes for a magical evening glow.
Step 3: Fill in with Accents and Foliage
Pumpkins are the stars, but it’s your filler materials that make the wreath pop. Use a combo of faux berries, pinecones, and colorful autumn leaves to weave through the wreath.
- Tuck sprigs of red or orange berries near pumpkins to enhance warmth.
- Add textural contrast with rough pinecones or soft eucalyptus.
- Balance colors across the wreath for an even and lush appearance.
Use small dots of hot glue or wire to secure these fillers. Don’t be afraid to layer elements in different directions for a natural, garden-picked look.
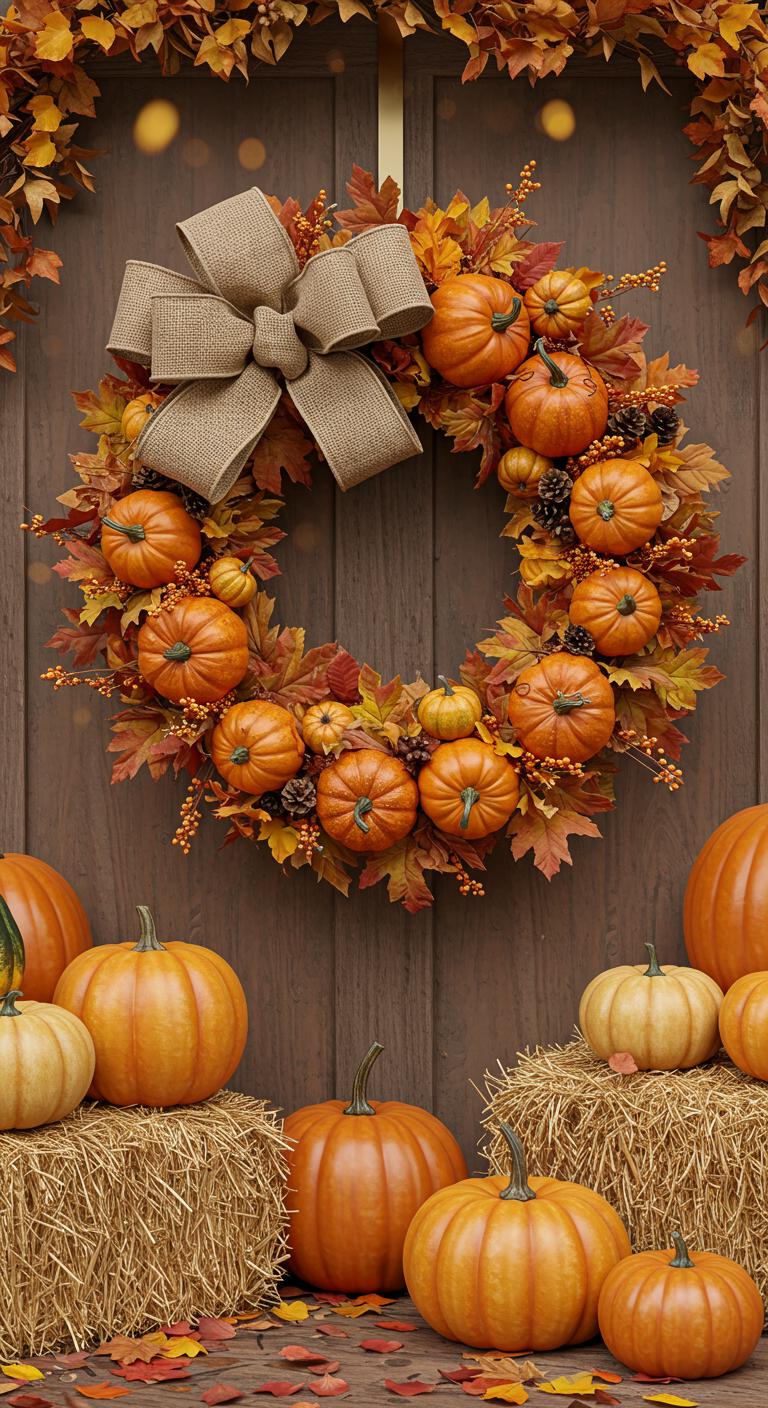
Step 4: Final Touches and Hanging Solutions
Once your wreath feels full and festive, add a coordinating ribbon or twine loop for hanging. Satin or burlap ribbons work great for a cozy, seasonal feel.
If you want an extra flair:
- Tie a bow at the bottom or side.
- Incorporate seasonal charms like acorns or metal leaves.
For a truly long-lasting wreath, avoid placing it in direct sunlight or rain, which can fade colors and damage faux materials. A protected porch or covered entryway extends the wreath’s lifespan significantly.
If storing for next year, carefully wrap the wreath in tissue paper or bubble wrap. Store in a cool, dry place.
Bonus Tips for Advanced DIYers
- Mix Textures: Try incorporating velvet pumpkins or wool felt ones for a tactile update.
- Add Scent: Attach scented sachets with cinnamon or cloves for an inviting aroma.
- Personalize: Weave in monogram letters or wooden signs with festive messages.
Remember, wreath-making is an art! Let your creativity shine while anchoring your design with lasting, weather-proof materials.
Your season-proof pumpkin wreath is ready to impress—not just guests, but you, every time you walk through that door. Whether you hang it on your front porch, inside above the mantel, or on an interior accent wall, it brings that heartwarming, festive feeling all fall long.
Save this guide for your next craft day and invite a friend to join in the fun—making fall magic is better together! Happy wreathing!