I fell hard for diy garden edging with bricks the summer I inherited a wildly overgrown strip along my fence – it felt like a manageable project and a little rebellion against sad-looking beds. I still remember the clink of bricks and the first tiny curve I made that actually looked intentional instead of accidental. That silly feeling of finishing a row? Addictive.
I’m writing this because I want you to feel confident enough to try it, whether you have one flower pot or an entire border to tame. I’ve tried straight lines, soft curves, and a slightly wobbly scallop that I now adore, and I’ll tell you what worked, what looked weird, and what saved me half a day. Consider this a friendly walkthrough from someone who genuinely makes mistakes and laughs about them afterward.
By the end you’ll have 15 real-life ideas, quick tips for common hiccups, and a few FAQs so you can actually start laying bricks this weekend – even if you only have an hour. Let’s get your garden looking thoughtfully edged, not sad and trampled.
15 Brick Garden Edging Ideas You’ll Love
Classic Brick Walkway
This is the archetype – bricks laid flat to make a tidy path or border. I tried this first on a narrow side yard and nearly tripped over my own enthusiasm, but it felt so grown-up to have a real path. If you’re new, start straight, then experiment with a gentle curve later – little mistakes blend into charm.
Brick Bed Starter Tip
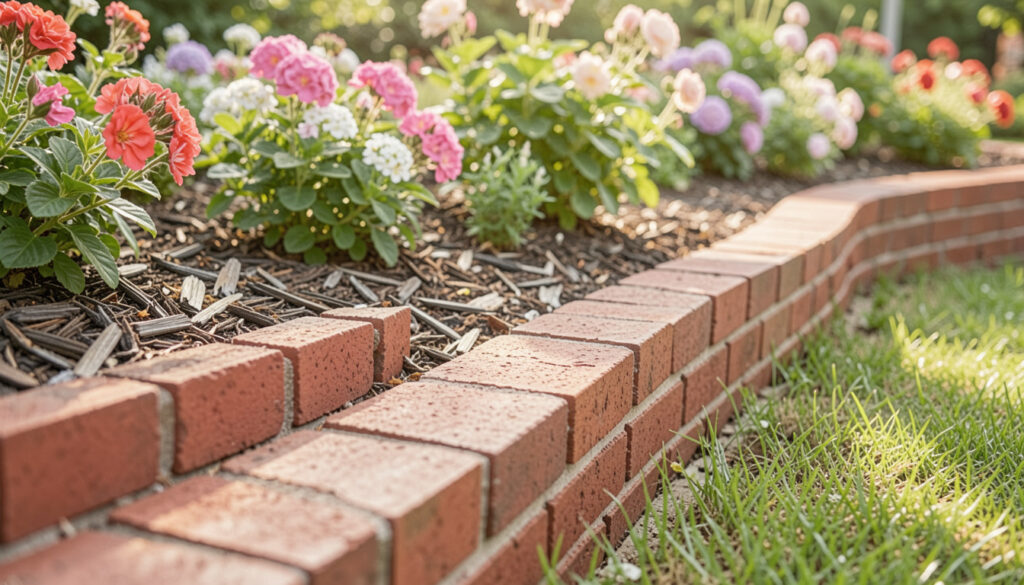
Use bricks as a low, practical barrier where you plant directly behind them to keep mulch in place. I learned to press soil against each brick as I went, which saved mulch from sneaking into my lawn. It’s simple work with visible progress almost instantly – you’ll love the small wins.
Curved Brick Path Vibe
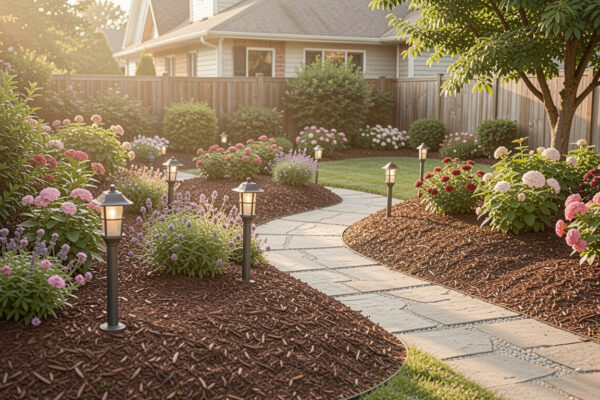
Curves add softness and make a yard feel larger, and bricks are forgiving for gentle bends. I once made a very wavy curve and my partner asked if I’d invented a new style – I call it “intentional wobble.” Measure loosely, step back occasionally, and don’t fight the line if it drifts a little.
Flower-Front Edging
This looks dreamy when bright blooms spill over a neat brick lip. I like pairing shorter bricks with taller perennials; the contrast feels so deliberate. Pro tip – leave a tiny gap between the soil and brick so water drains and you avoid mud-splashes on sunny days.
Playful Painted Edge
Okay, I know painting bricks is quirky, but colorful edges can feel like a secret garden detail. Years ago I painted a few accents near my herbs and it made the whole bed pop – tiny childlike joy. If you try this, test paint on a spare brick first so you’re not surprised by the finish.
Cottage Garden Border
Low, slightly uneven brick rows paired with overflowing flowers create that cozy cottage look. I copied this style around a rose bush and neighbors actually stopped to compliment it – awkwardly flattering. Embrace slight irregularities; they lend authenticity.
Neat Lawn Edge
For a manicured lawn look lay bricks flush with the grass and trim frequently. The first season I did this I underestimated grass regrowth and ended up edging twice – lesson learned. Still, the crisp separation between lawn and bed makes everything feel intentional and tidy.
Brick To Stone Transition
Mixing brick edging with a stone path can be stunning if you match tones and keep a steady joint. I connected a brick border to a flagstone path and discovered small spacing makes a huge difference in the overall look. A rubber mallet and patience will be your best friends.
Mixed-Flower Edge
Different textures of blooms against a brick lip read as curated but effortless. Once I planted a mix of salvias and daisies next to bricks and it looked like it had evolved over years. If you’re not sure about color, start with neutrals and add brights in pots – low commitment.
Quirky Garden Storage
This idea is a little offbeat – using bricks to edge around simple garden bins or odd corners makes everything look purposeful. I had a rusty tub behind my shed and edging it with bricks made the whole thing feel styled instead of abandoned. Tiny upgrades can hide clutter in the sweetest way.
Sunlit House Border
Bricks look gorgeous against a painted house, especially in bright sunlight. I edged a sunny bed next to my porch and suddenly the entire entryway looked finished. Try a slimmer brick height near walkways so people don’t stub toes – trust me on that one.
Rocky Mix Edge
Combine bricks with small river rocks for a rustic, low-maintenance border. I used this where drainage was tricky and it helped water move while still keeping a defined edge. It’s a flexible look – slight imperfections only add character.
Hands-On Brick Fix
Sometimes bricks need a little love – reset a sagging section by lifting, re-leveling, and tamping down sand. I spent an afternoon kneeling and rearranging a lopsided strip; exhausting but oddly satisfying. Keep a small bucket of sand and a pry bar handy for quick fixes.
Weekend Brick Project
This is doable in a weekend if you plan ahead and recruit a friend for heavier lifting. I roped in my neighbor once and we finished a curved border over two afternoons – wine rewarded our efforts. Break it into stages so you don’t burn out – prep one day, lay the bricks the next.
Simple Pebble Edge
Pair bricks with a pebble inner line for a clean, modern contrast. I installed this near a small herb patch and it made the herbs look like they belonged in a magazine, not my chaotic kitchen window. Minimal upkeep and maximum style – yes please.
How to Actually Make This Work For You
Start by visualizing the curve or line you want, then mark it with string, spray paint, or even a hose so you aren’t guessing as you go; this simple step saves hours and heartache later. Next, invest in a cheap compactor tool or a good tamper – consistent base support keeps bricks from sinking and looking sad two seasons in. Choose the brick orientation that suits your mood – laid flat for a modern, sleek border, or on edge for a taller, classic look – and test one small section to see how the materials weather in your yard. Use polymeric sand for joints if you want weeds and ants to keep their distance, but be okay with touching up every year because nature wins sometimes; honestly, tiny maintenance beats a big redo. If drainage is a concern, slope the bed slightly away from foundations and add a row of gravel under the first bricks so water has somewhere to go. Finally, remember that color and texture matter as much as structure – mix brick tones, alternate patterns, or add a complimentary stone to make the border feel like part of the home rather than an afterthought. You don’t need perfect tools to start, but a plan, good base prep, and small seasonal check-ins will make your brick edging last and look intentionally charming.
How deep should I dig for brick edging?
Dig a trench about 2-3 inches deeper than the brick thickness so you can add a compacted base of sand or gravel. This creates stability and reduces sinking over time, which is the most common annoyance with edging.
Do bricks need mortar or just sand?
You can lay bricks dry on a compacted sand base for simple, flexible edging, or use mortar for a permanent, stable edge – it depends on how permanent you want it. Mortar is great for walkways and high-traffic edges, while sand allows for easier reconfiguration.
How do I stop weeds between bricks?
Polymeric sand or a weed-block fabric under the base will help deter weeds, and regular sweeping of joint sand keeps seeds from settling. I still do a quick tidy twice a season – it’s a five-minute habit that keeps the border looking fresh.
Can I use reclaimed bricks?
Absolutely – reclaimed bricks add character and reduce cost, but sort them by size and clean any mortar before laying so your row looks uniform. Expect some color and shape variation – that’s part of the charm, just embrace the slightly uneven edges.