30 Festive St. Patrick’s Day Table Setting Ideas
Creating a stunning St. Patrick’s Day table setting brings fun and charm to your home. People search for easy ideas that mix tradition with everyday items. Dive into these practical tips to make your table stand out, using colors like green and gold for a nod to Irish vibes. This guide pulls from real inspirations to help you set up without stress.
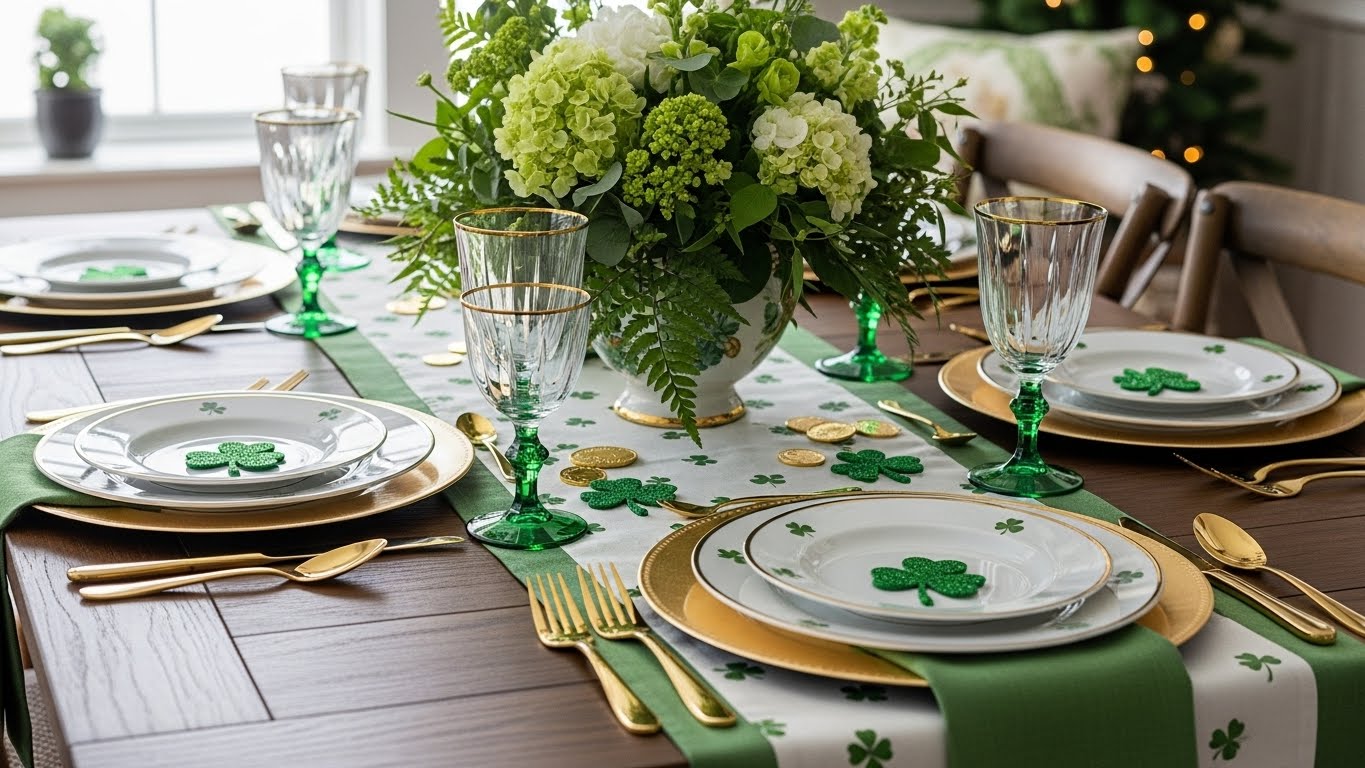
Layer Green and White for a Fresh Farmhouse Vibe
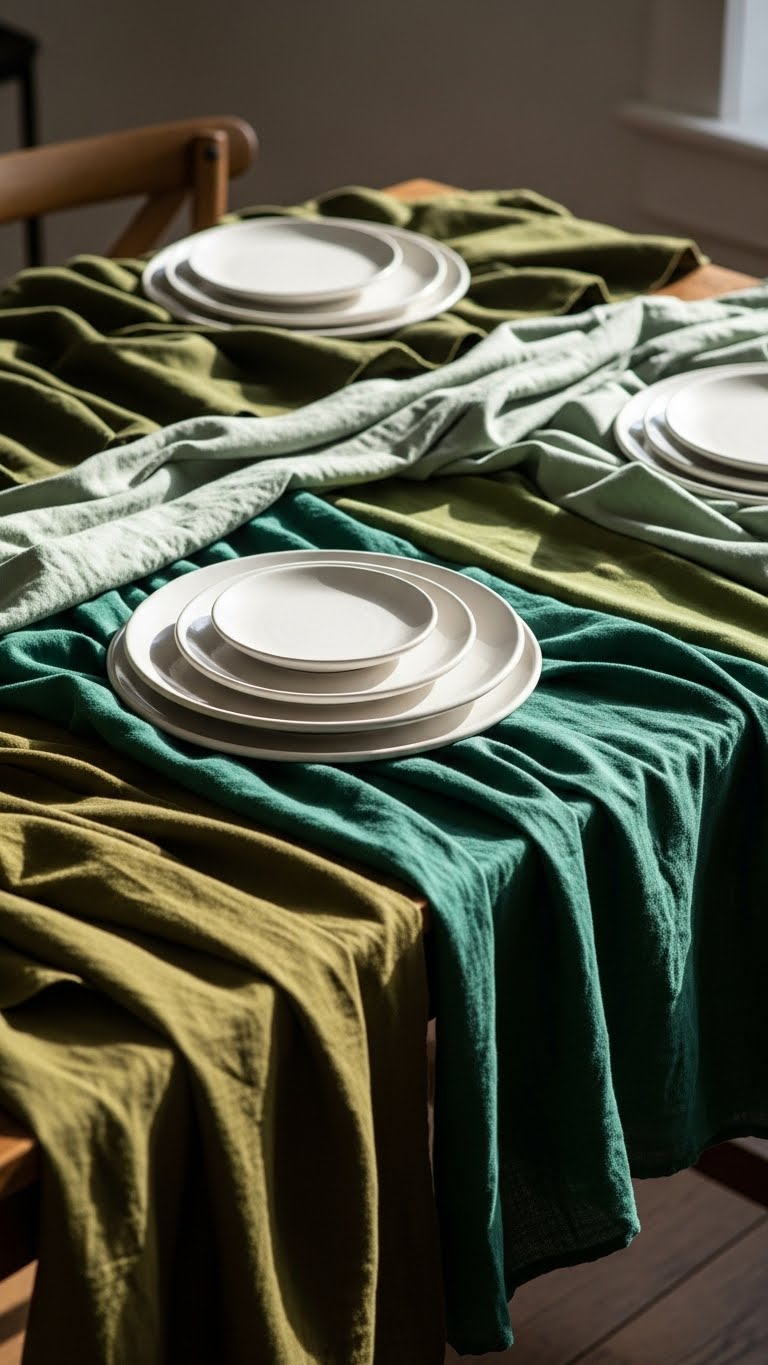
Think green table runners and white plates for an easy start. Grab a green cloth from your closet or a thrift shop. Lay it across the table first. Add white dinnerware on top for contrast. This setup feels light and welcoming. Break it down: Cut green fabric into placemat shapes at home. Use fabric glue for shamrock details. It takes minutes and costs under $5. Pair with white napkins for balance. Stack plates high for dimension. This works for any meal. Try mixing in green stems from your yard. Keep it simple: No need for extras. Your table looks put-together fast. Focus on what you have. Add a white bowl in the center for flowers. This trick makes everything pop. Save money by reusing items. End with a quick wipe-down for neatness. Guests will notice the effort.
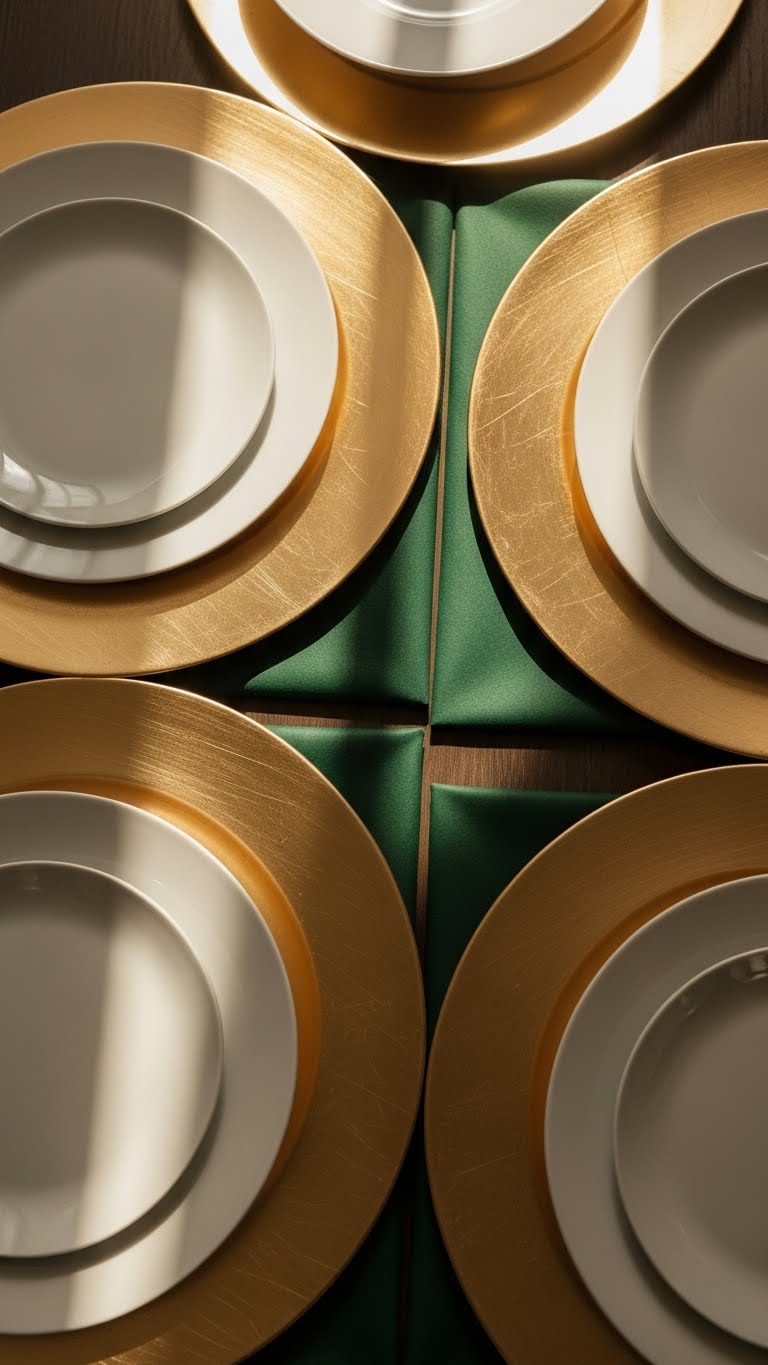
Add Gold Touches for Simple Elegance
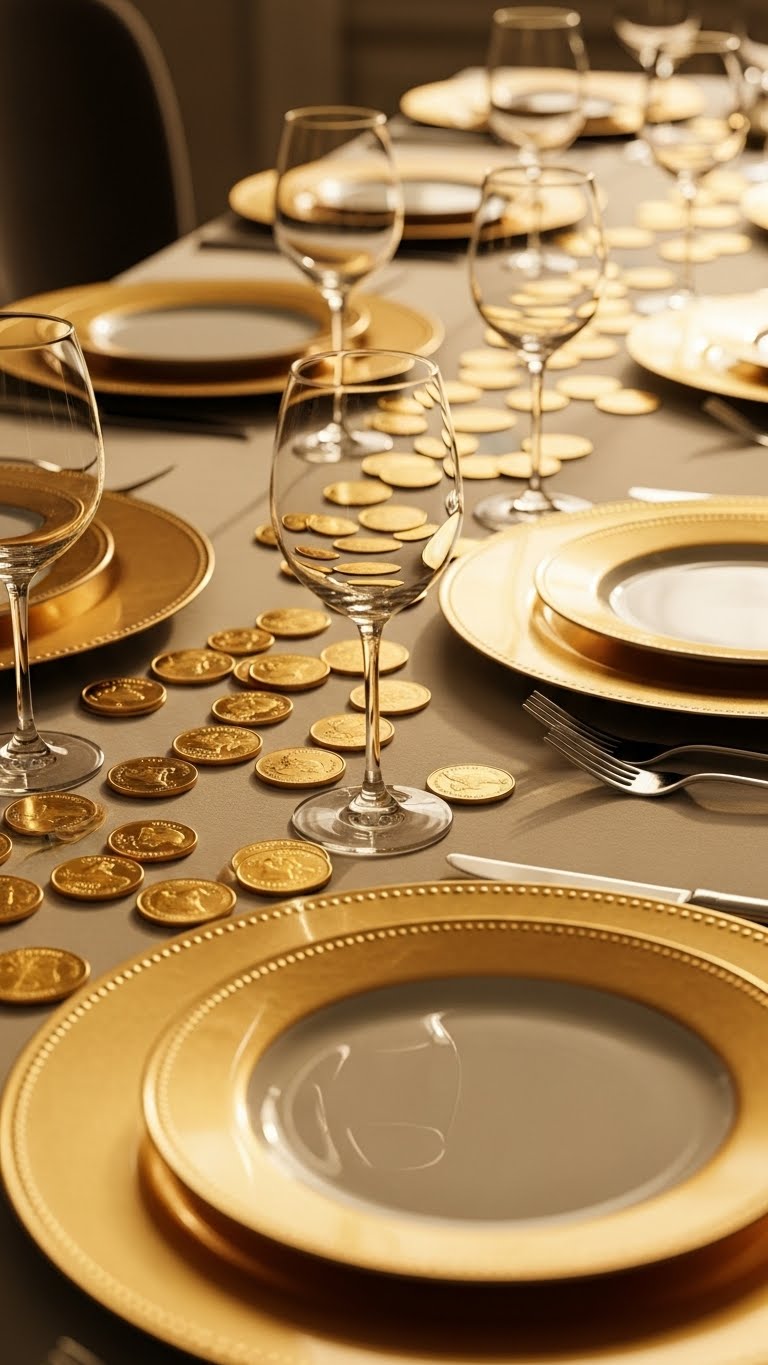
Gold chargers make a big difference. Pick them up at a discount store for less than $10 each. Place one under each plate as a base. This adds shine without fuss. Start small: Use gold spray paint on old trays if you lack chargers. It dries in an hour. Scatter gold coins on napkins for luck. They cost pennies from party aisles. Keep sentences short: Layer gold over green elements. This creates depth. For budget tips, check second-hand spots for gold pieces. Glue coins onto rings for DIY fun. No tools needed. Arrange plates with gold edges facing out. This highlights the color. Mix with everyday items like clear glasses. Your setup feels special yet easy. Focus on one gold item per spot. Add a gold vase in the middle. This pulls it all together. Guests love the sparkle. Try this for any gathering.
Make DIY Shamrock Placemats in Minutes
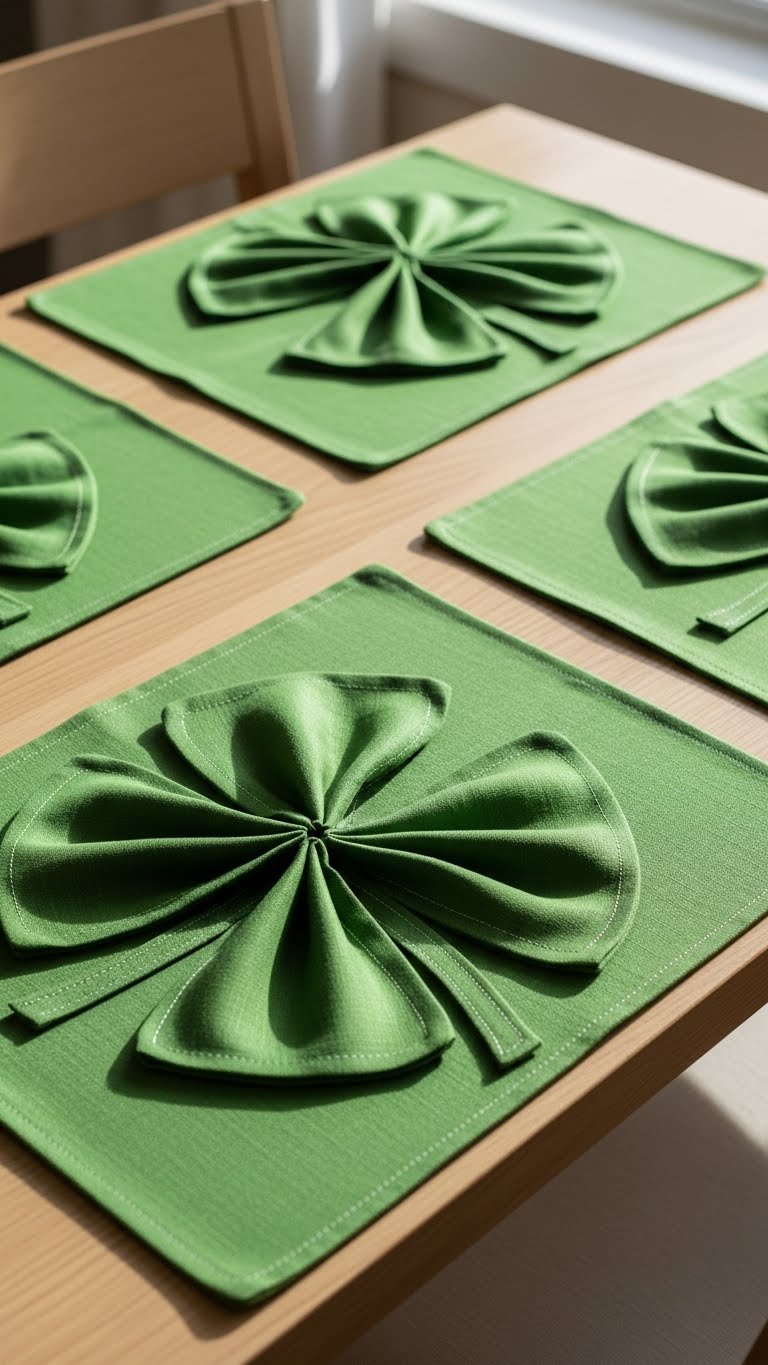
Shamrock placemats add personality fast. Use green paper or fabric from home. Cut shamrock shapes with scissors. No fancy skills required. Lay them under plates for a base. This takes five minutes total. For DIY ideas, trace a shamrock template online and cut. Glue on green yarn for texture. Costs? Under $2 with scraps. Place one at each setting. This ties in the theme. Keep it practical: Flip for reuse later. Add a white plate on top for contrast. Your table gains charm without buying much. Focus on simple actions: Gather materials first. Arrange and adjust. This works for kids too. They can help cut shapes. End with a quick press to flatten. Guests will ask how you did it. Make extras for storage.
Thrift Dishes for Affordable Irish Charm
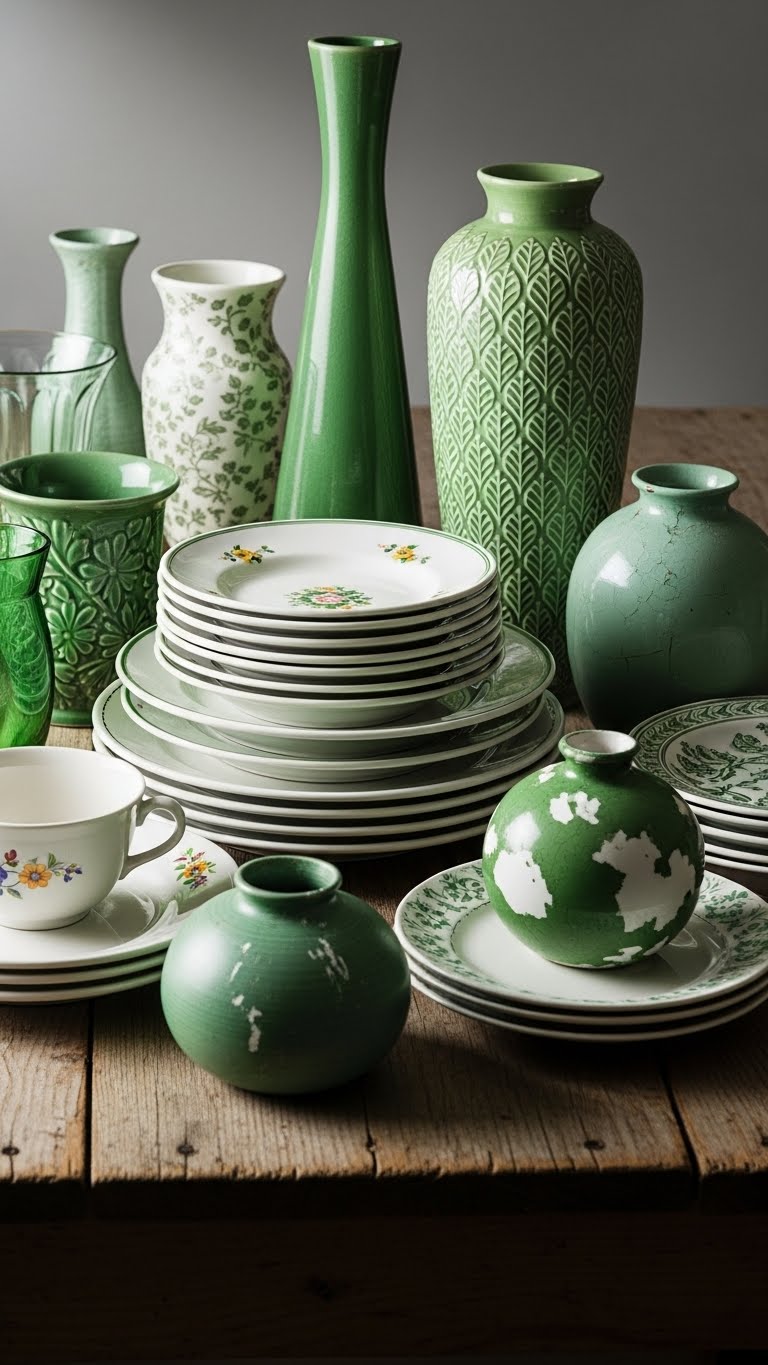
Thrift stores offer great finds. Look for green plates or vases for $5 or less. Wash them at home first. Set them out as your main dishes. This saves money and adds variety. Start by visiting a local shop. Pick items with subtle patterns. For tips, mix thrifted pieces with what you own. No need to match perfectly. Arrange plates in a row down the table. This creates flow. DIY angle: Paint thrifted vases green if needed. Use acrylic paint from the dollar bin. Keep actions easy: Label spots for placement. Your table looks unique without high costs. Focus on function: Use dishes that hold food well. Add a thrifted bowl for center display. Guests appreciate the story behind it. Try this hack next time.
Use Green Goblets for Color Pops
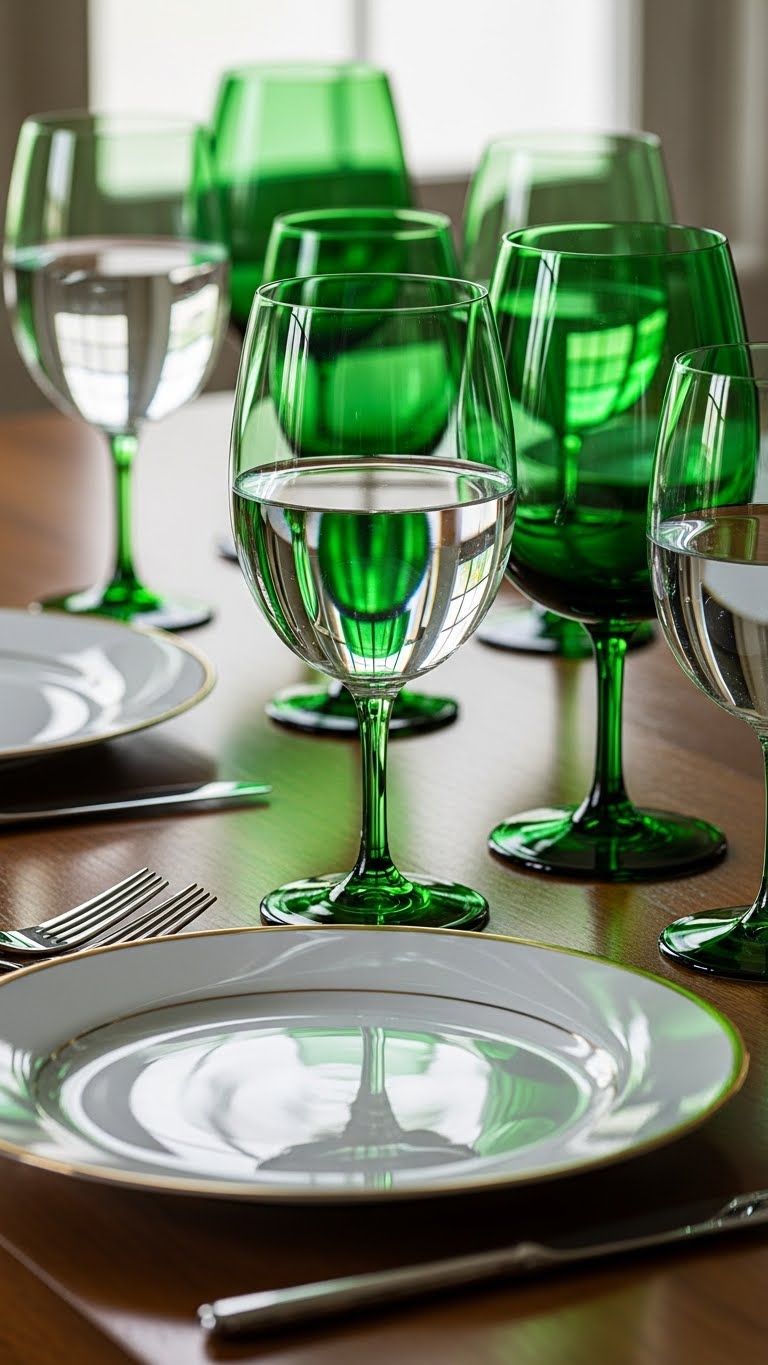
Green goblets bring color alive. Find them at thrift shops for cheap. Set one at each place for drinks. This adds a fun twist. Pair with simple plates to balance. Start by filling them with water or juice. For examples, mix with clear glasses for variety. Costs? Often under $3 each. DIY if needed: Wrap plain glasses with green tape. It sticks right on. Arrange in a line for symmetry. This makes the table pop. Keep it straightforward: Clean glasses before use. Your setup feels festive yet practical. Focus on everyday use: They work for any meal. Place near napkins for easy reach. Guests will reach for them first. Give this a go today.
Build with Chargers as Base Layers
Chargers act as a strong base. Choose green or basic ones from stores. Place them down first. Add plates on top for height. This builds a polished look. For budget finds, check sales for $4 options. DIY tip: Cover old trays with green paper. Cut to fit. Layer step by step: Start with the charger, then plate, then napkin. This adds dimension fast. Arrange around the table evenly. Your setting gains glamour without effort. Focus on simple stacking: No special tools. Mix colors for interest. Guests notice the details. Try this for quick upgrades.
Create Shamrock Napkin Rings
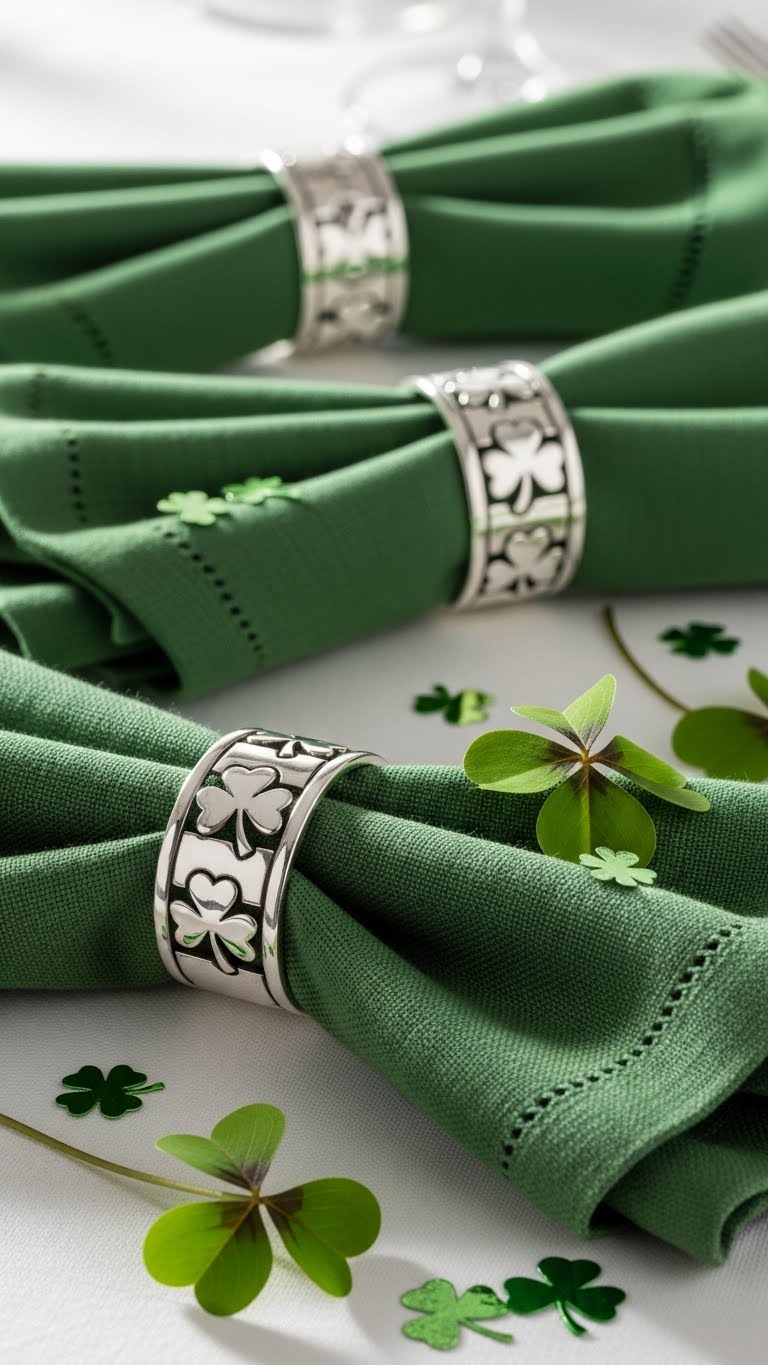
Napkin rings with shamrocks are easy. Use green pipe cleaners or ribbon. Twist into shamrock shapes. Slip over napkins at each spot. This takes two minutes. For DIY, cut cardstock and glue. Costs less than $1. Fold napkins simply underneath. Place on plates for display. Your table ties in the theme nicely. Keep actions clear: Wrap and position. This adds festivity without clutter. Guests will smile at the touch. Make a few extras.
Maximize Space with Table Risers
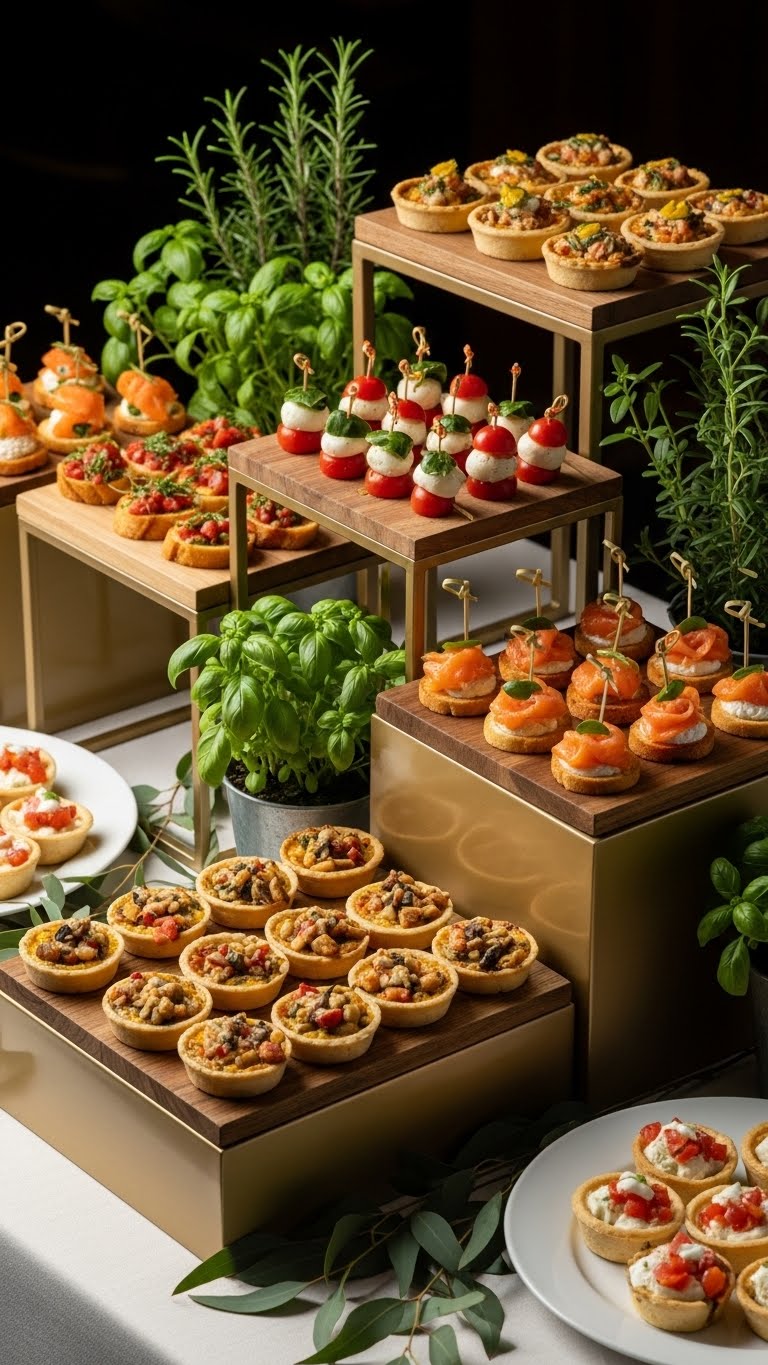
Table risers free up room. Use stacks of books or buy wooden ones cheap. Set them in the center for food. This keeps things organized. For examples, place appetizers on top. DIY hack: Stack boxes and cover with cloth. Costs nothing if you have them. Arrange around the edges. Your table feels spacious and functional. Focus on balance: Add green items nearby. Guests can serve easily. Start with what you have.
Center with White Roses and Greenery
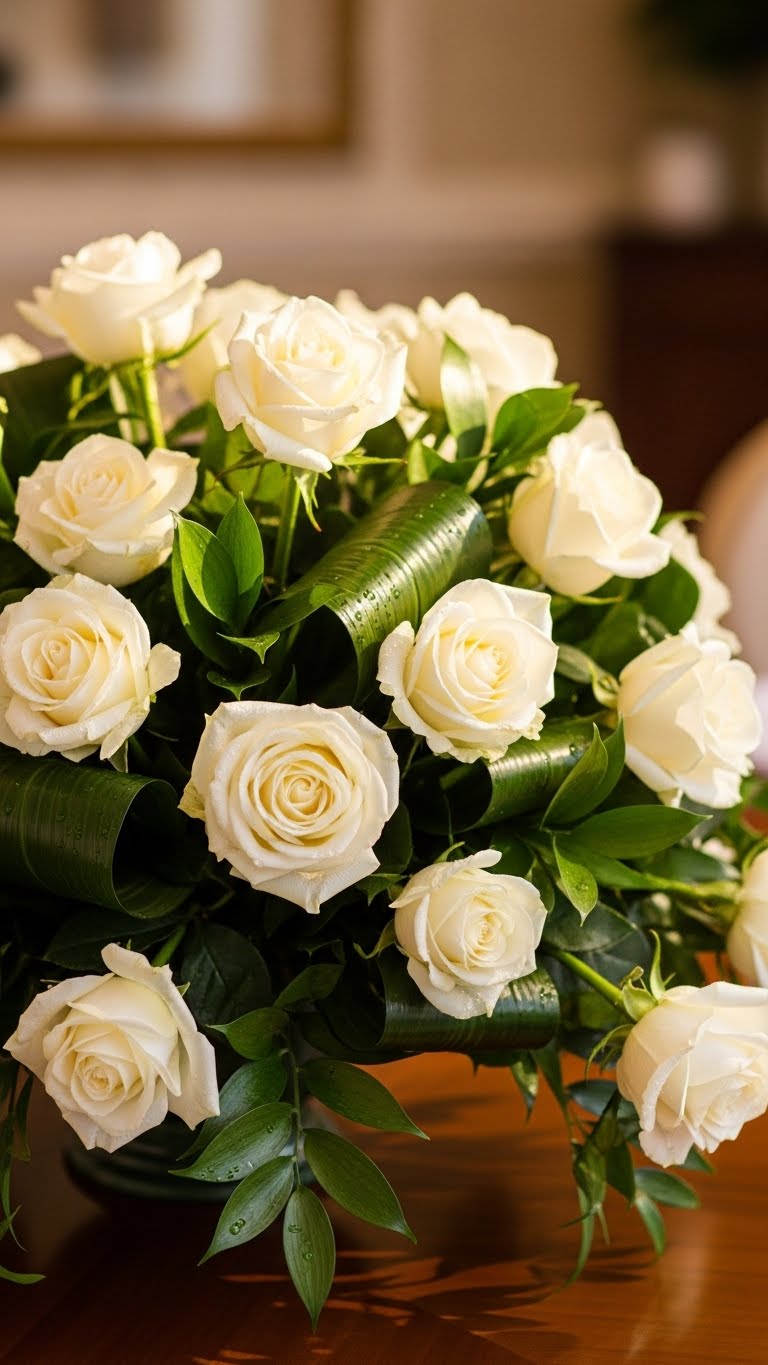
A centerpiece of white roses and greens works wonders. Pick from a store for low prices. Bunch them in a vase. Place in the middle. This draws the eye. DIY tip: Use yard greens with roses. Trim and arrange. Costs under $10. Position symmetrically. Your table gains freshness. Keep it minimal: Add water to the vase. Guests love the natural feel. Try this for instant appeal.
Incorporate Celtic Knot Plates
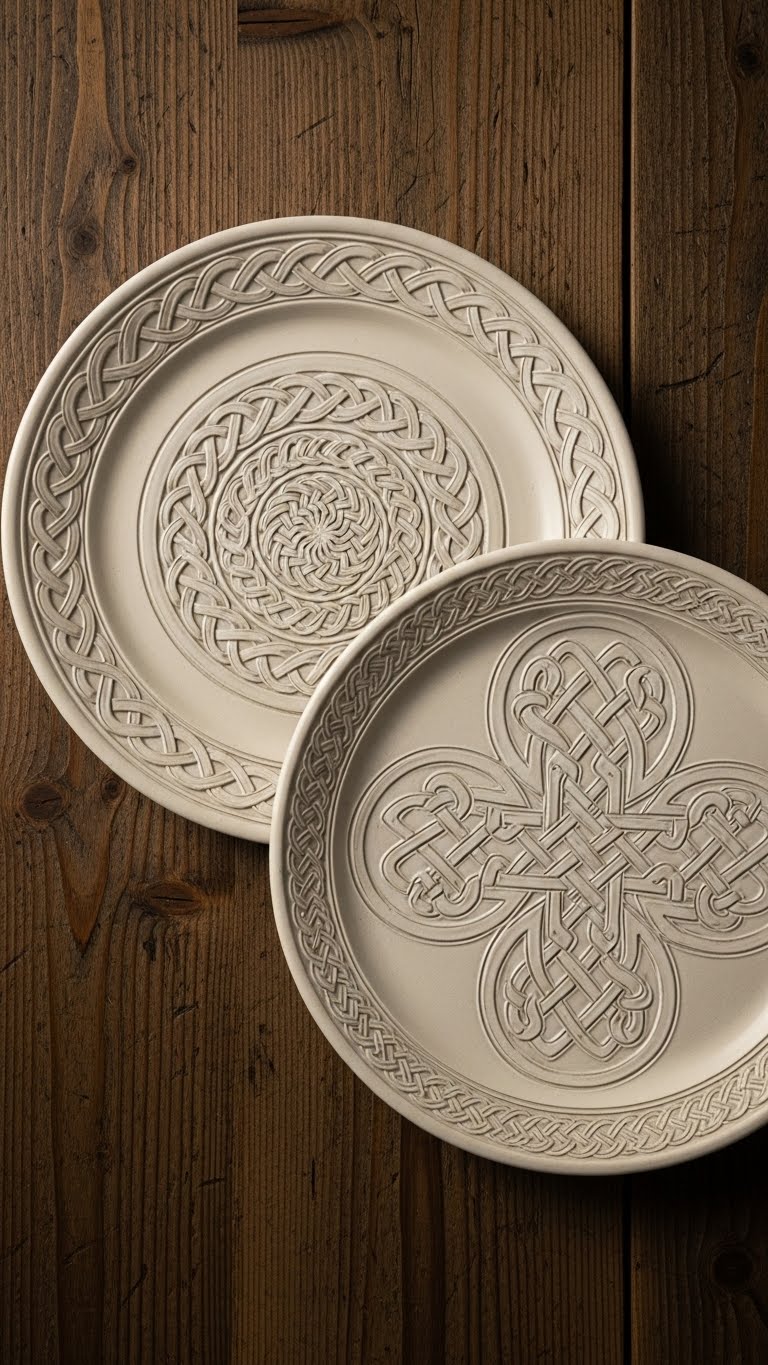
Celtic knot plates offer a subtle nod. Find them online or in stores affordably. Set as your main dishes. This adds culture. For tips, mix with plain plates. DIY if possible: Draw knots on paper plates. Use markers. Arrange in a circle. Your table feels thematic. Focus on placement: Center the design. Guests will enjoy the story. Start simple.
Mix Plaid Napkins for Cohesion
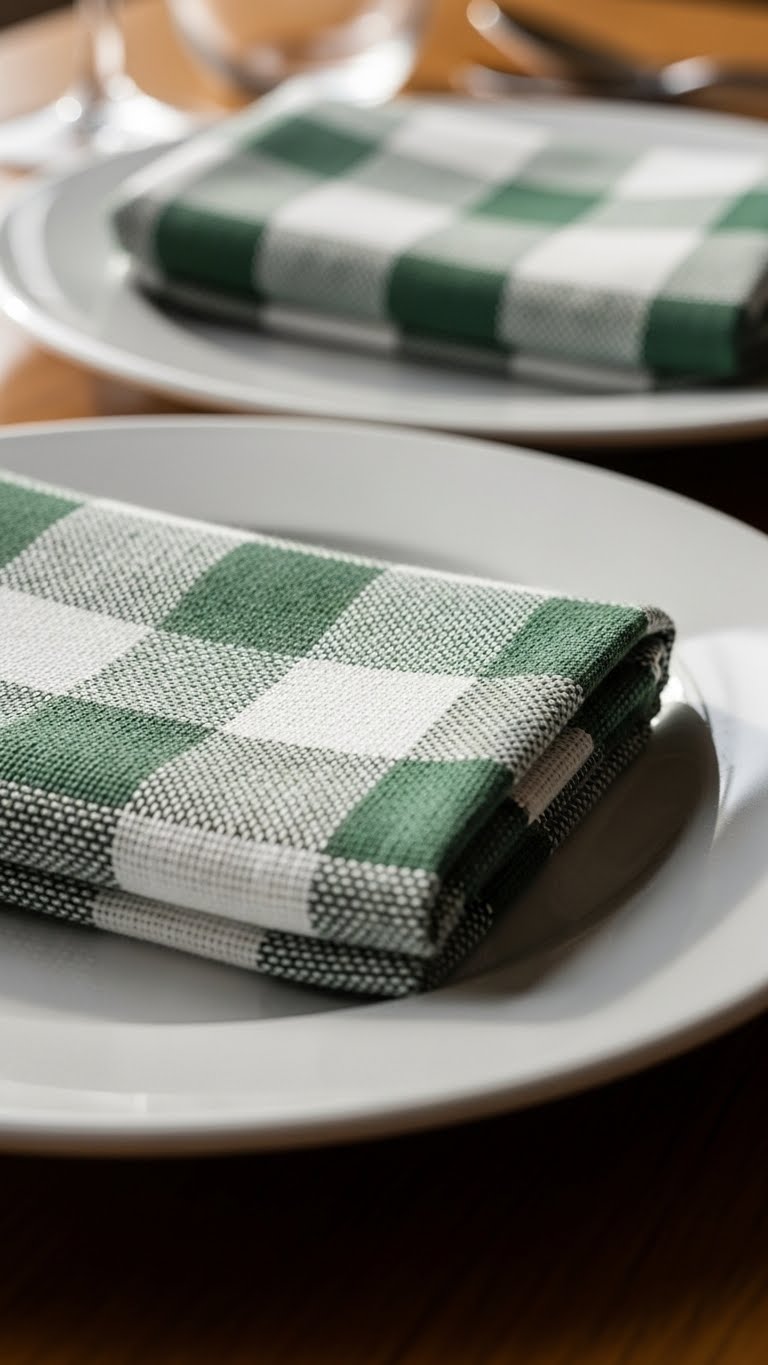
Plaid napkins in green bring cohesion. Grab from a budget shop. Fold and place on plates. This pulls colors together. DIY idea: Cut old shirts into squares. Hem the edges. Costs nothing. Layer with solids for contrast. Your table looks coordinated. Keep folds basic. Guests appreciate the texture. Try mixing patterns.
Use Crystal and China in Settings
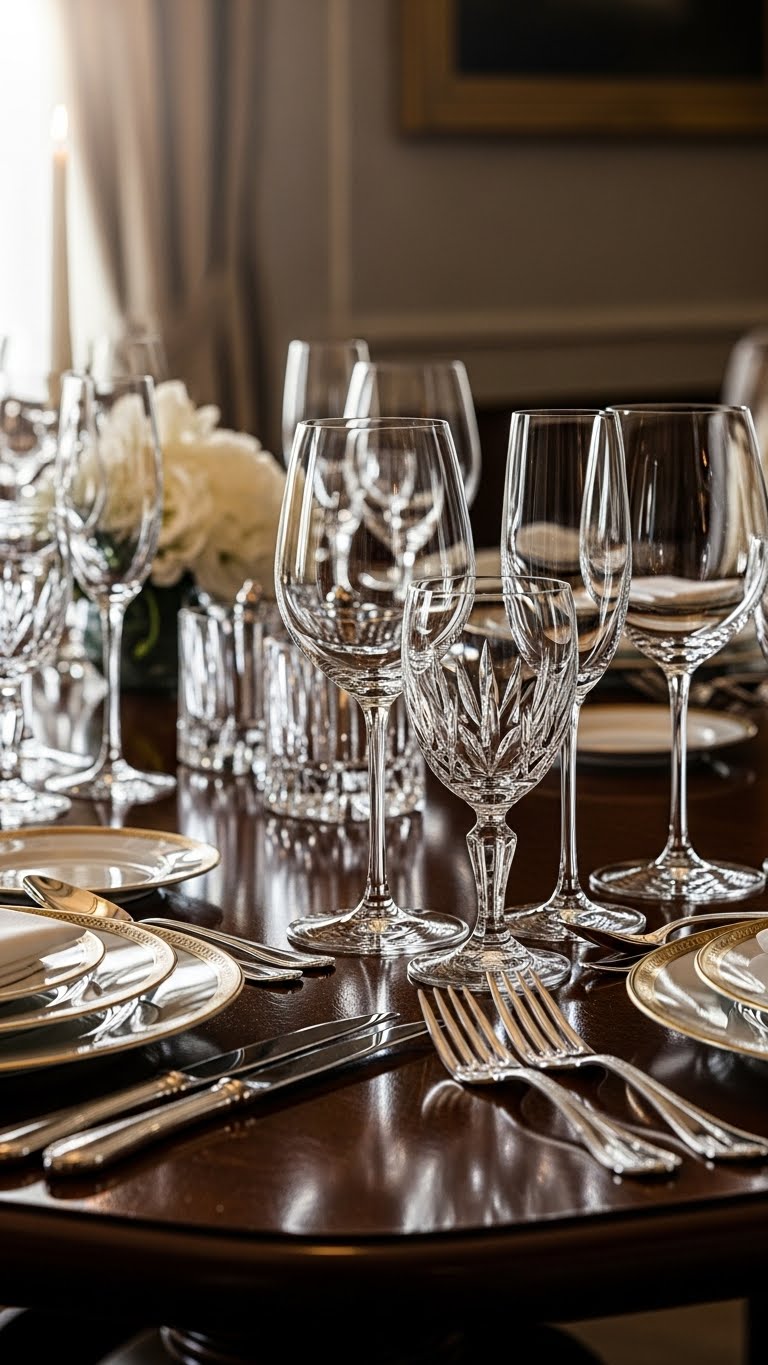
Crystal and china make settings special. Use what you have or find sales. Set glasses near plates. This elevates the look. For examples, pair with green accents. DIY: Polish items at home. Arrange carefully. Your table shines. Focus on care: Handle gently. Guests feel the difference. Start with one piece.
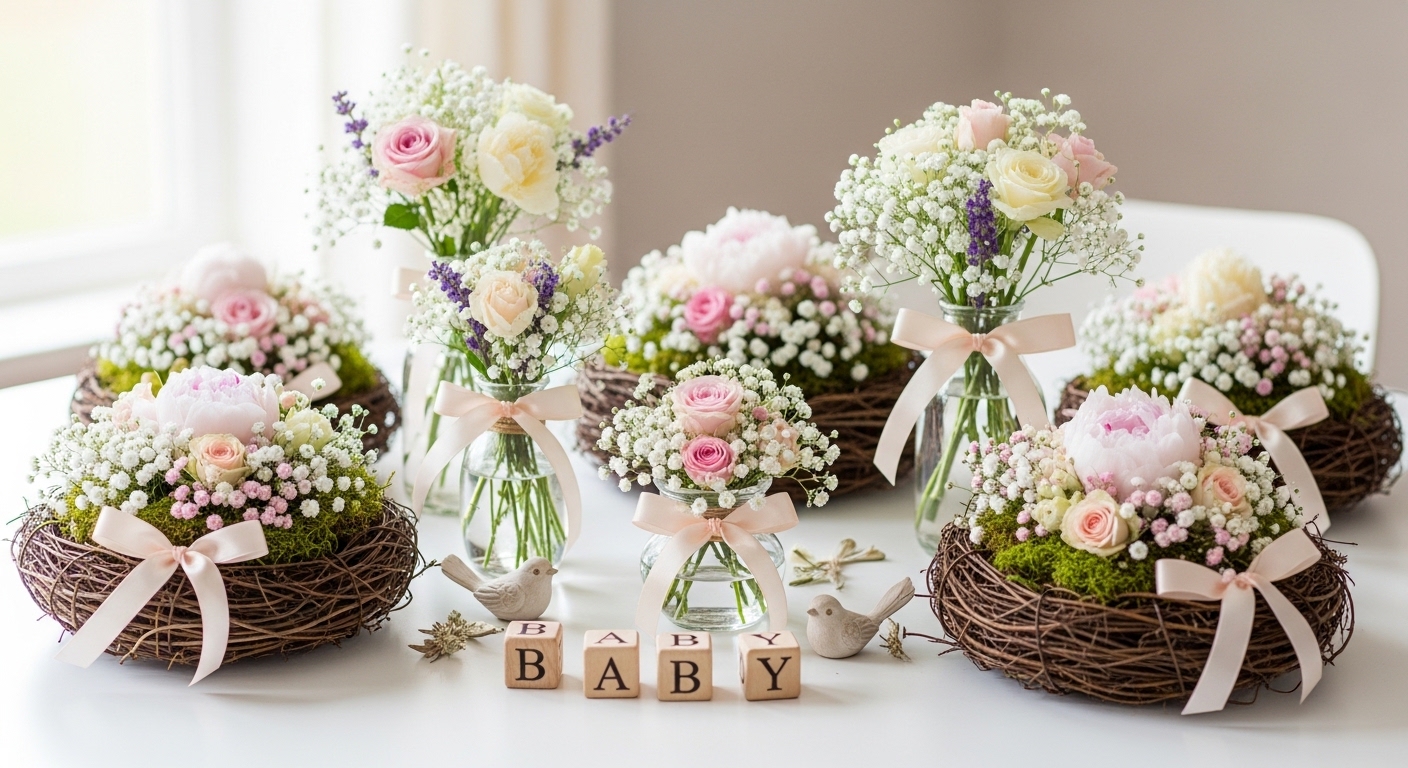
Set Individual Vases per Place
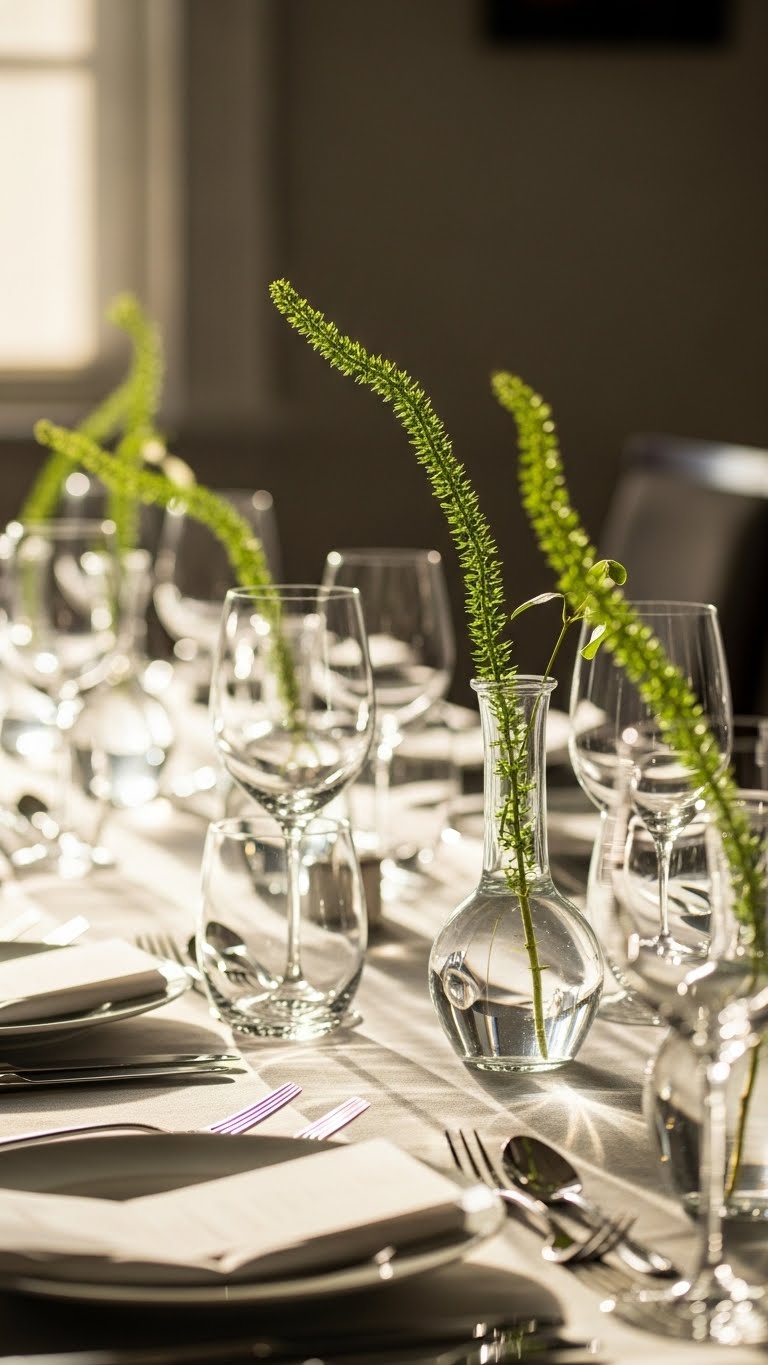
Individual vases add balance. Get small ones cheaply. Put a stem in each. Place by plates. This spreads the decor. DIY tip: Use jars from home. Add water and greens. Costs little. Arrange evenly. Your table feels personalized. Keep it fresh: Change water daily. Guests notice the thought. Try this setup.
Place Gold Foil Coins on Napkins
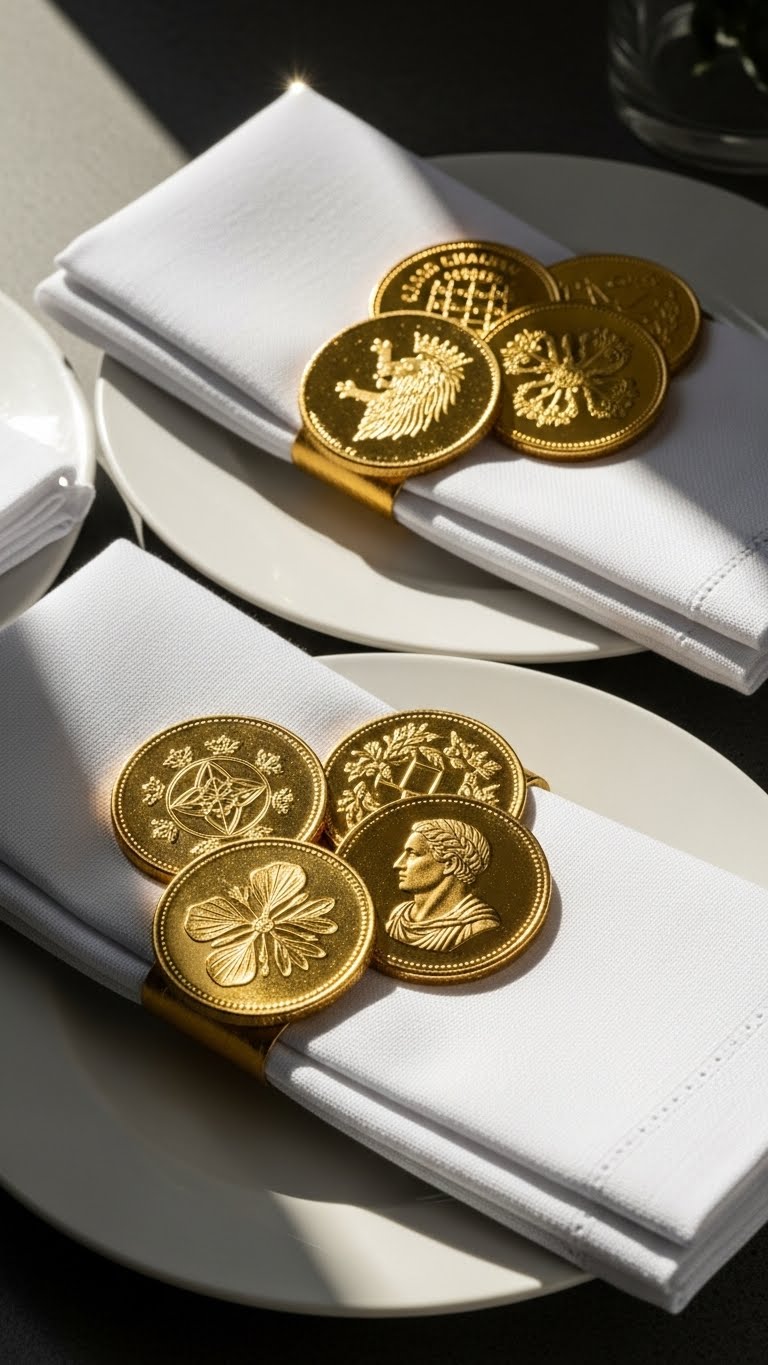
Gold foil coins on napkins are fun. Buy a pack for pennies. Set one on each napkin. This adds playfulness. DIY: Wrap coins in green paper. Place atop. Your table gains whimsy. Focus on positioning: Tuck under folds. Guests will pick them up. Start with a few.
Add Moss and Clovers for Nature
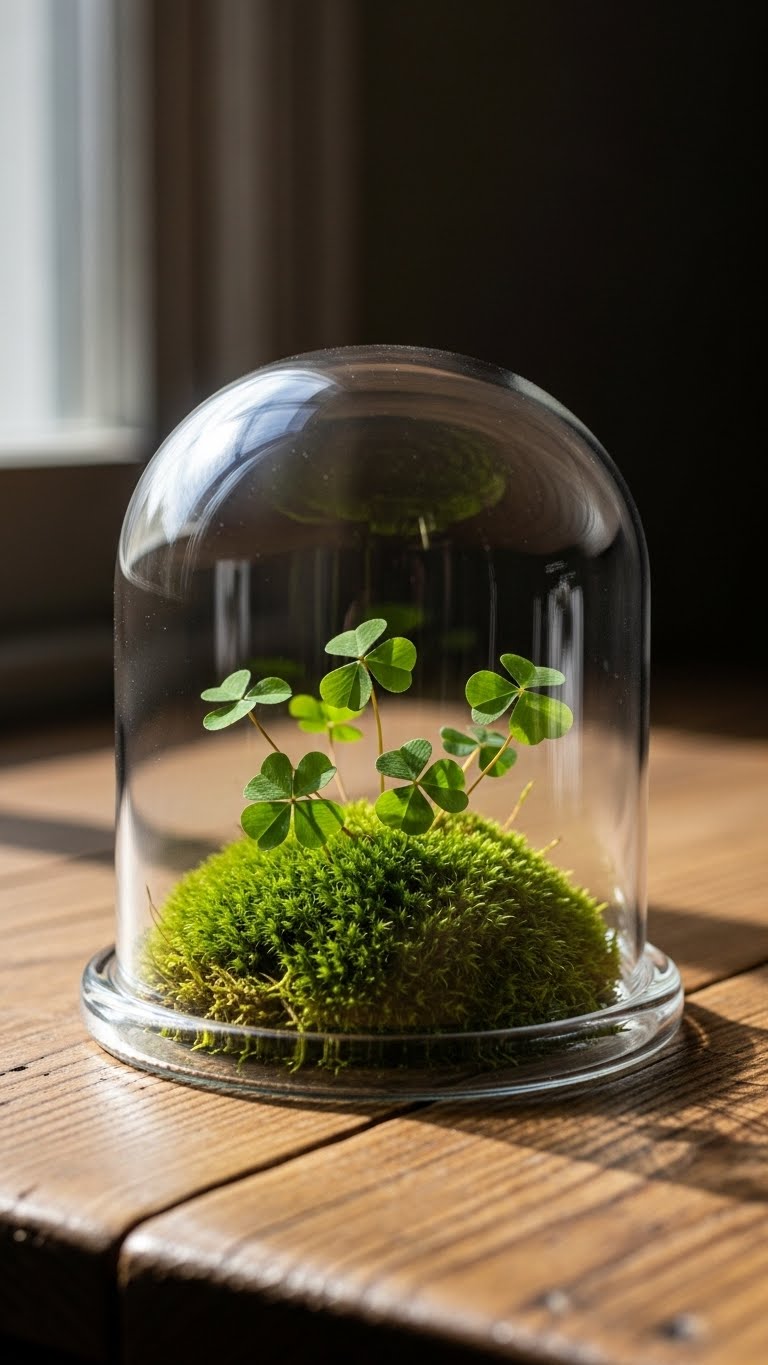
Moss and clovers bring nature in. Gather from outside or buy small. Scatter in bowls. Place in the center. This feels organic. DIY: Line a tray with moss. Add clovers. Costs zero if outdoors. Arrange loosely. Your table looks alive. Keep it simple: Mist for freshness. Guests enjoy the vibe. Try adding more.
Find Green Glassware at Thrift Stores
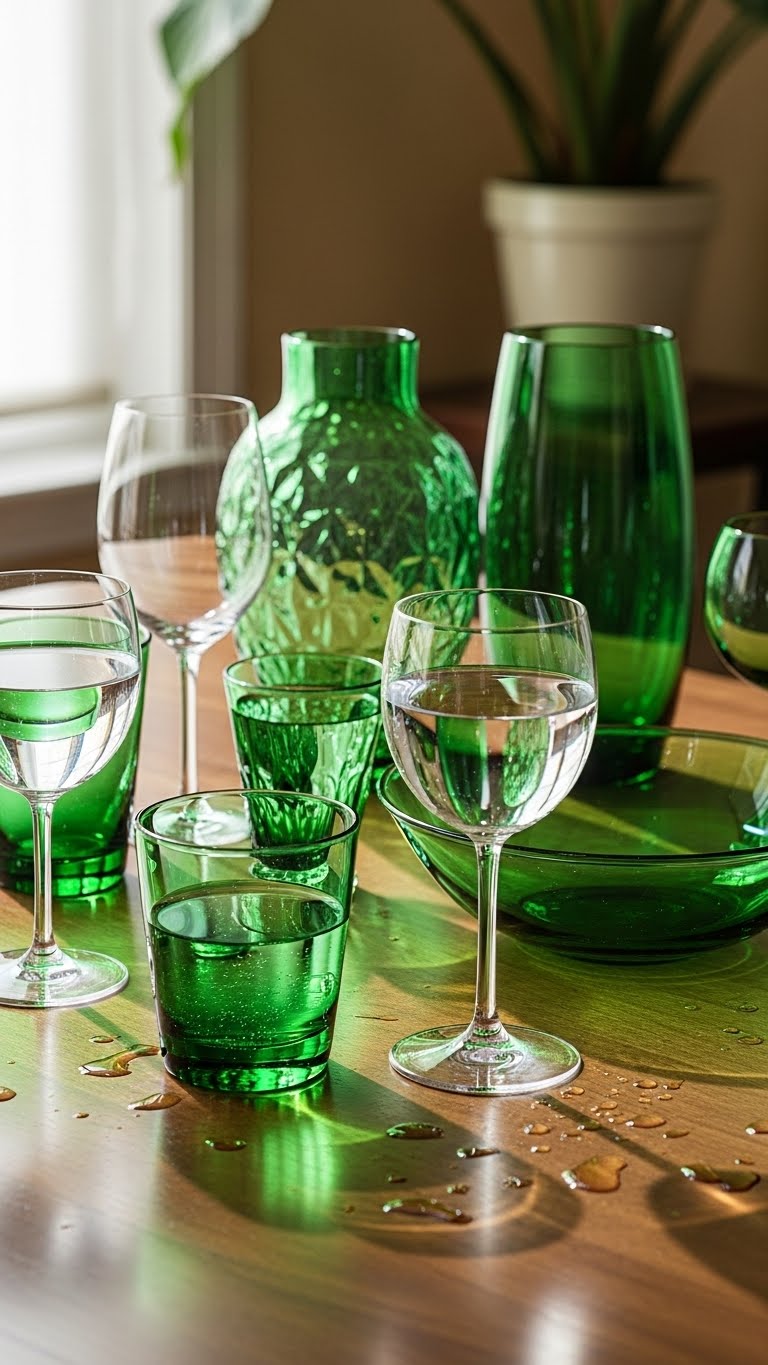
Green glassware from thrifts is charming. Look for glasses under $5. Set for drinks. This pops color. DIY: Clean and display. Arrange in groups. Your table stands out. Focus on variety: Mix sizes. Guests love the hunt. Start searching.
Layer with Beaded Placemats
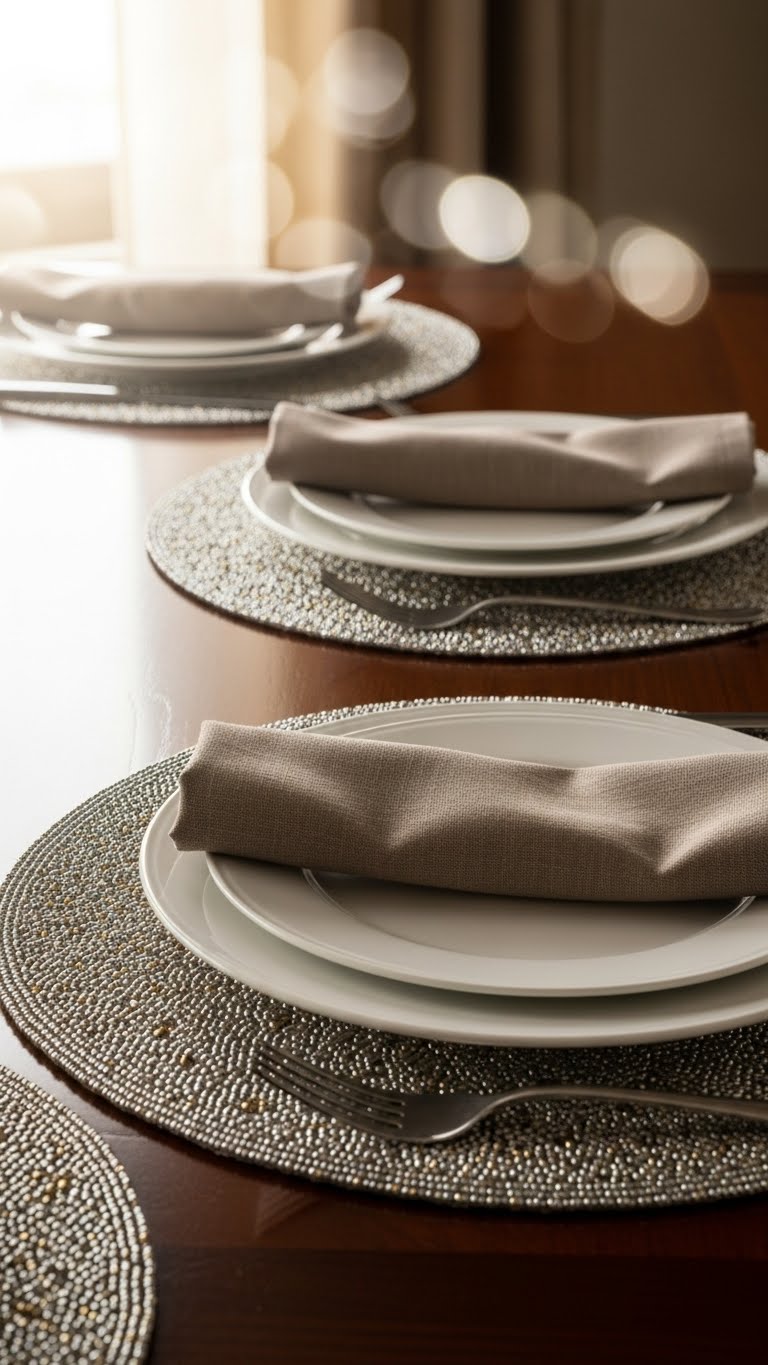
Beaded placemats add texture. Find affordable ones. Layer under plates. This builds interest. DIY: String beads on fabric. Place down. Costs low. Your table feels rich. Keep layers even. Guests touch and see. Try this layer.
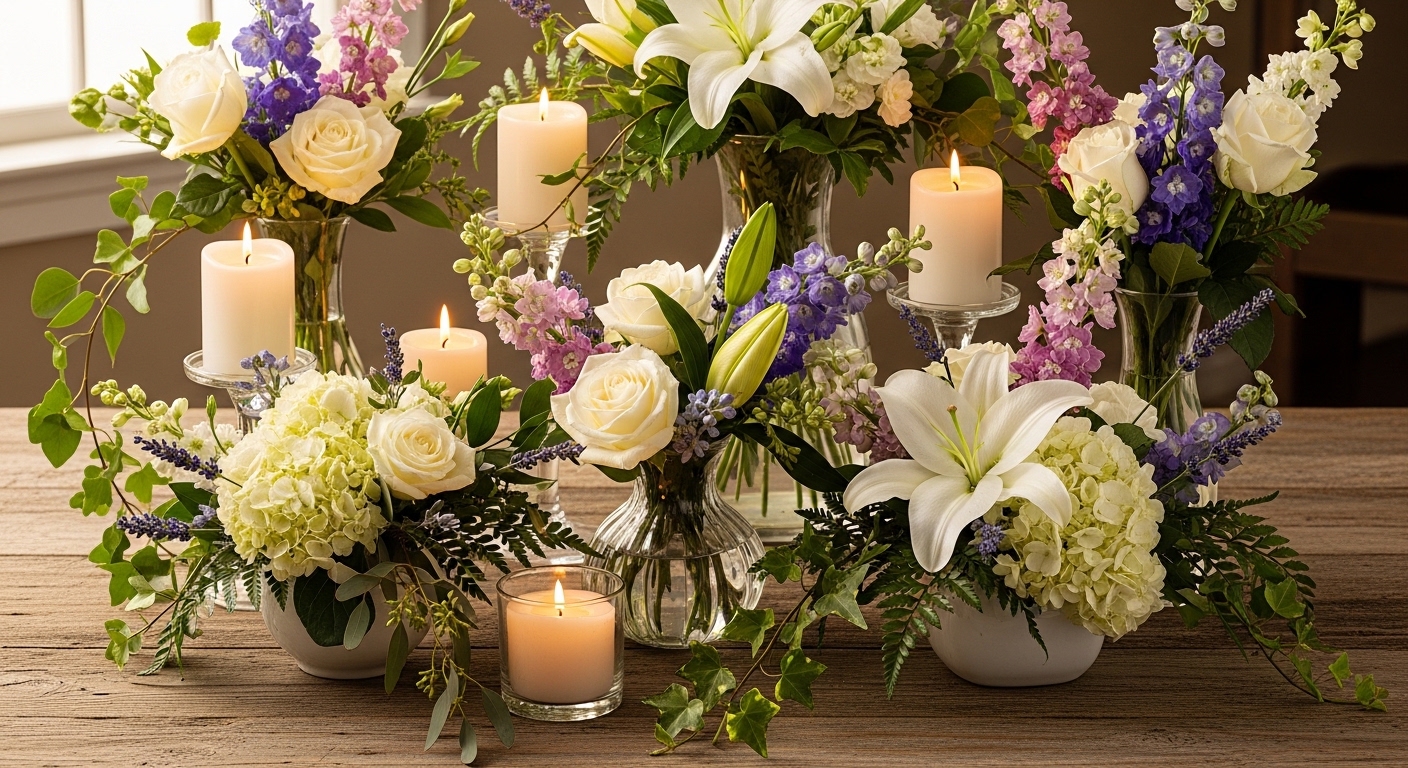
Use Candle Holders as Centerpieces
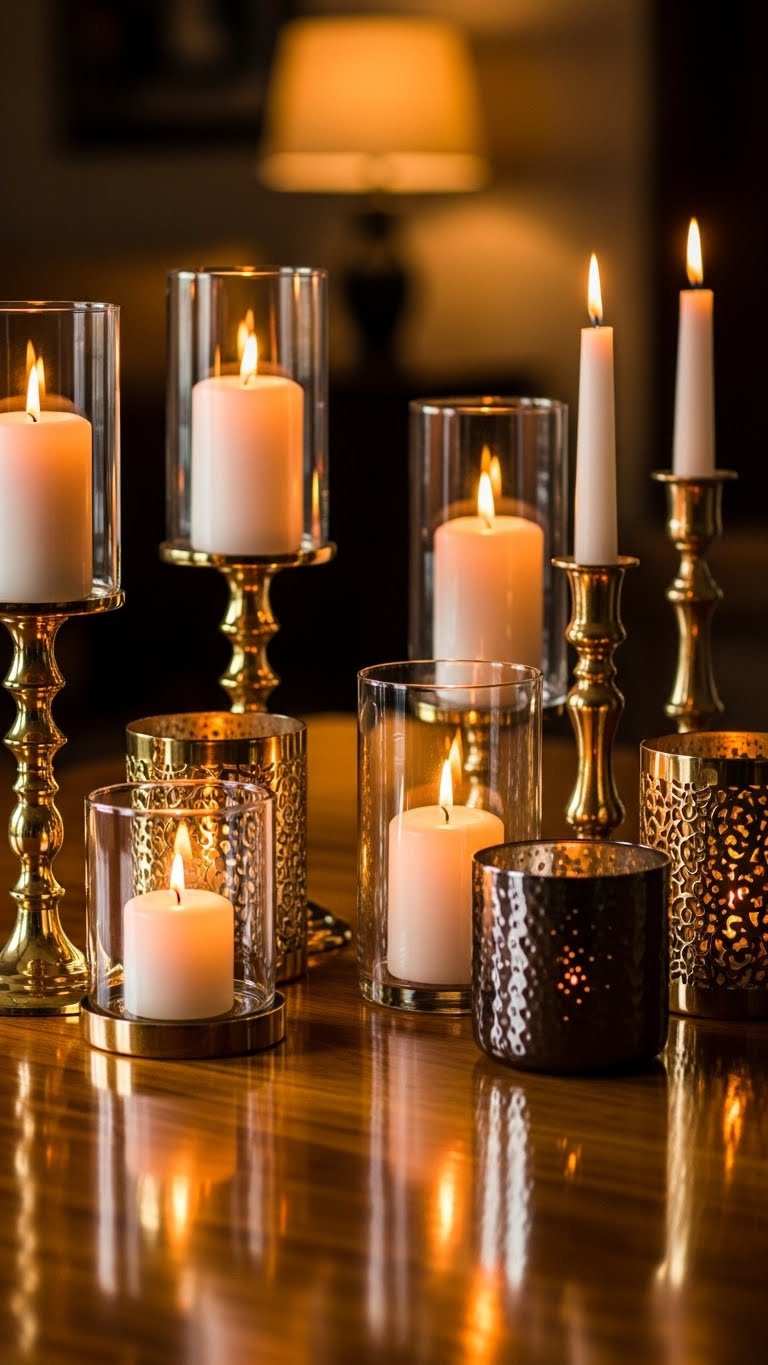
Candle holders make centerpieces easy. Use simple ones. Set in the middle with candles. This creates warmth. DIY: Decorate with greens. Light up. Your table glows. Focus on safety: Keep away from edges. Guests feel cozy. Start tonight.
Choose Lace-Edged Napkins
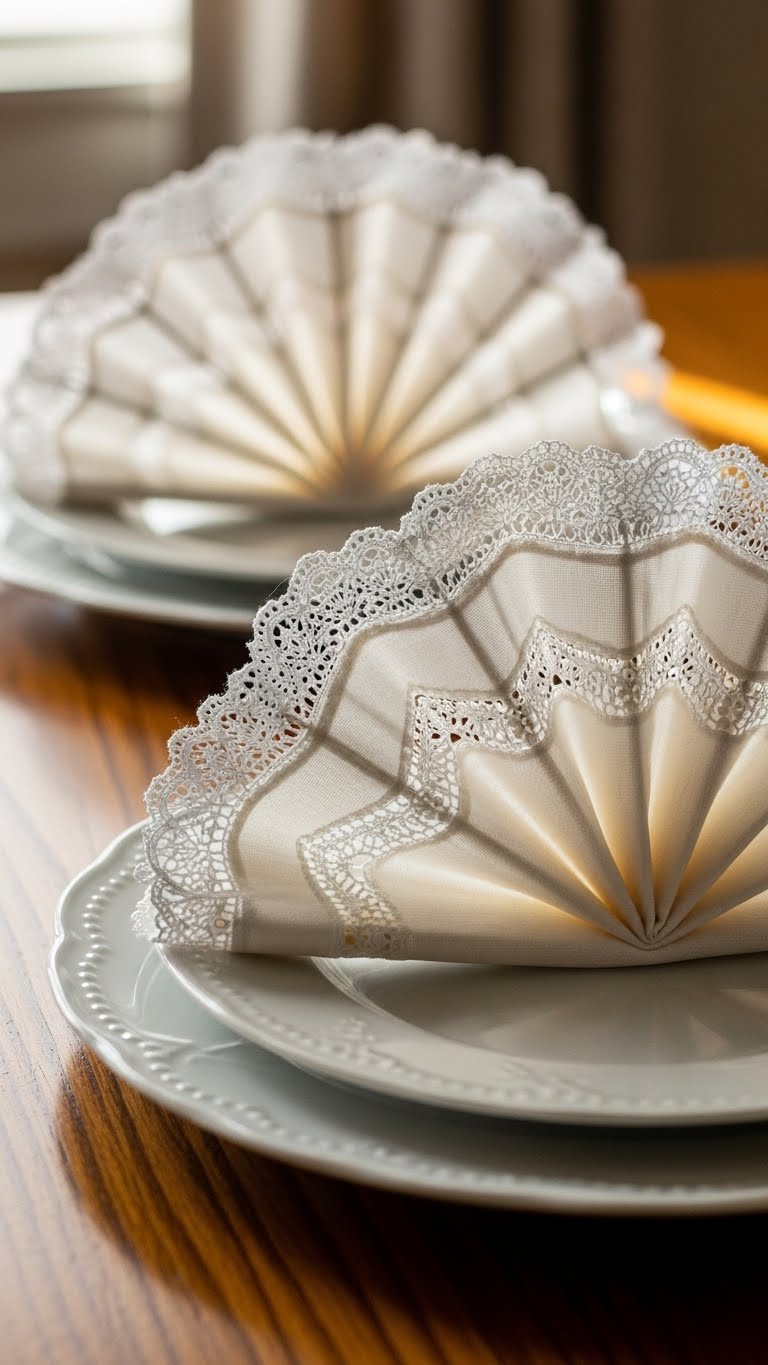
Lace-edged napkins add tradition. Buy or make from fabric. Fold and set. This brings heritage. DIY: Sew lace on. Place neatly. Your table has flair. Keep folds crisp. Guests value the detail. Try for events.
Opt for Carved Wooden Chargers
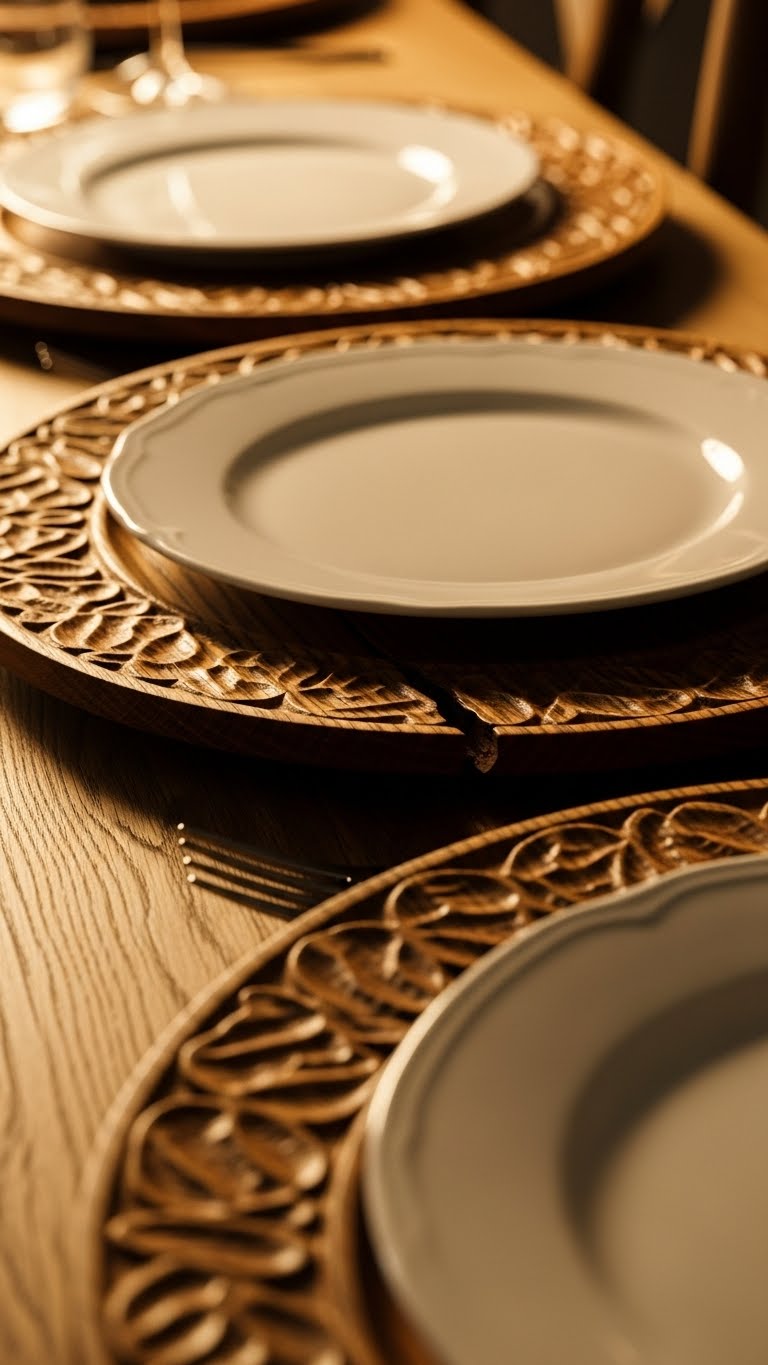
Carved wooden chargers hint at history. Find at thrifts. Use as bases. This adds rusticity. DIY: Carve designs simply. Layer on. Your table feels grounded. Focus on placement. Guests appreciate the craft. Start with one.
Decorate with Shamrock Runners
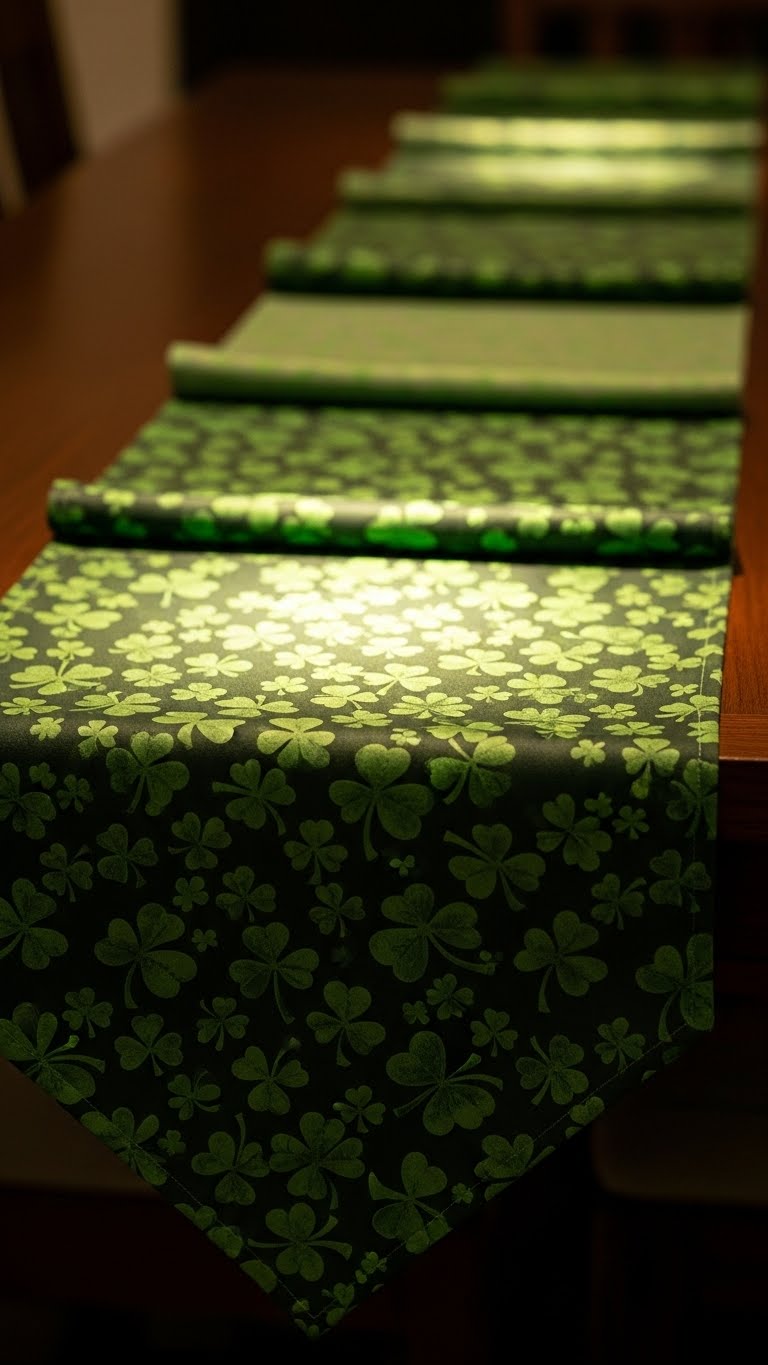
Shamrock runners set the tone. Get printed ones cheap. Lay down the center. This frames the table. DIY: Draw shamrocks on cloth. Use as base. Costs minimal. Arrange straight. Your table pops. Guests see the theme. Try adding more.
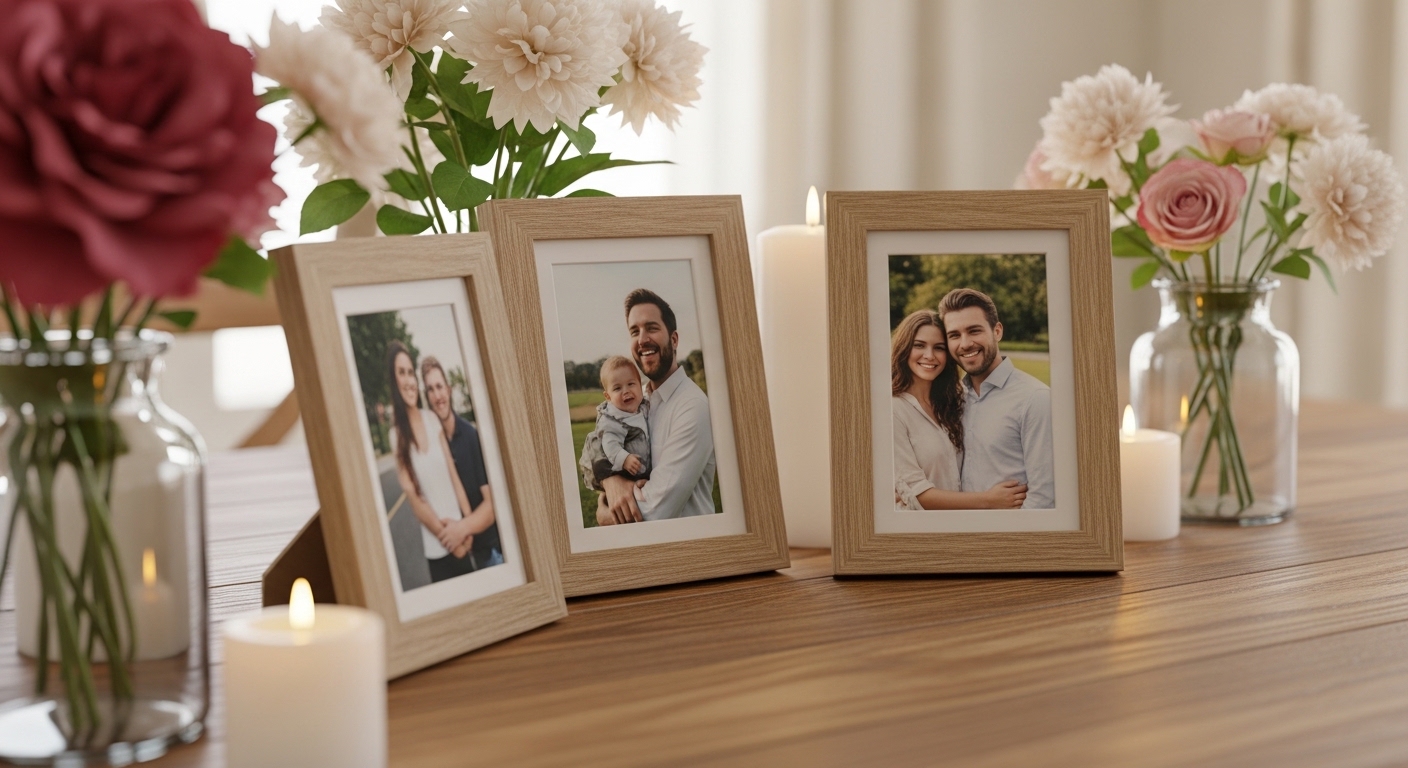
Extend to Shelf Vignettes
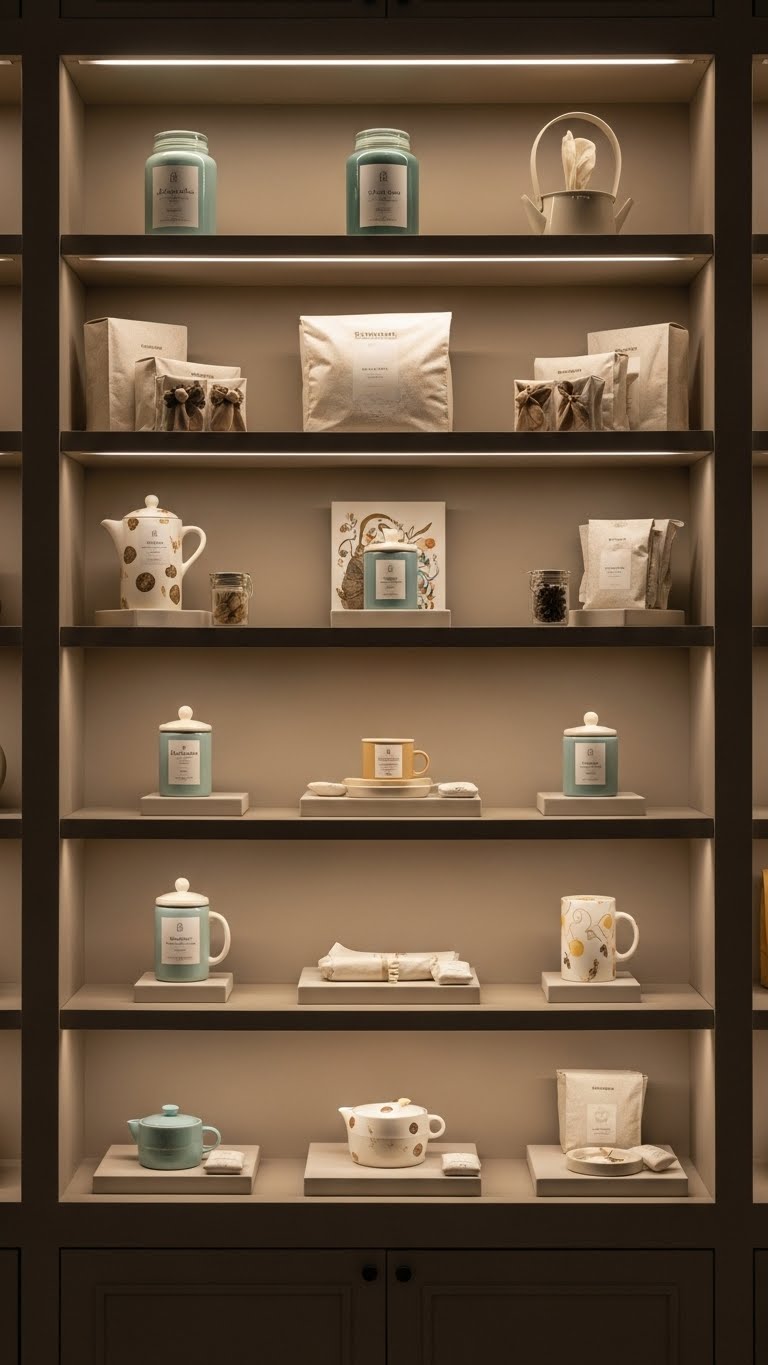
Shelf vignettes extend the fun. Use small shelves. Add green items. This carries the look. DIY: Group things together. Place nearby. Costs nothing extra. Your space feels complete. Keep it tidy. Guests notice the flow. Try expanding.
Serve on Irish Soda Bread Plates
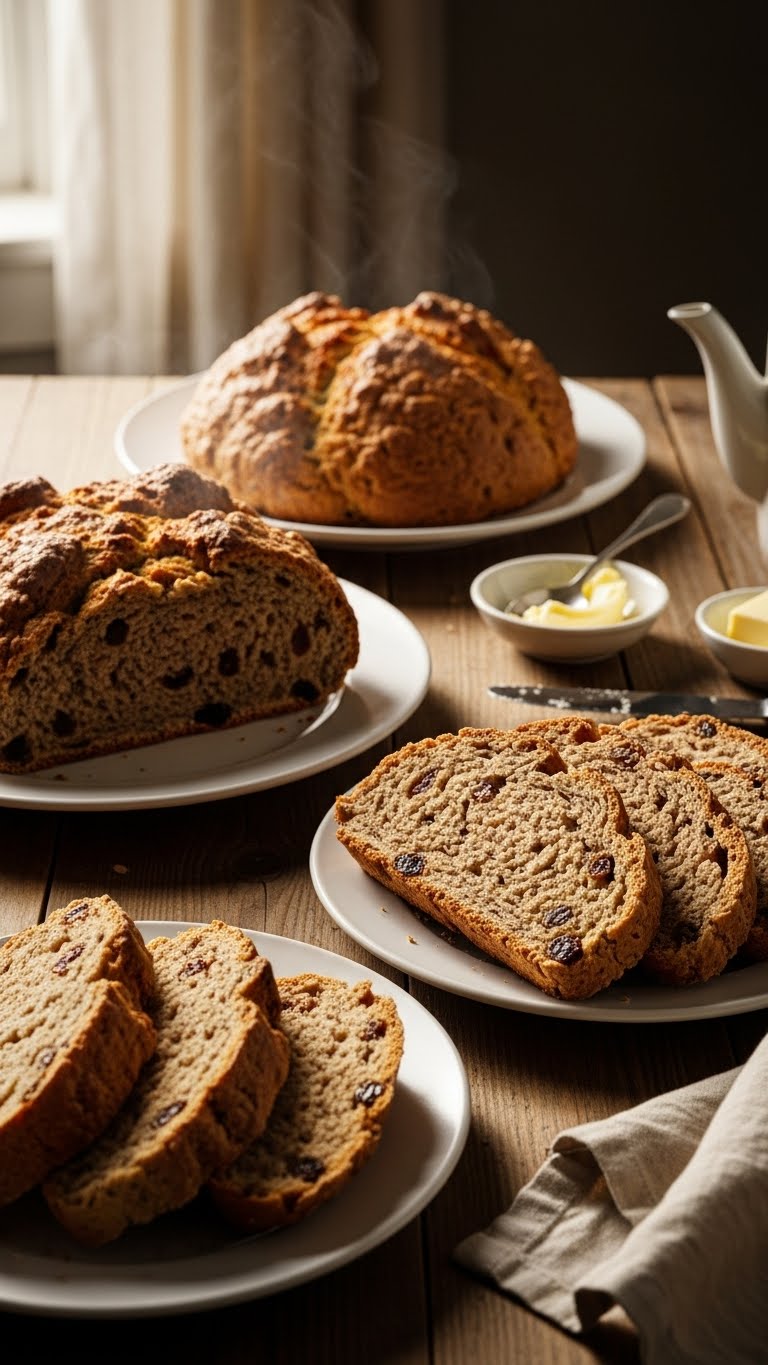
Irish soda bread plates are practical. Use regular plates for bread. Set for serving. This keeps it functional. DIY: Bake bread at home. Place on. Your table is ready. Focus on timing. Guests enjoy the food. Try baking.
Spotlight Depression Glass Dishes
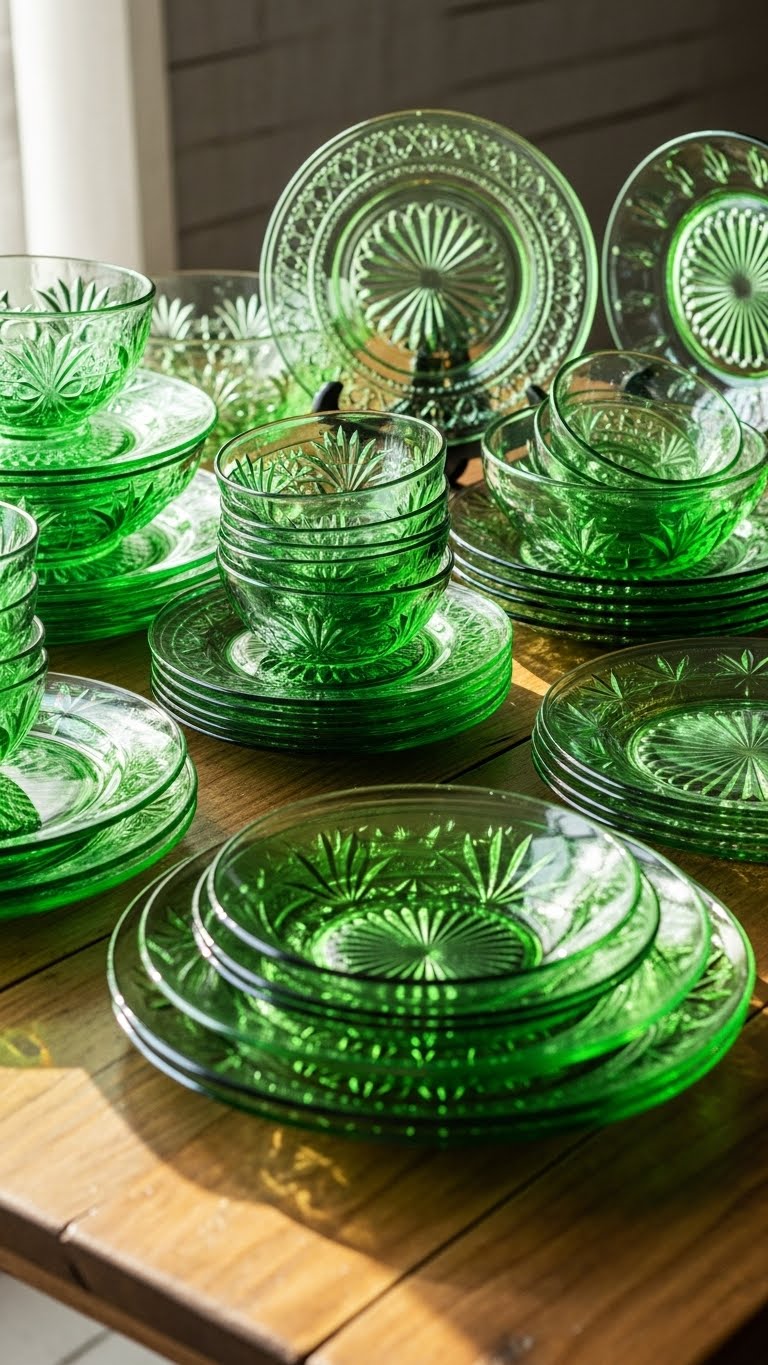
Depression glass dishes shine. Find at markets. Use for desserts. This adds vintage. DIY: Clean and display. Set out. Your table has history. Keep them safe. Guests love the glow. Start collecting.
Include Flatware with Craft Details
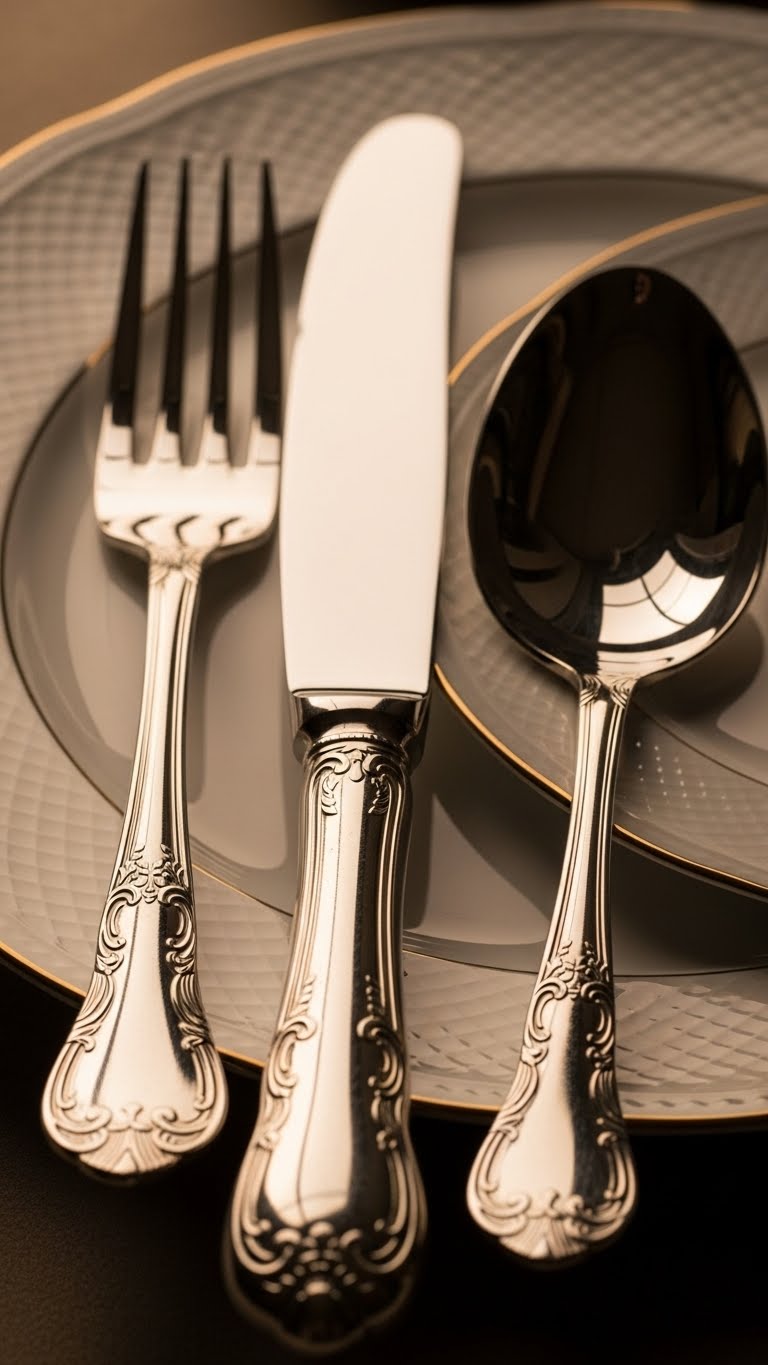
Flatware with details finishes it. Choose simple pieces. Set beside plates. This polishes the look. DIY: Wrap handles with green string. Place ready. Your table feels complete. Focus on comfort. Guests use with ease. Try this touch.
With these ideas, your St. Patrick’s Day table can be simple and inviting. Put them into practice for a memorable setup. Grab your items and start arranging today.